Create a new BlinqlO account
Create your free BlinqIO account and start building test automation in minutes.
Before you begin
- Use a modern browser: Chrome, Edge, or Firefox.
- If you plan to sign up with email, have inbox access to get a 6‑digit code.
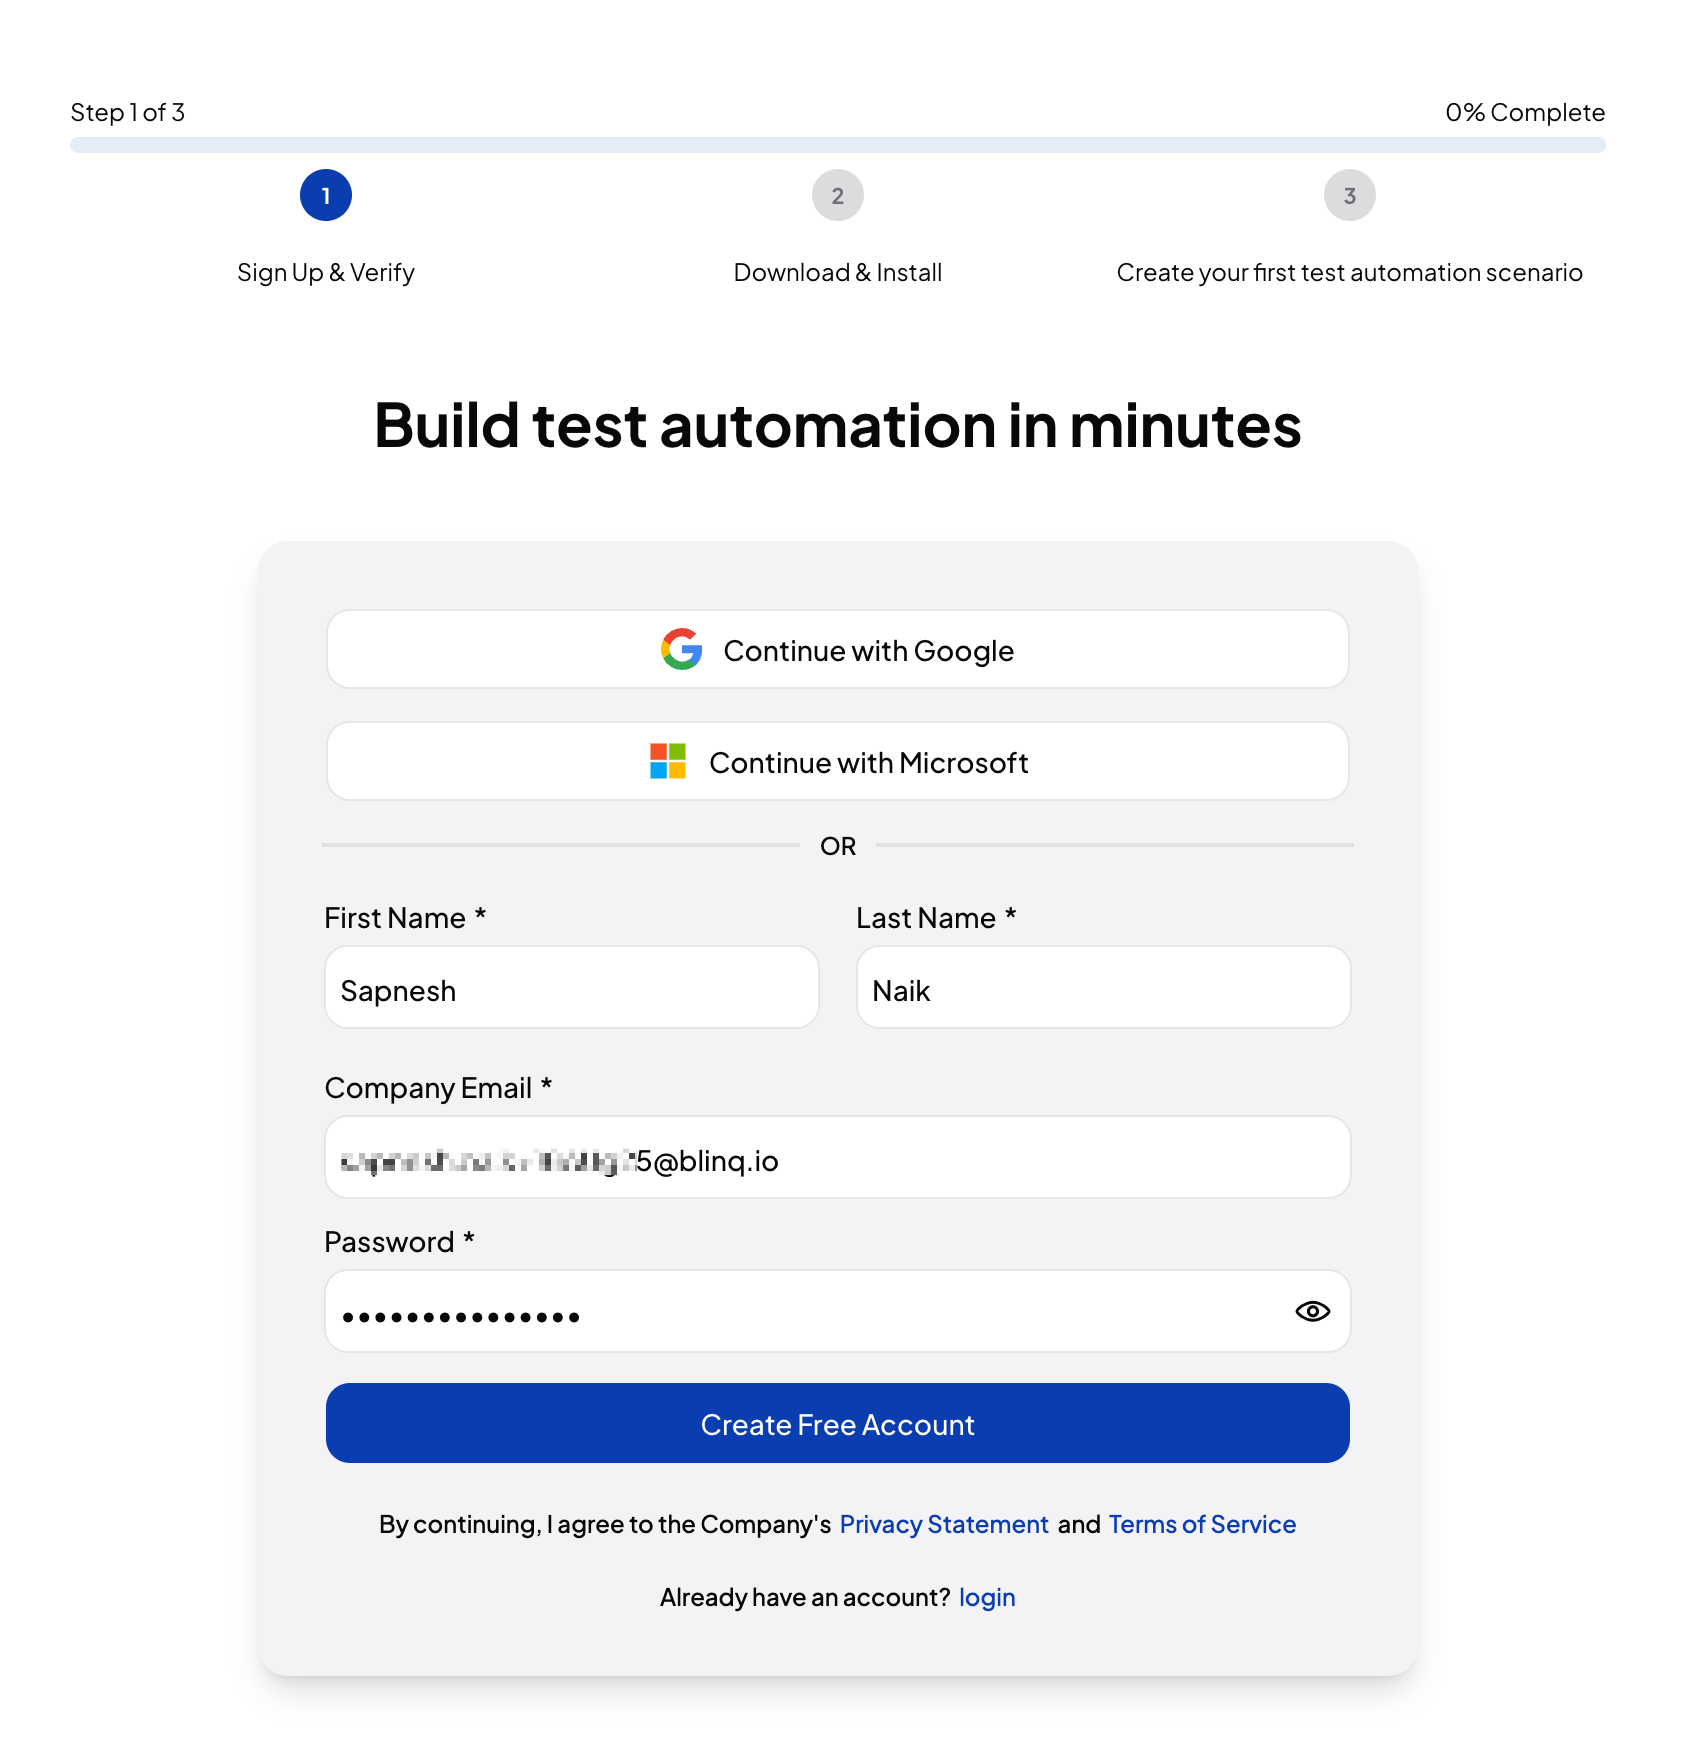
Create an account with email/Google/Microsoft
- Go to https://app.blinq.io/signup.
- Choose one of the following:
- Continue with Google.
- Continue with Microsoft.
- Sign up with email:
- Enter First name, Last name, Company email, and Password.
- Select Create Free Account.
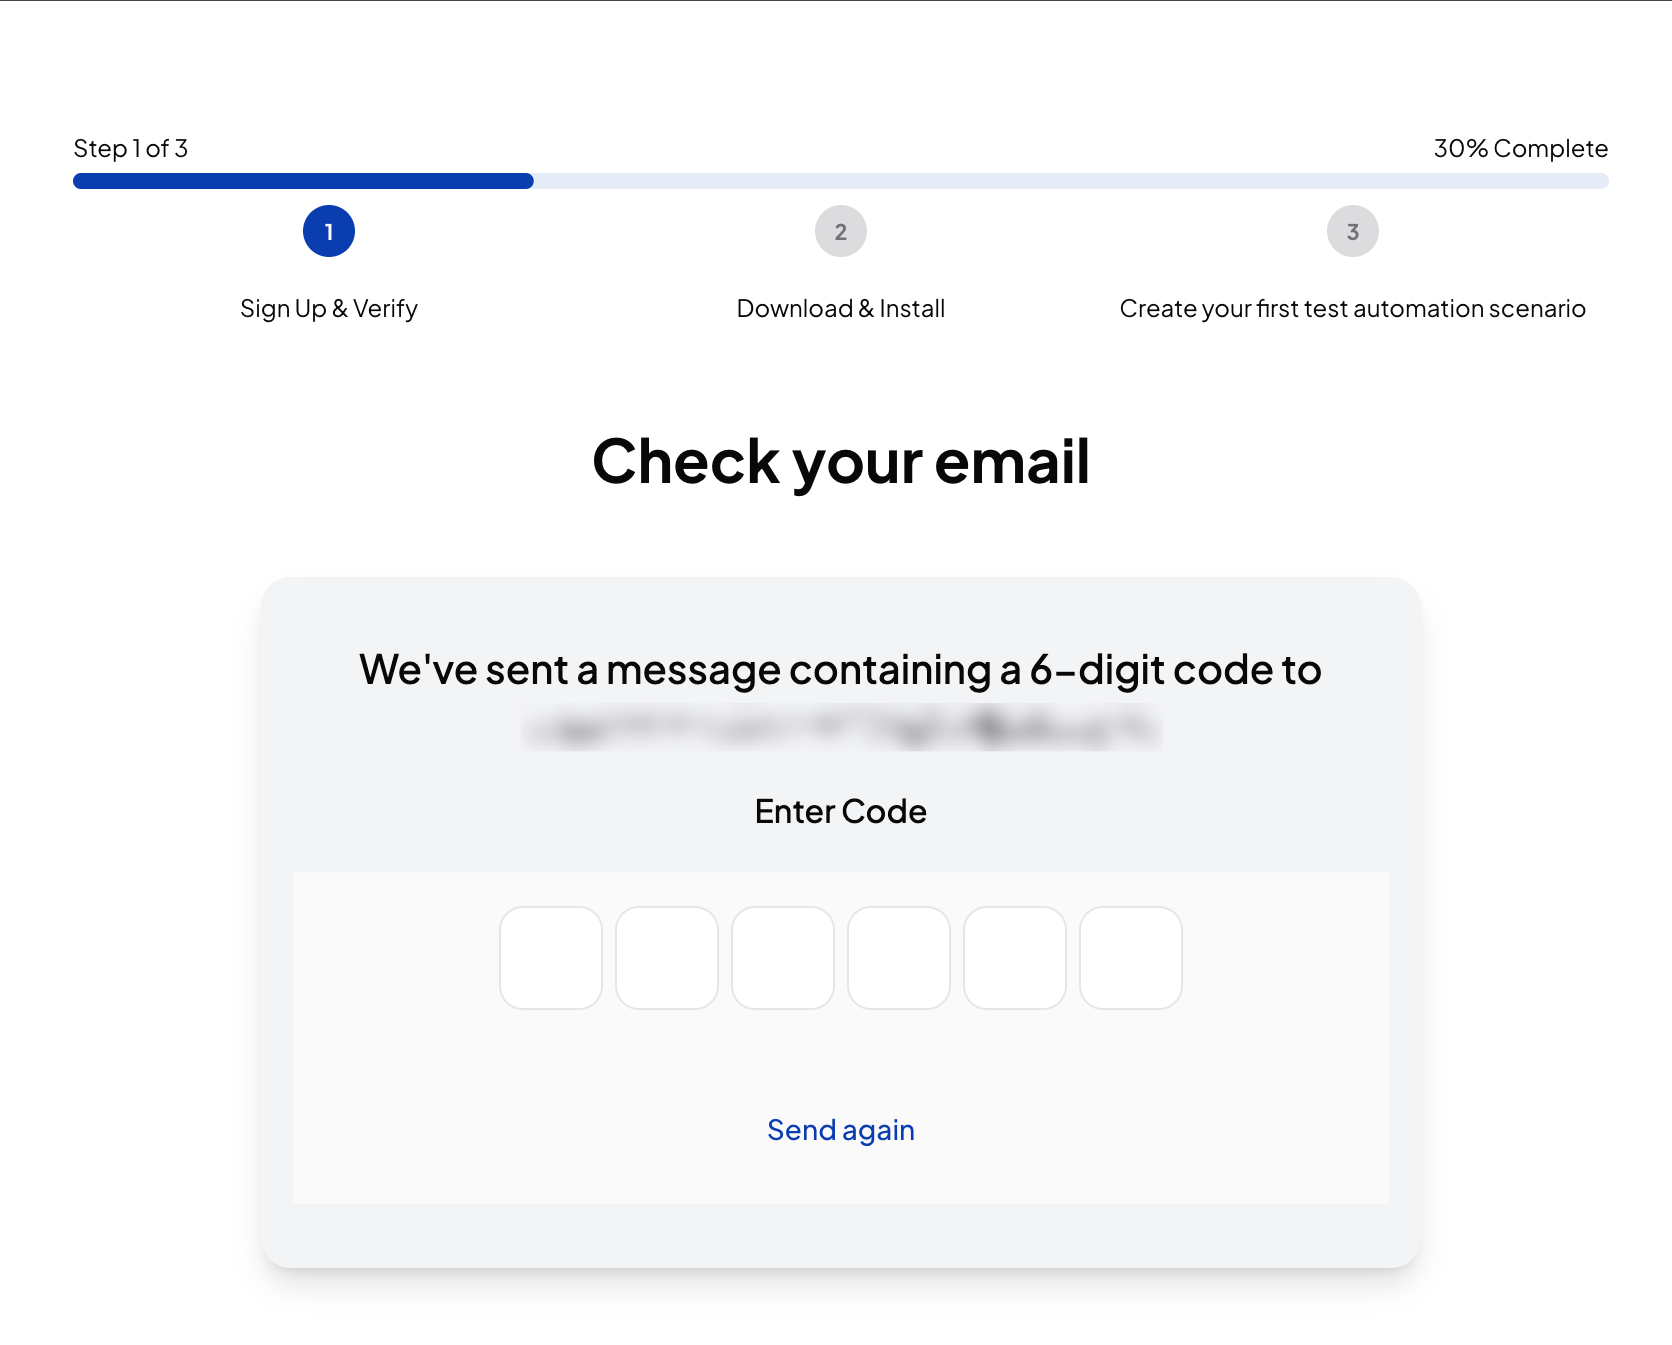
Verify your email (email sign-up only)
This step is NOT required if you're signing up with Google or Microsoft
- Check your inbox for an email from “BlinqIO Authentication” with the subject “Your BlinqIO Registration Code.”
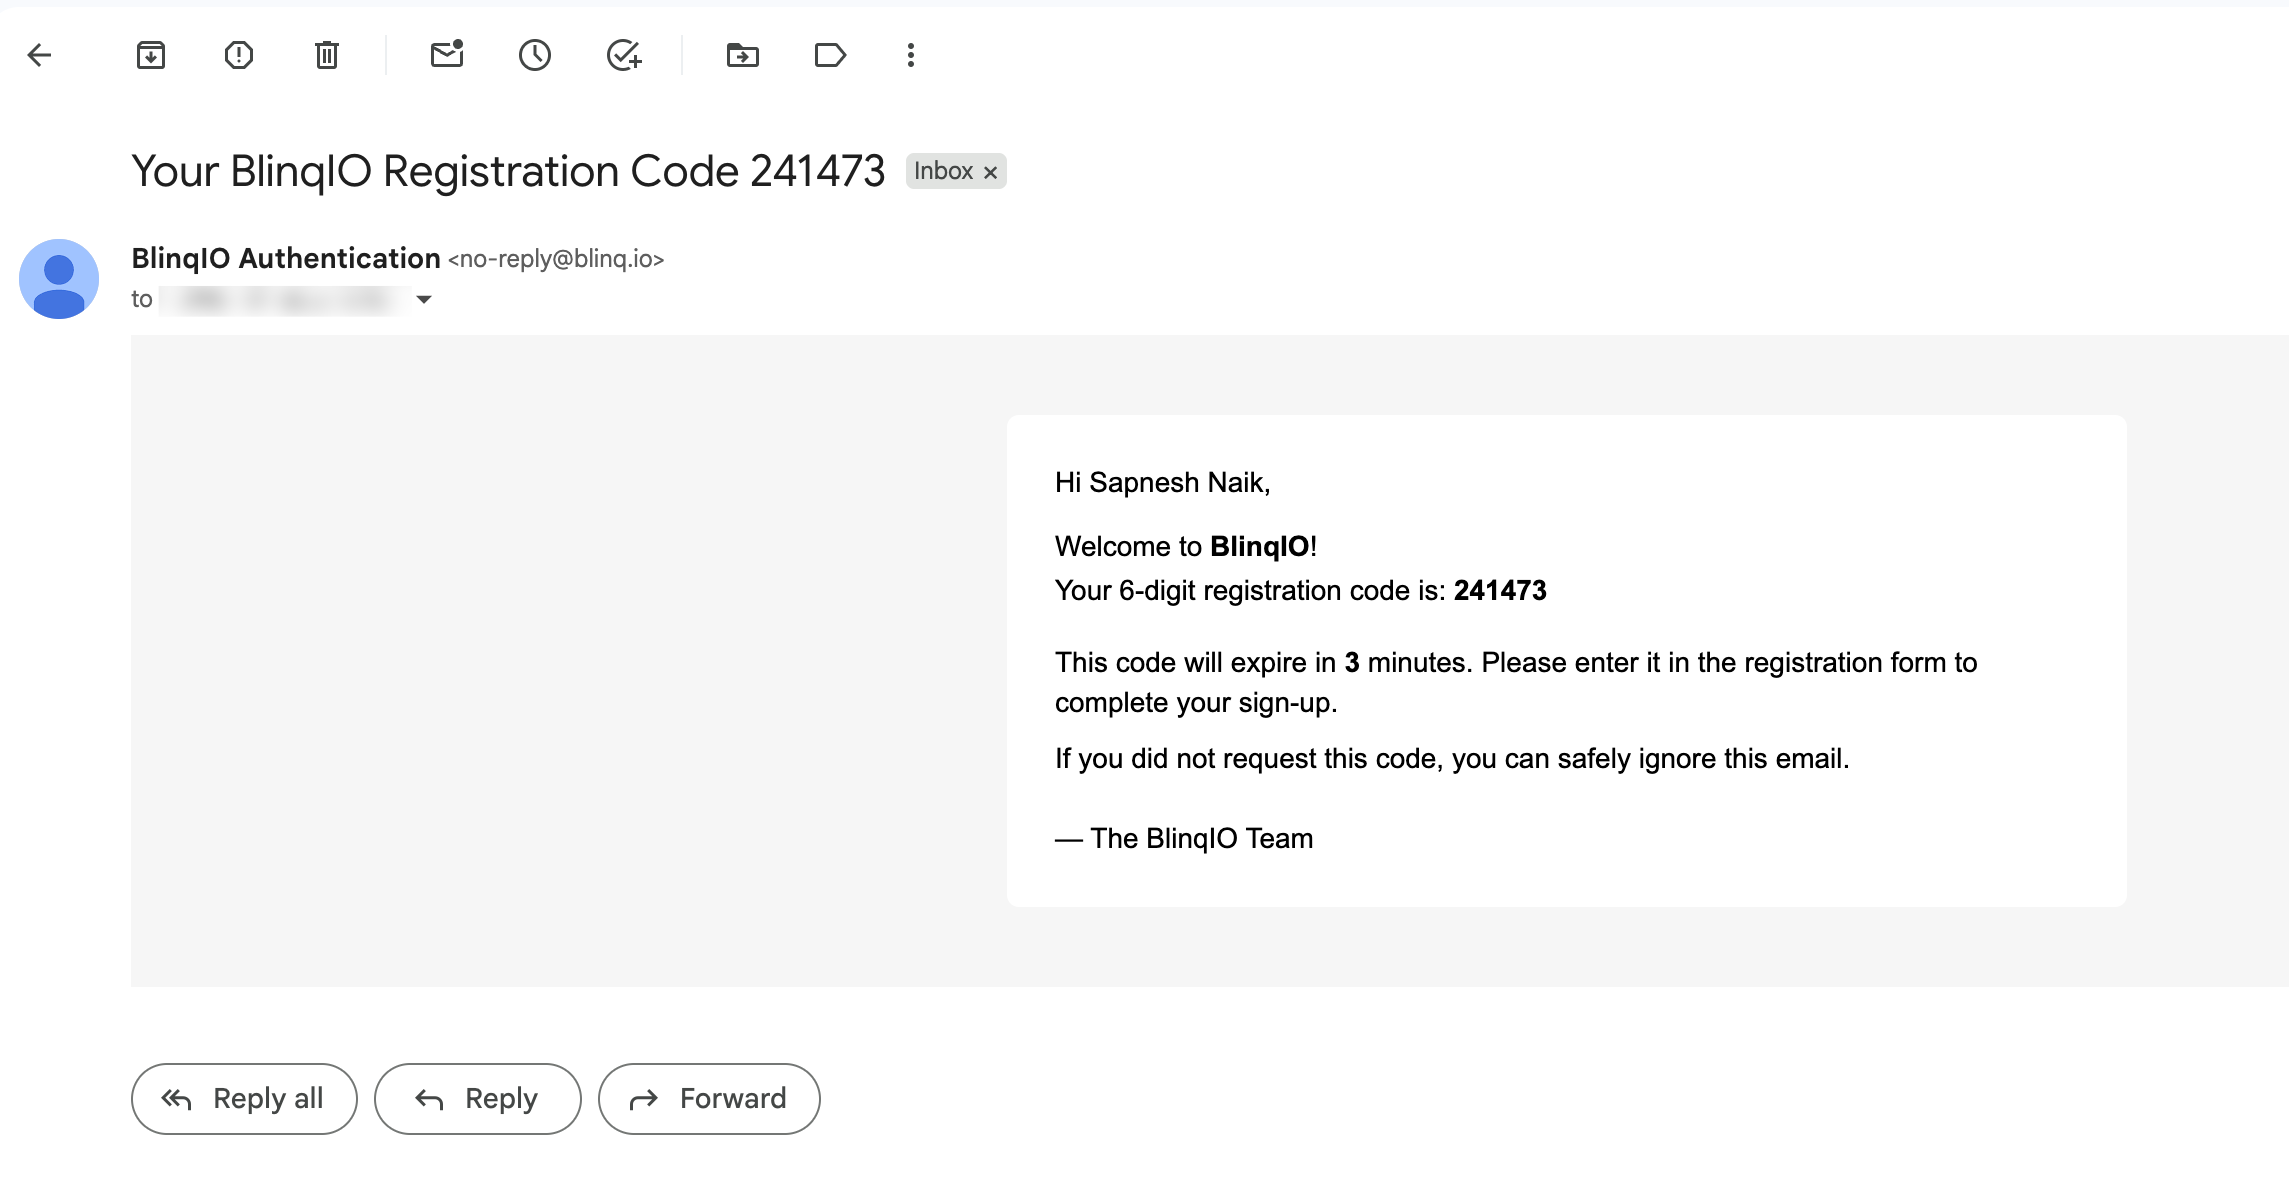
- Copy the 6‑digit code.
- Return to the “Check your email” screen and enter the code.
- If needed, select Send again to request a new code.
Troubleshooting email codes
- Check spam or junk folders.
- Wait up to a few minutes for delivery, then request a new code.
- If multiple codes arrive, use the most recent one.
Enter your application URL
Next, enter the URL of the web application you'd like to test and select Start Testing.
Don't have an application ready yet?
You can select the "Or use the demo app" checkbox to use our demo application URL to get started. You can always change this URL later.
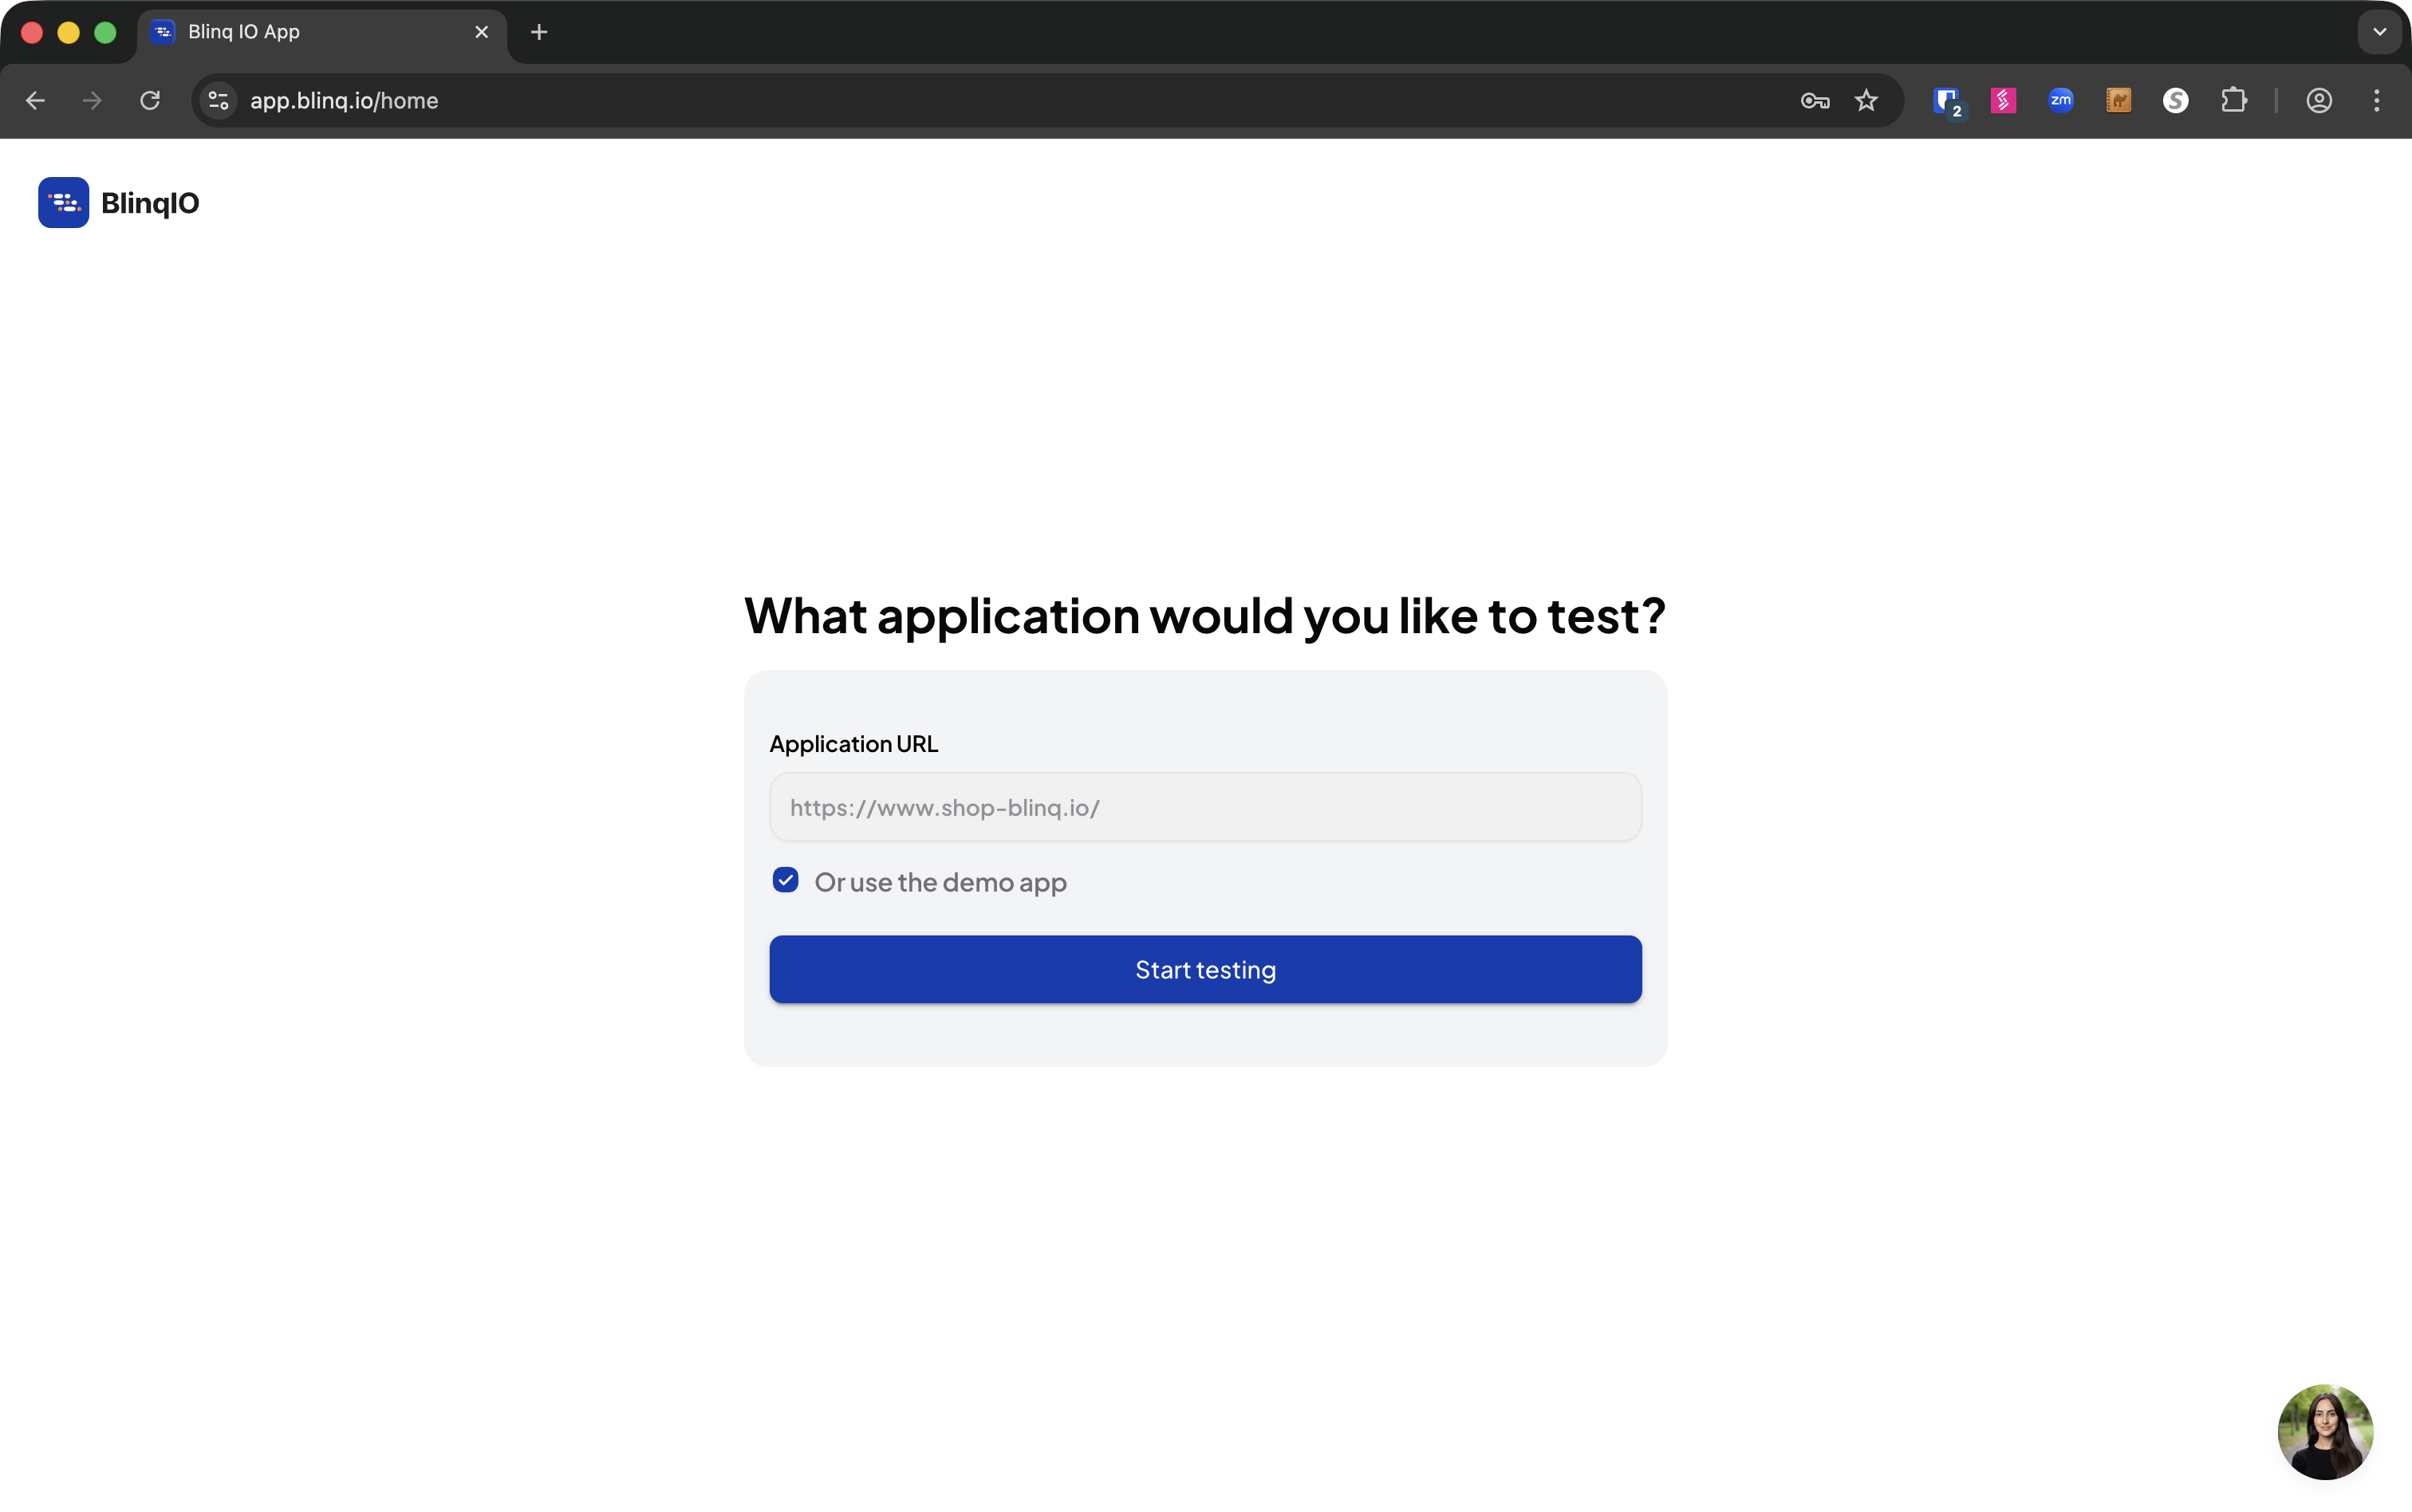
You will be navigated to the AI Tests page after the project is created. 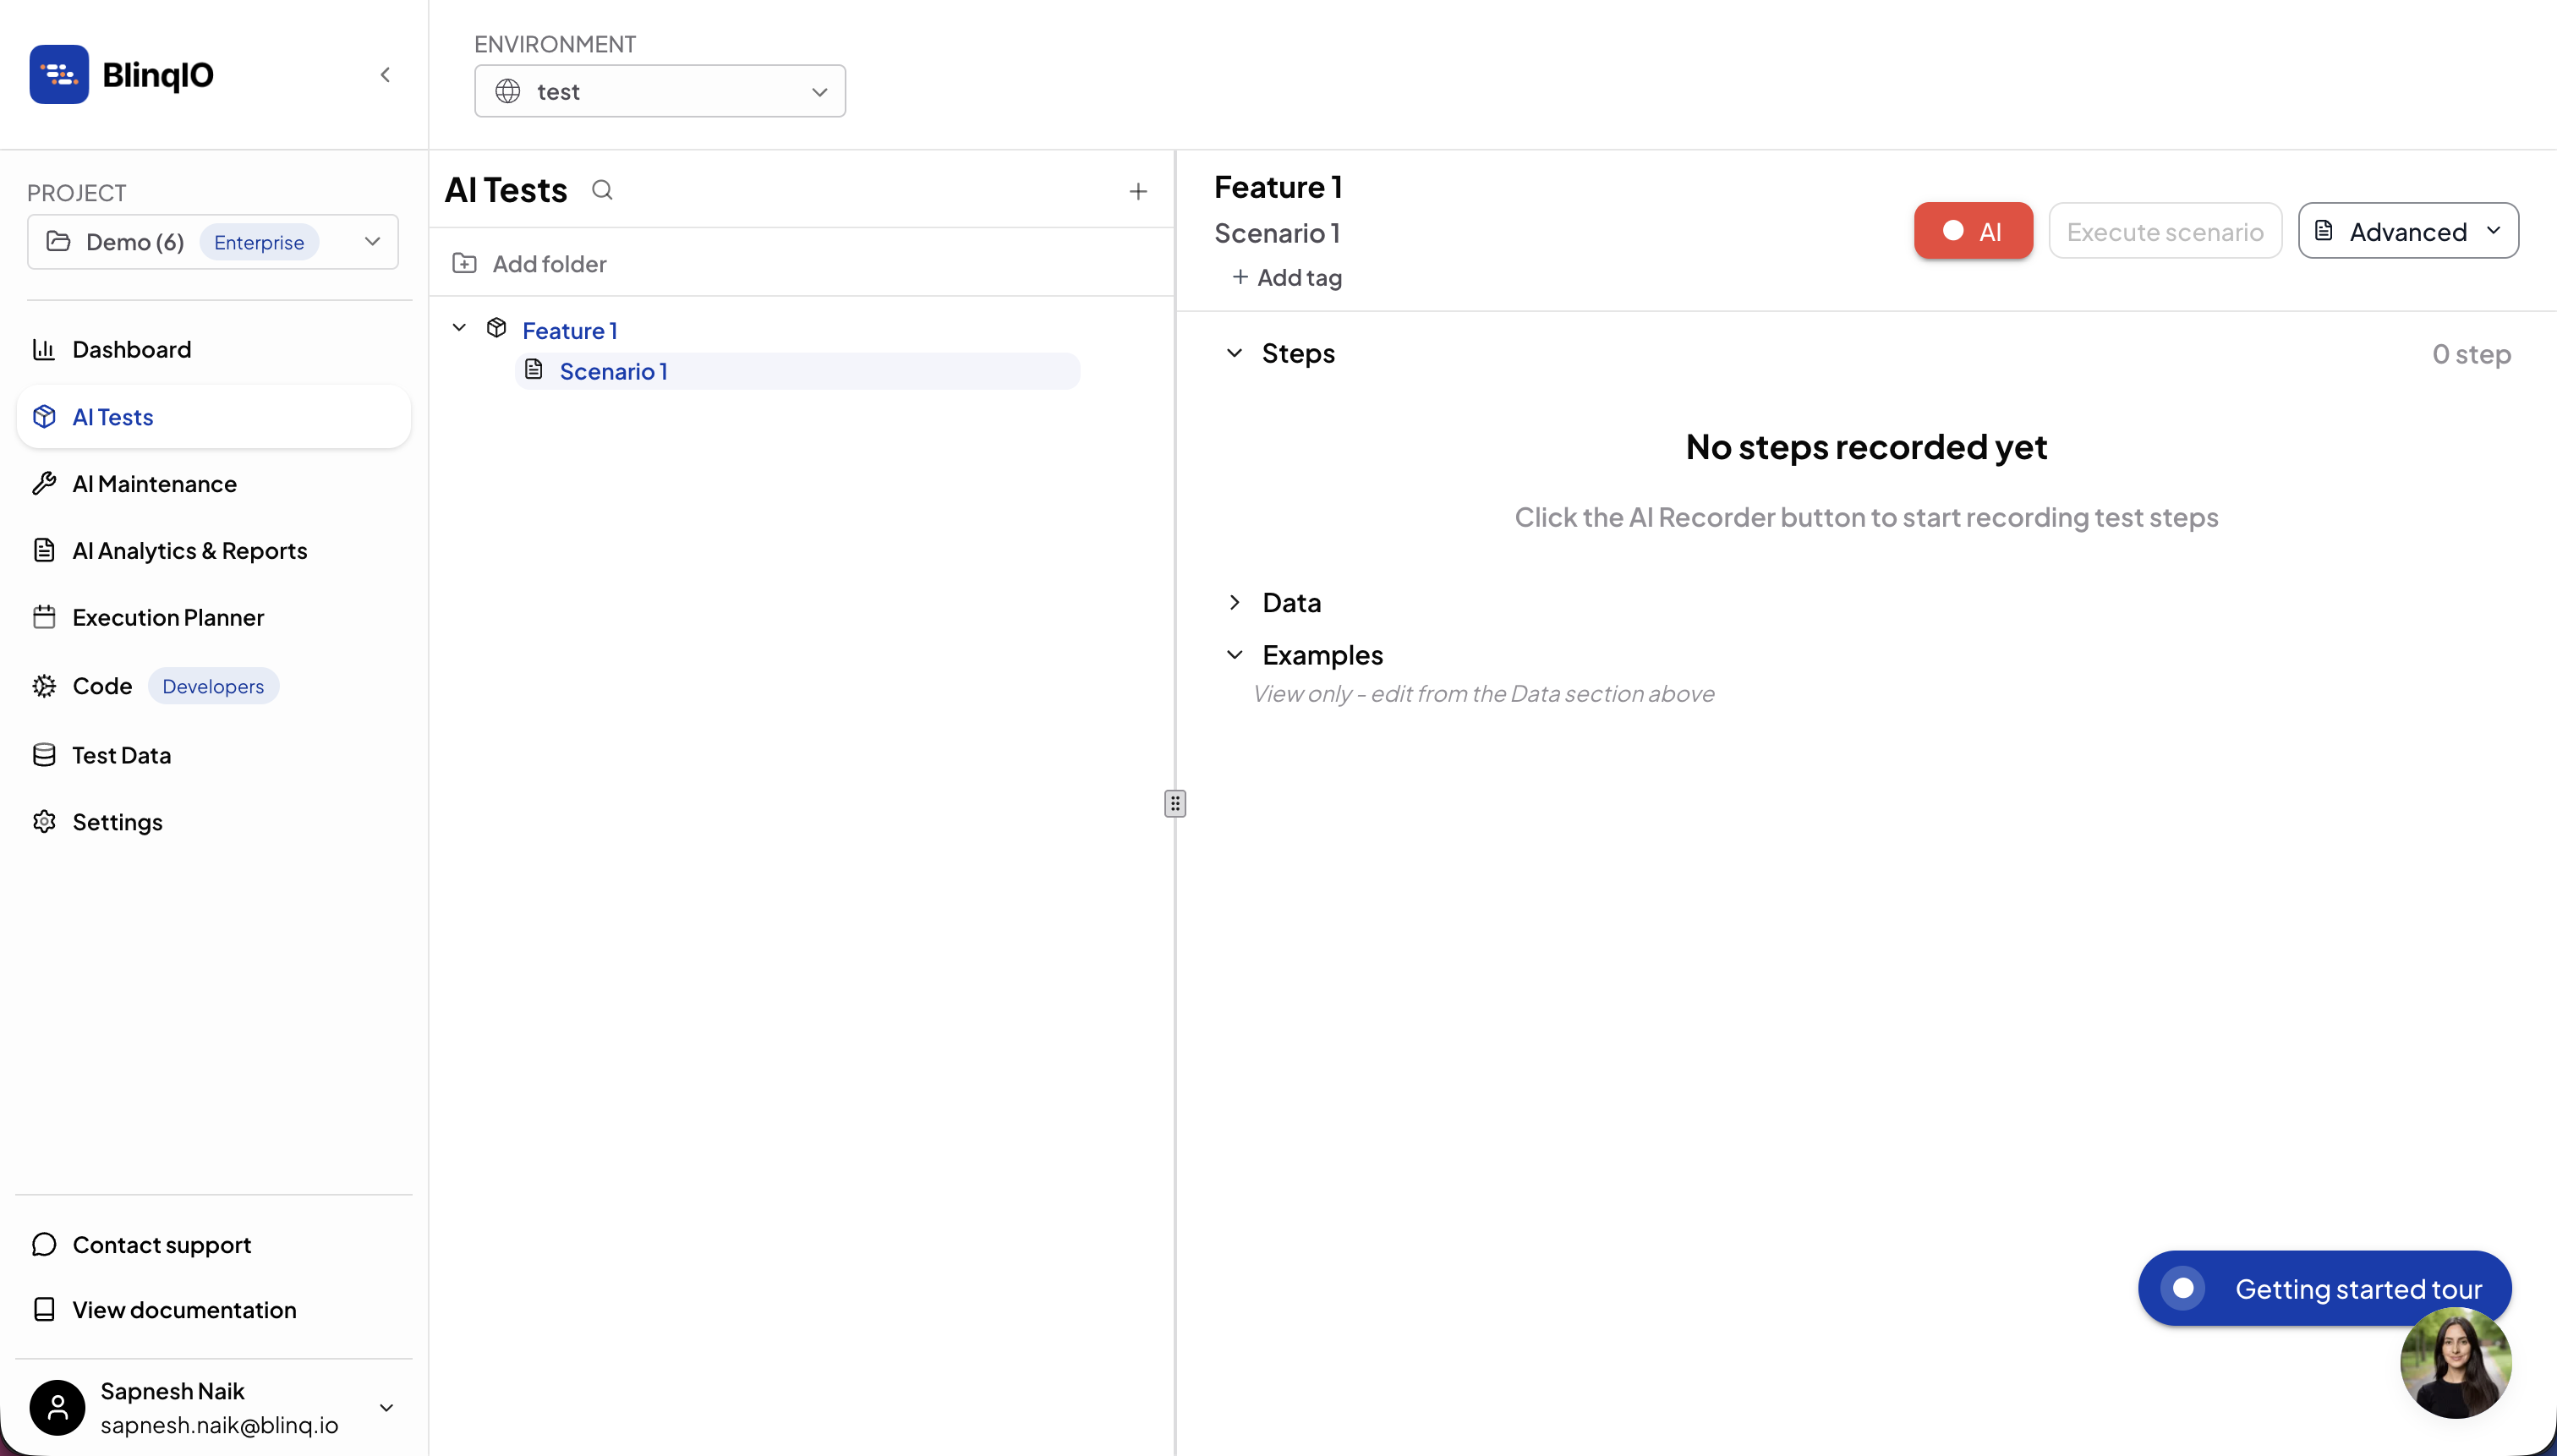
Troubleshooting
Can’t sign in with Google or Microsoft?
- Check with your IT team if third‑party sign‑in is restricted.
- If restricted, use Sign up with email and verify your email to proceed.