Import Bruno API Tests into BlinqIO Projects
BlinqIO supports importing API requests from Bruno, a lightweight and developer-friendly API client. This integration allows you to migrate your existing Bruno API tests into BlinqIO without manually recreating each request.
Follow these steps to import and use Bruno API tests in your BlinqIO project:
- Export your collection from Bruno.
- Add the exported files to your BlinqIO project.
- Use the imported API steps in your test scenarios through the Recorder.
Export Your API Tests from Bruno
To begin, export your existing API collection from Bruno.
Open Bruno and navigate to the collection that contains your API requests.
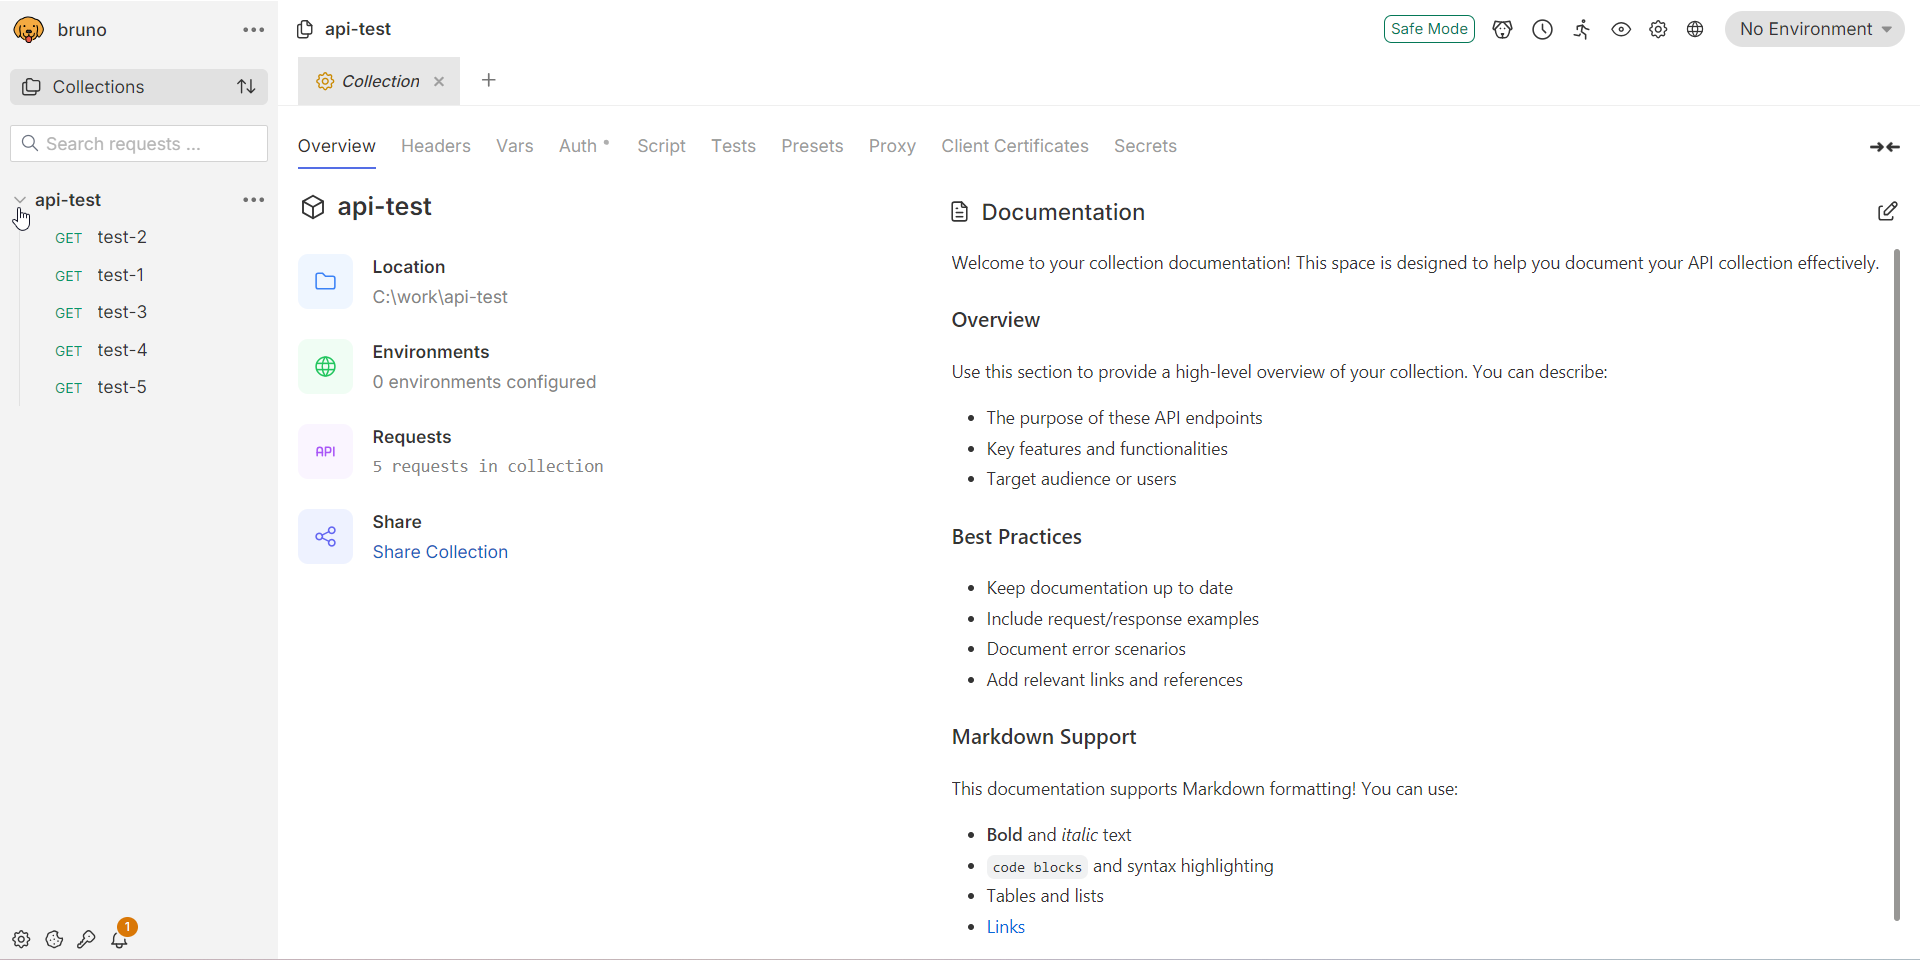
Click the three-dot menu (⋮) next to the request you want to export, then select Show in folder to locate the
.brufile.
Bruno will open the folder containing the
.brufile for that request.Copy the
.brufile(s) for the requests you want to import.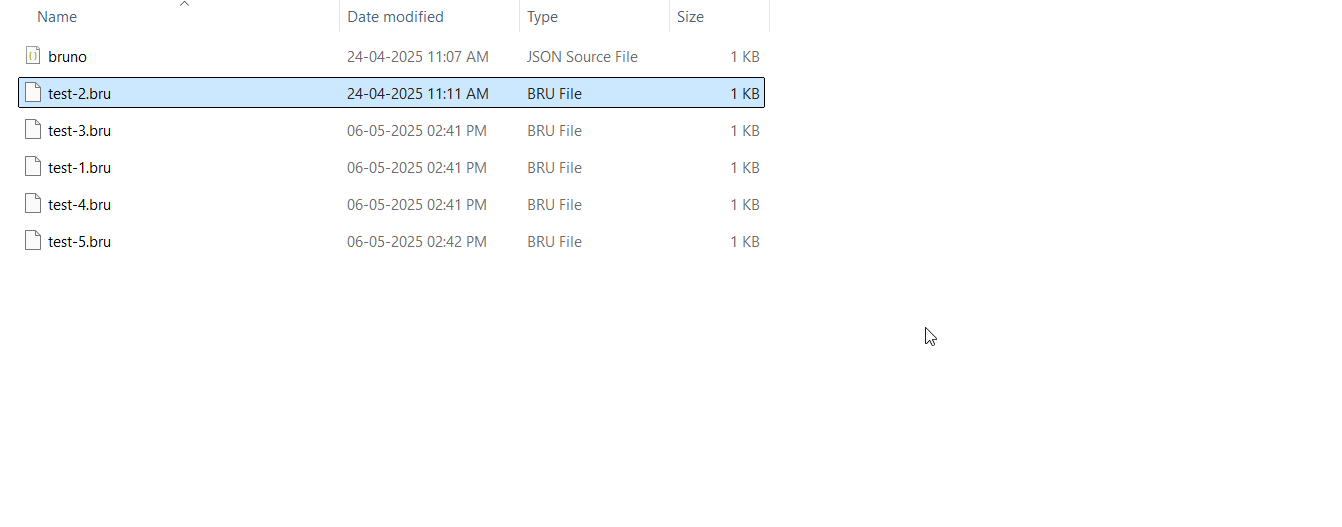
NOTE
.brufiles contain all the necessary request information, including method, URL, headers, body, authentication, variables, scripts, and tests.
Add Bruno Collection Files to Your BlinqIO Project
Once you have the exported files, add them to your BlinqIO project.
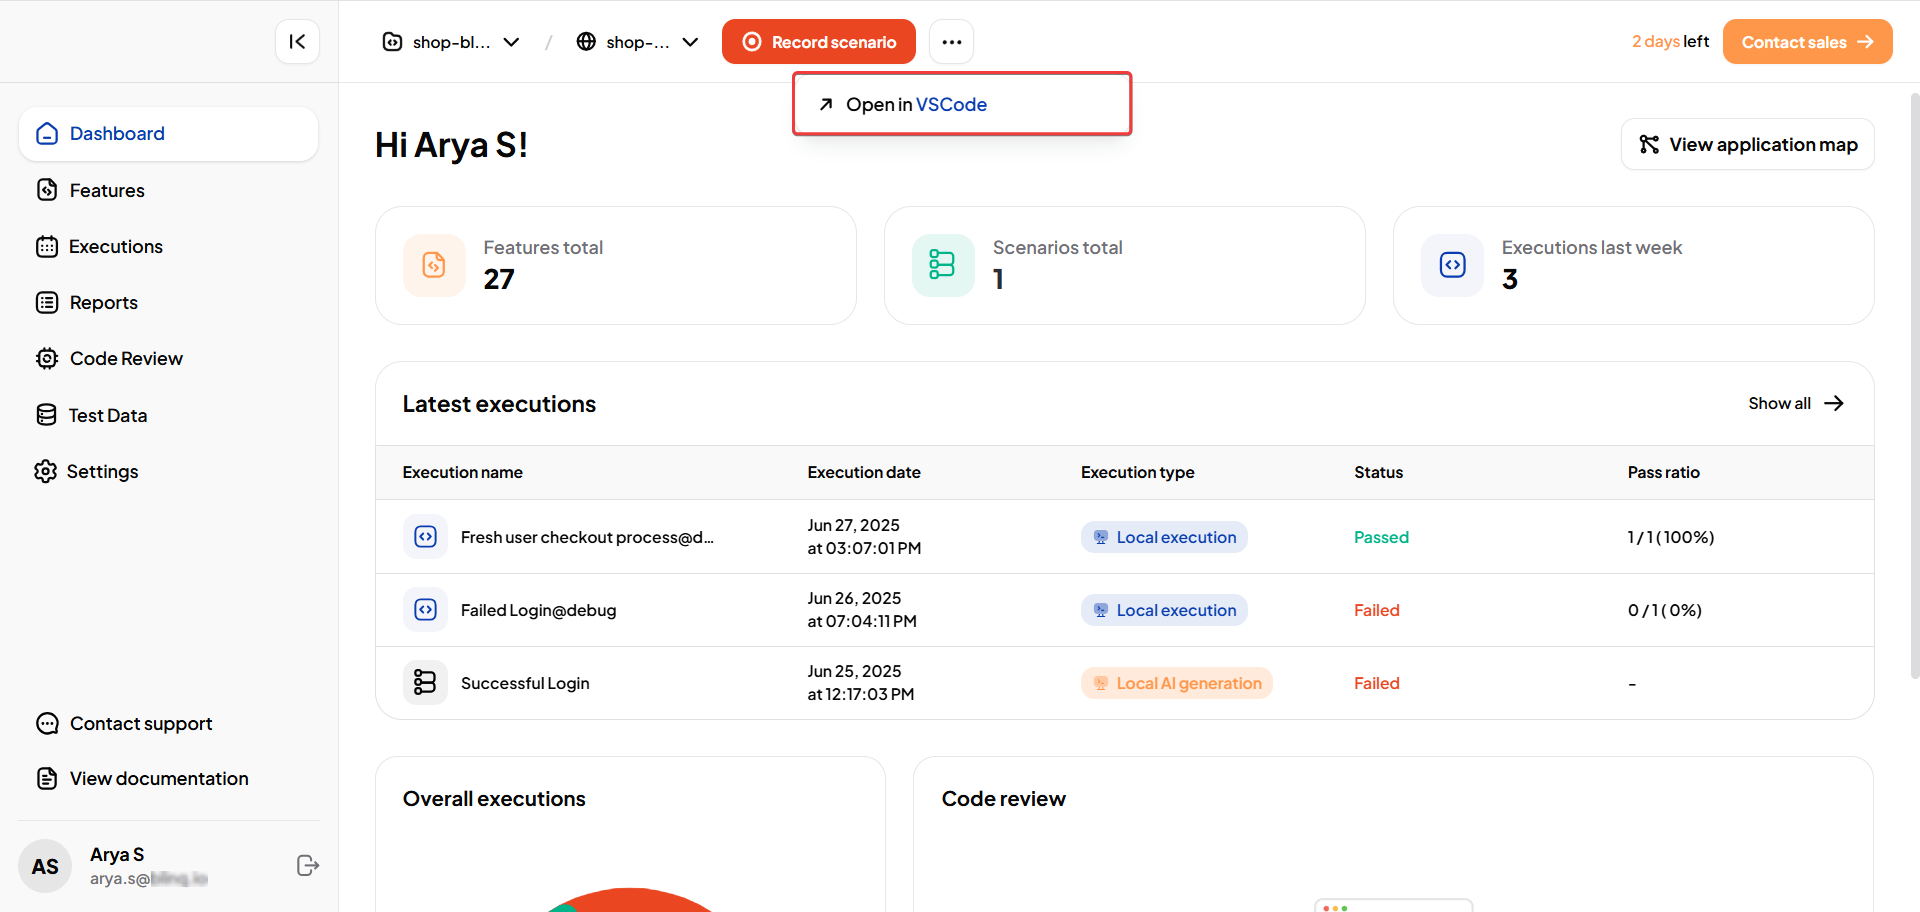
Open your project in Visual Studio Code (VS Code).
NOTE
Refer to the Open Projects in VSCode guide for detailed instructions.
In the root folder of your project, create a new folder named
bruno.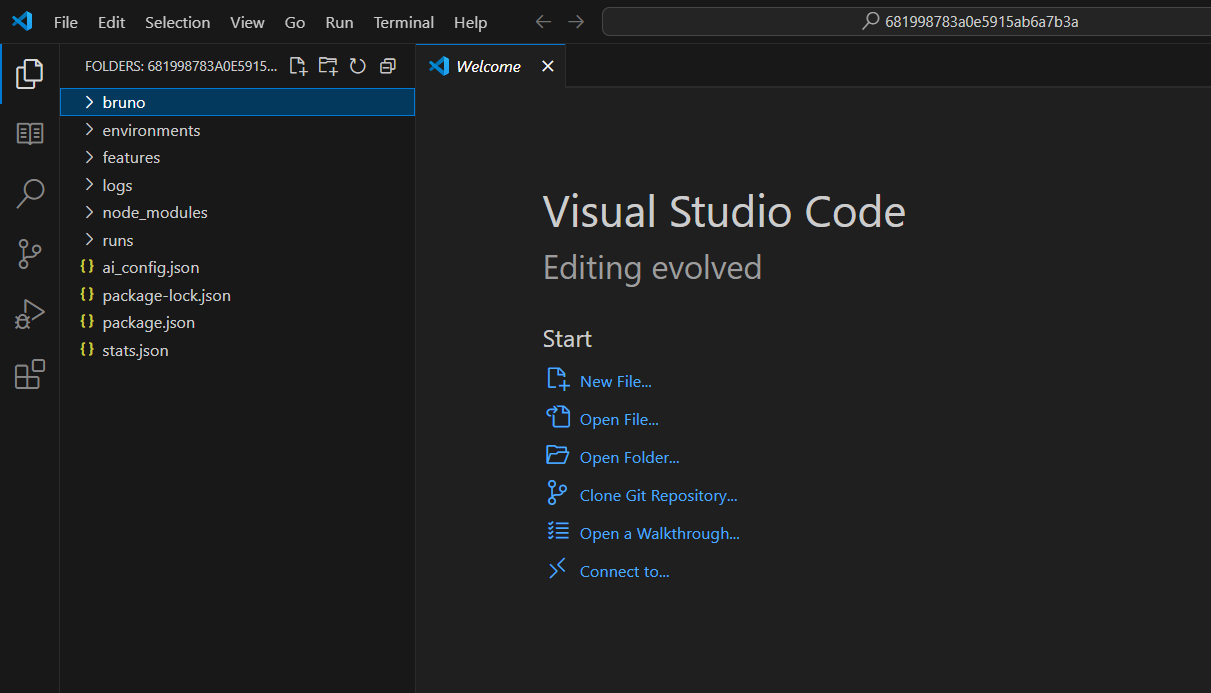
Paste the
.brufiles you copied into thisbrunofolder.
Open the Project Manager in BlinqIO and find the files you just added.
INFO
On Windows, the Editor hides the top menu bar by default. Press the
Altkey to show it.
Select and upload them to your project using the file upload interface.
NOTE
This step is manual. Make sure the files are placed and uploaded correctly before continuing.
Use Bruno API Steps in a Scenario from the Recorder
Once the files are uploaded, you can include them in any test scenario using the Recorder.
Launch the AI Recorder and start recording the scenario you wish to create.
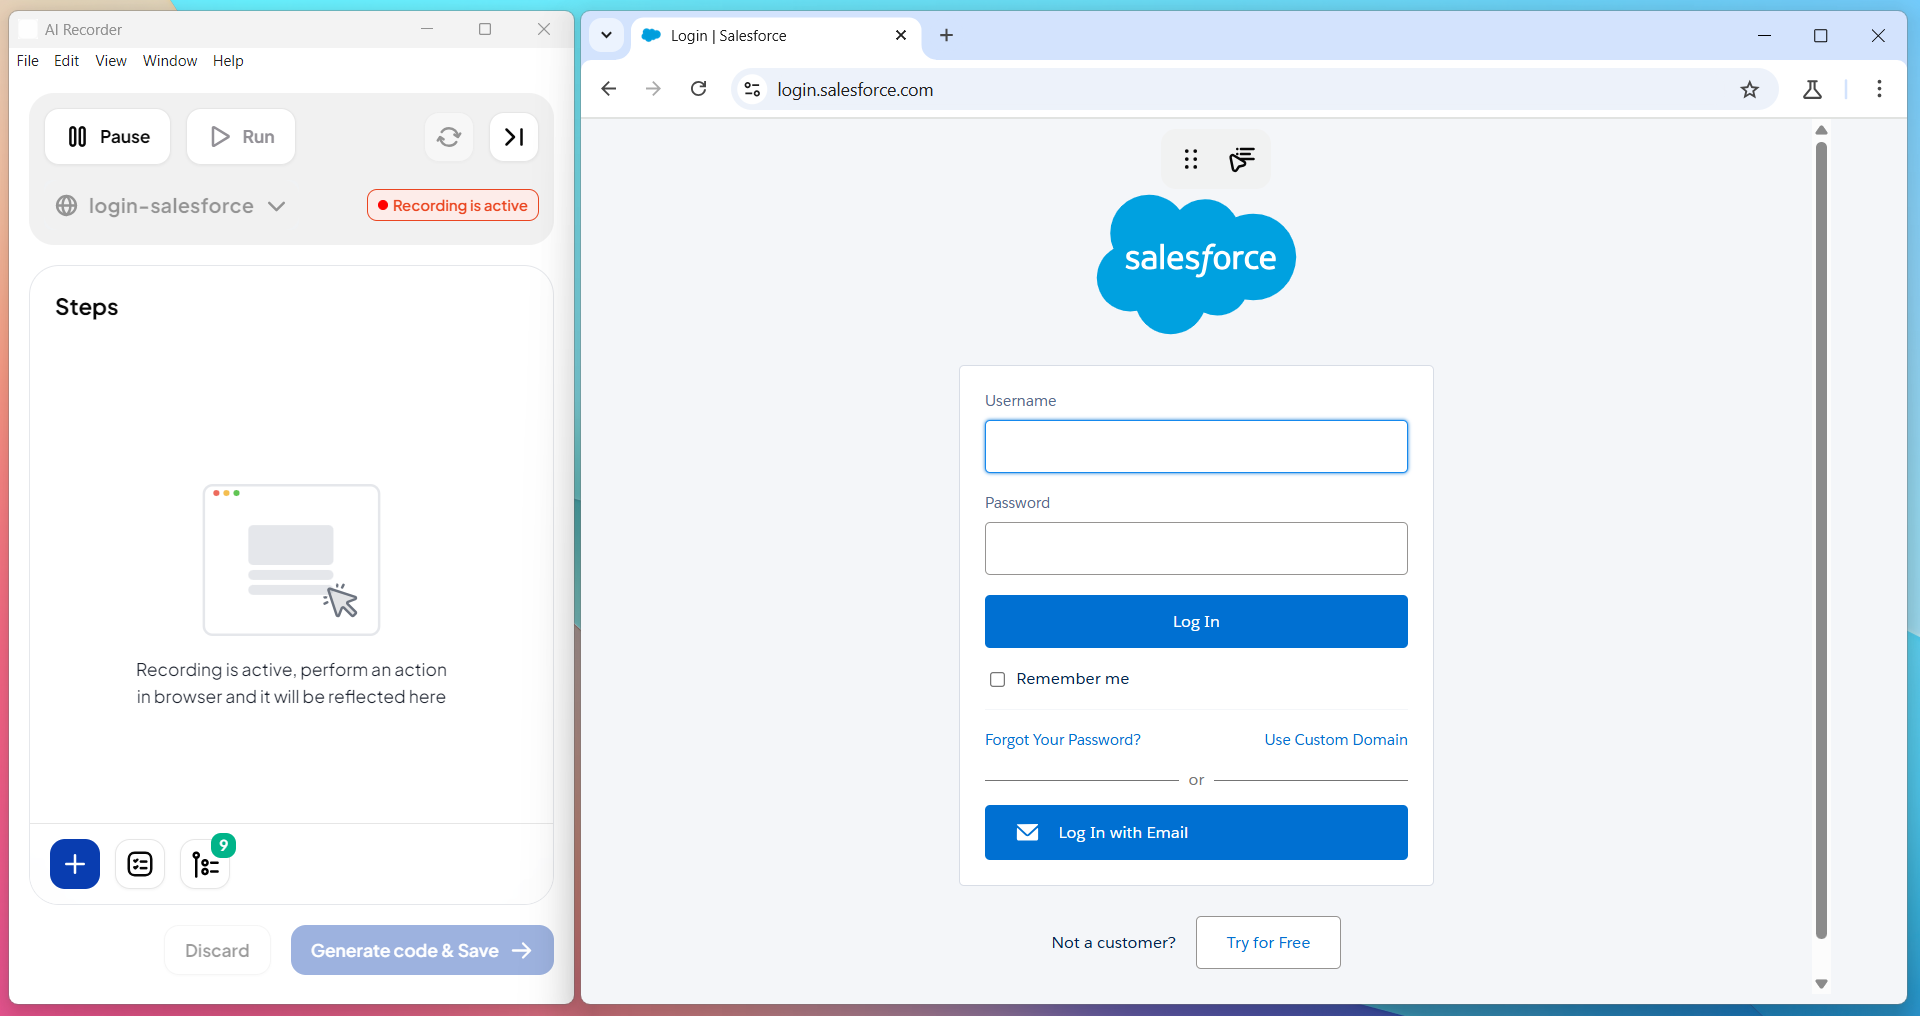
Click on Reuse steps/scenarios.

Type Bruno in the search field and select the relevant API step from the imported list to add it to your scenario.
Continue recording the remaining steps as required.
Review Execution Results of Bruno API Steps
After you run a scenario with Bruno API steps, the Reports page displays the outcome with detailed response data in JSON format. This includes request details, status codes, test results, and assertion summaries.
Example
json
[
  {
    "iterationIndex": 0,
    "summary": {
      "totalRequests": 1,
      "passedRequests": 1,
      "failedRequests": 0,
      "skippedRequests": 0,
      "totalAssertions": 2,
      "passedAssertions": 2,
      "failedAssertions": 0,
      "totalTests": 2,
      "passedTests": 2,
      "failedTests": 0
    },
    "results": [
      {
        "request": {
          "method": "GET",
          "url": "https://jsonplaceholder.typicode.com/posts/1"
        },
        "response": {
          "status": 200,
          "statusText": "OK",
          "data": {},
          "responseTime": 655
        },
        "assertionResults": [{}, {}],
        "testResults": [{}, {}],
        "runtime": 0.69
      }
    ]
  }
]
This helps you verify whether your API step passed or failed and provides full transparency into its execution.