Automate Your First Test with BlinqIO
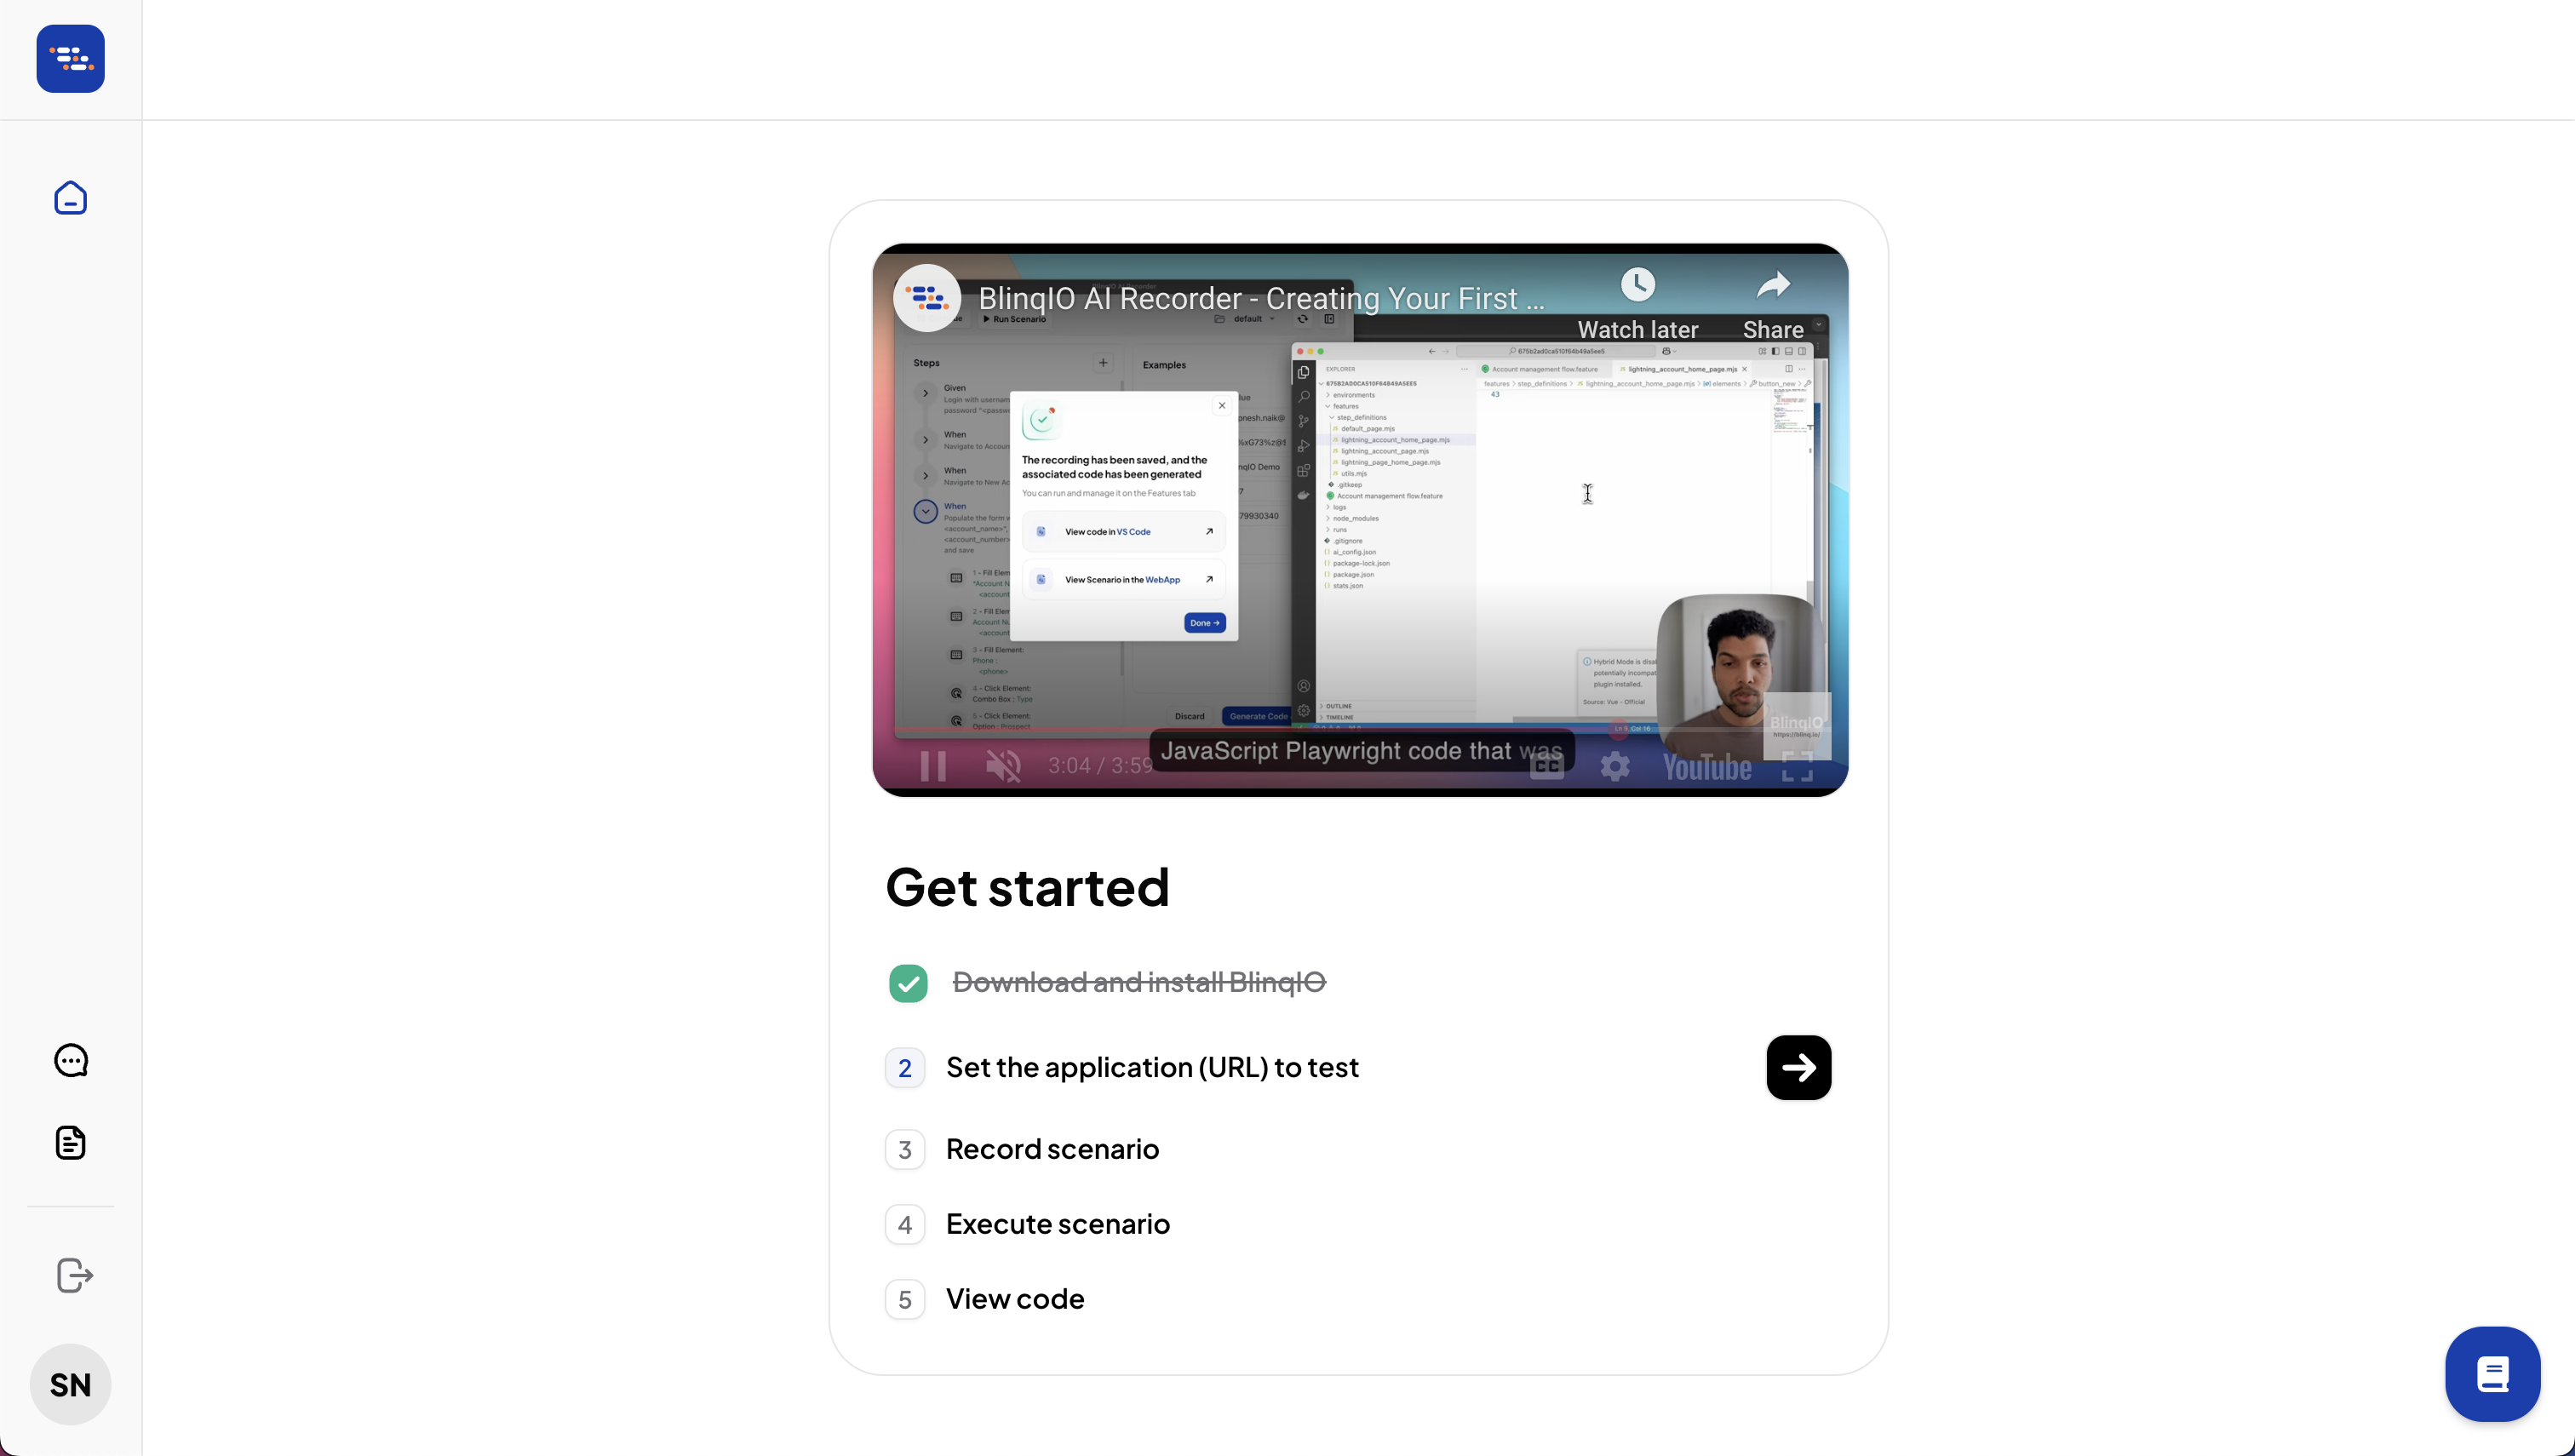
After you sign up for BlinqIO, the onboarding page helps you set up, automate, and run your first test quickly. Follow these steps to get started.
1. Download and Install BlinqIO
The AI Test Engineer uses the BlinqIO application to record scenarios, generate Playwright code, and run automated tests.
Select Download to download the latest version of the application for your Operating System.
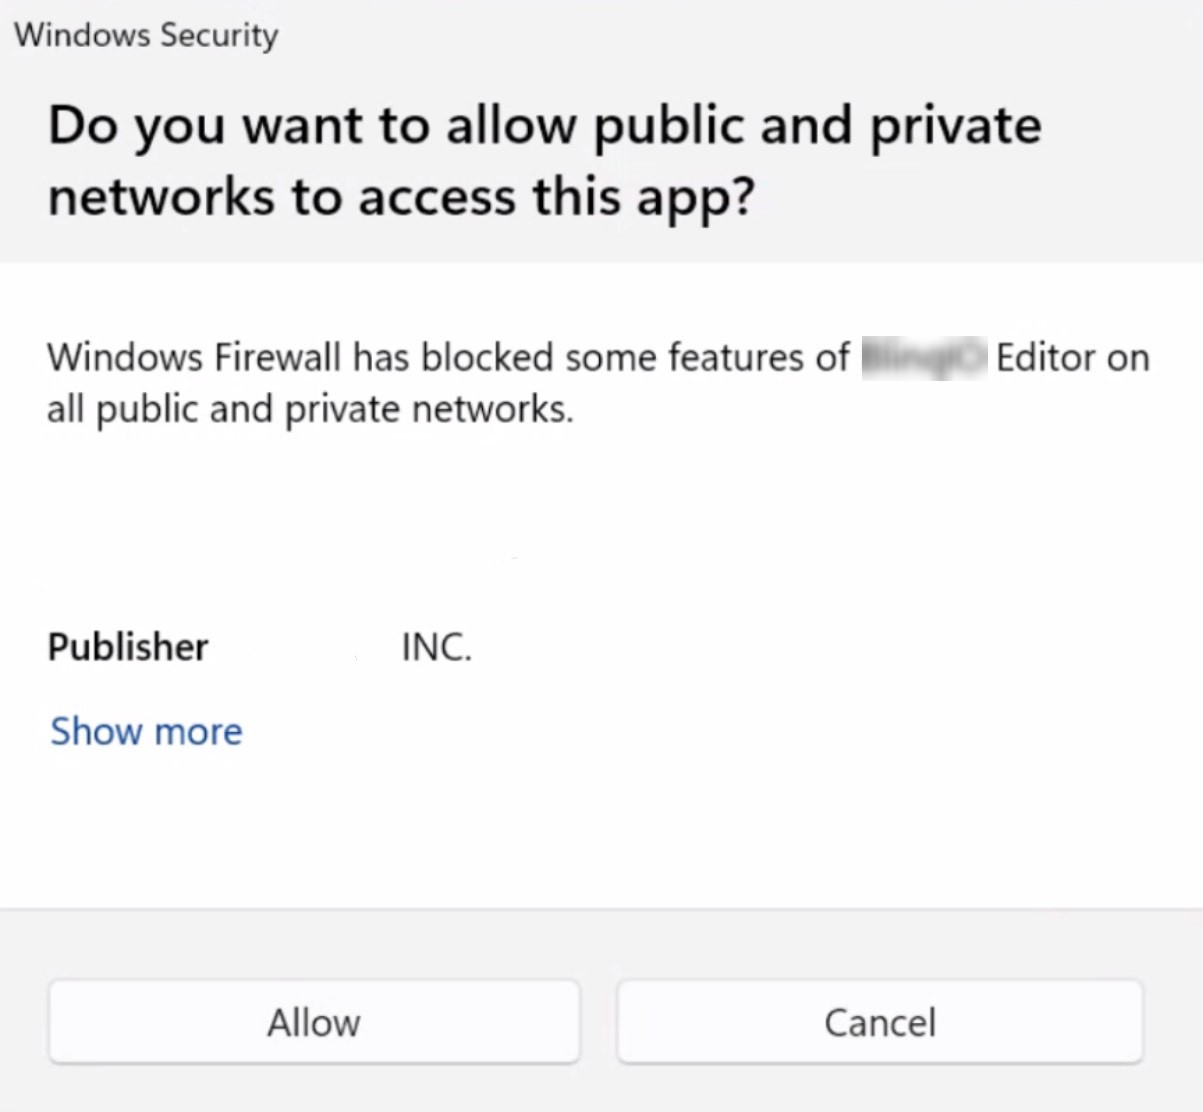
Follow these steps to install BlinqIO Editor on Windows:
Double-click the downloaded file to start the installation.
If prompted, allow BlinqIO Editor to accept incoming connections.
2. Set the Application URL to Test
Click the button to set the Application URL to test and choose one of these options:
- Enter your own URL: Provide the target application address. Example, https://www.example.com
- Use our Demo Test App: Connect to the BlinqIO demo shopping website, which includes login, product, cart, and checkout pages.
3. Record a Scenario
Select Start Recording to launch the AI Recorder along with your application under test in a browser window.
You can now perform the test steps on the website while the Recorder captures each interaction.
For example, on the demo shopping application, you can record an end-to-end Product Checkout test by:
Logging in: username:
blinq_user, password:let_me_inAdding a few items to the cart
Navigate to the cart
Check out and filling in shipping details
Log out
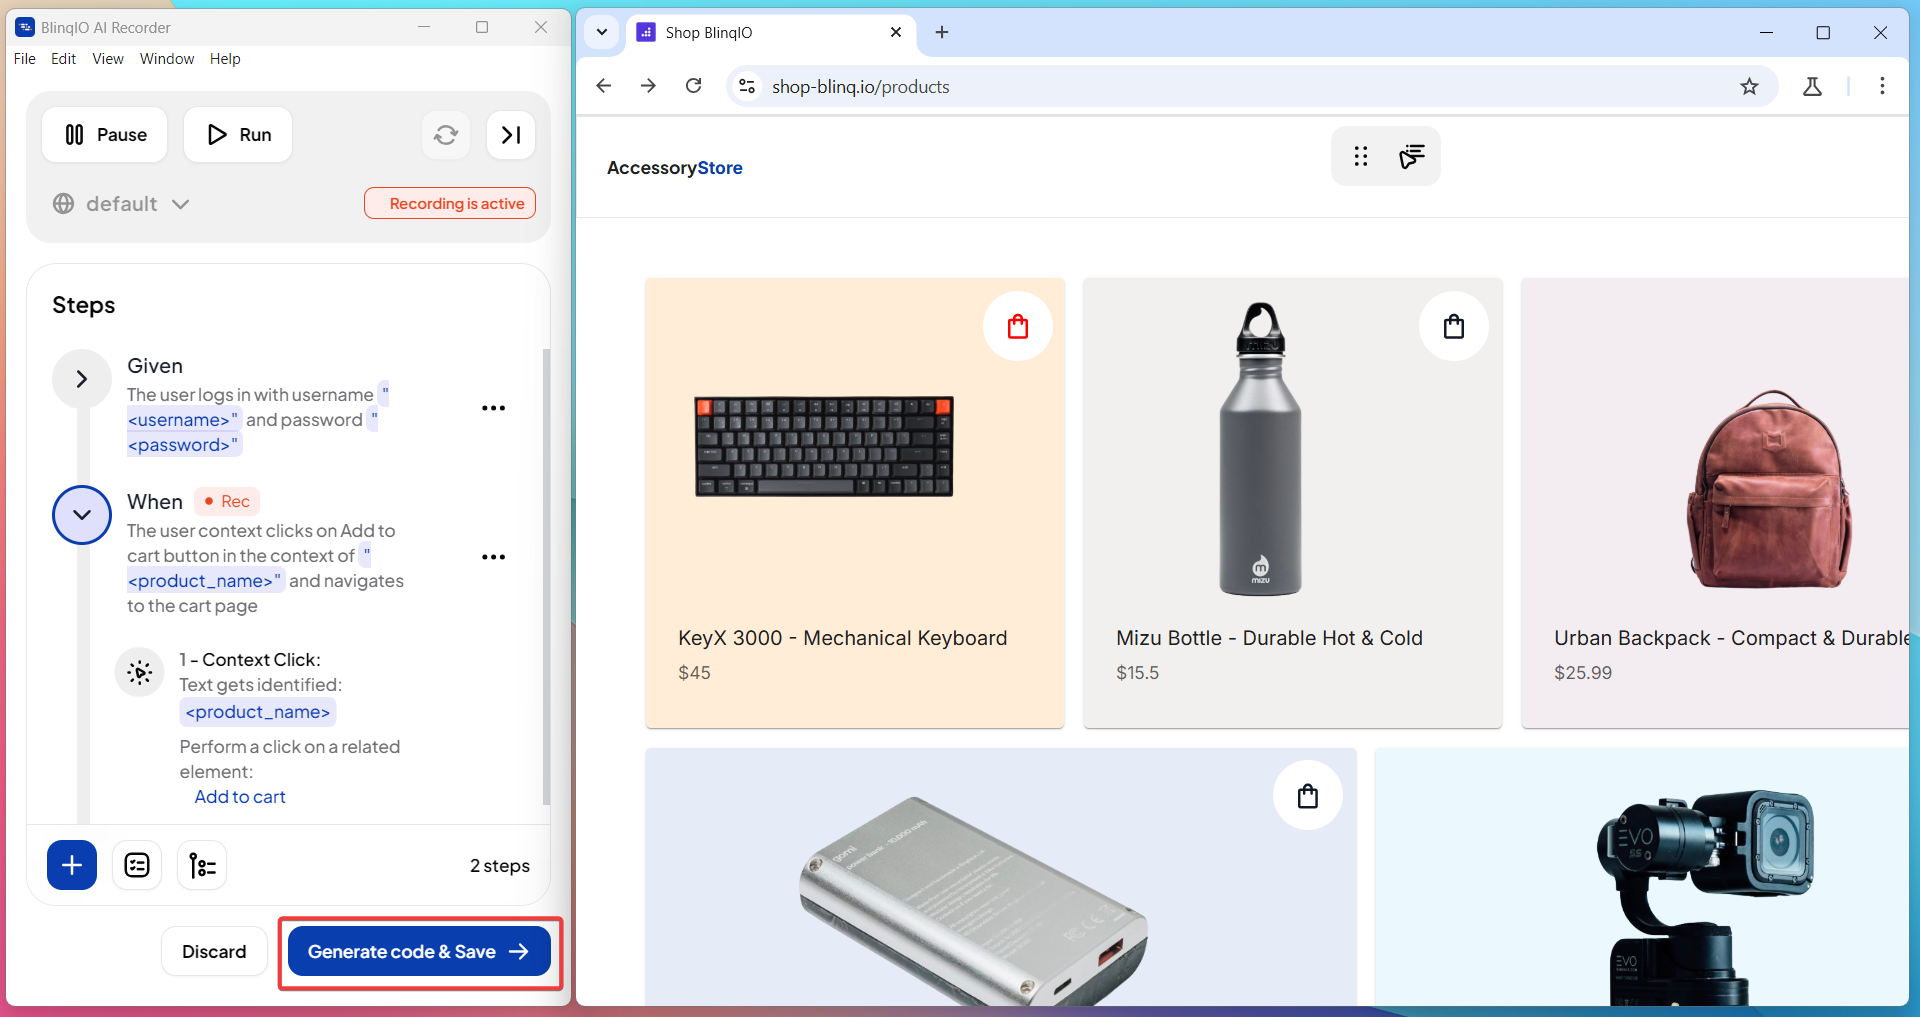
3.1 Generate Code & Save
After recording the test steps, click Generate code & Save to begin saving your scenario.
Enter a Feature Name and Scenario Name, then click Continue to proceed.
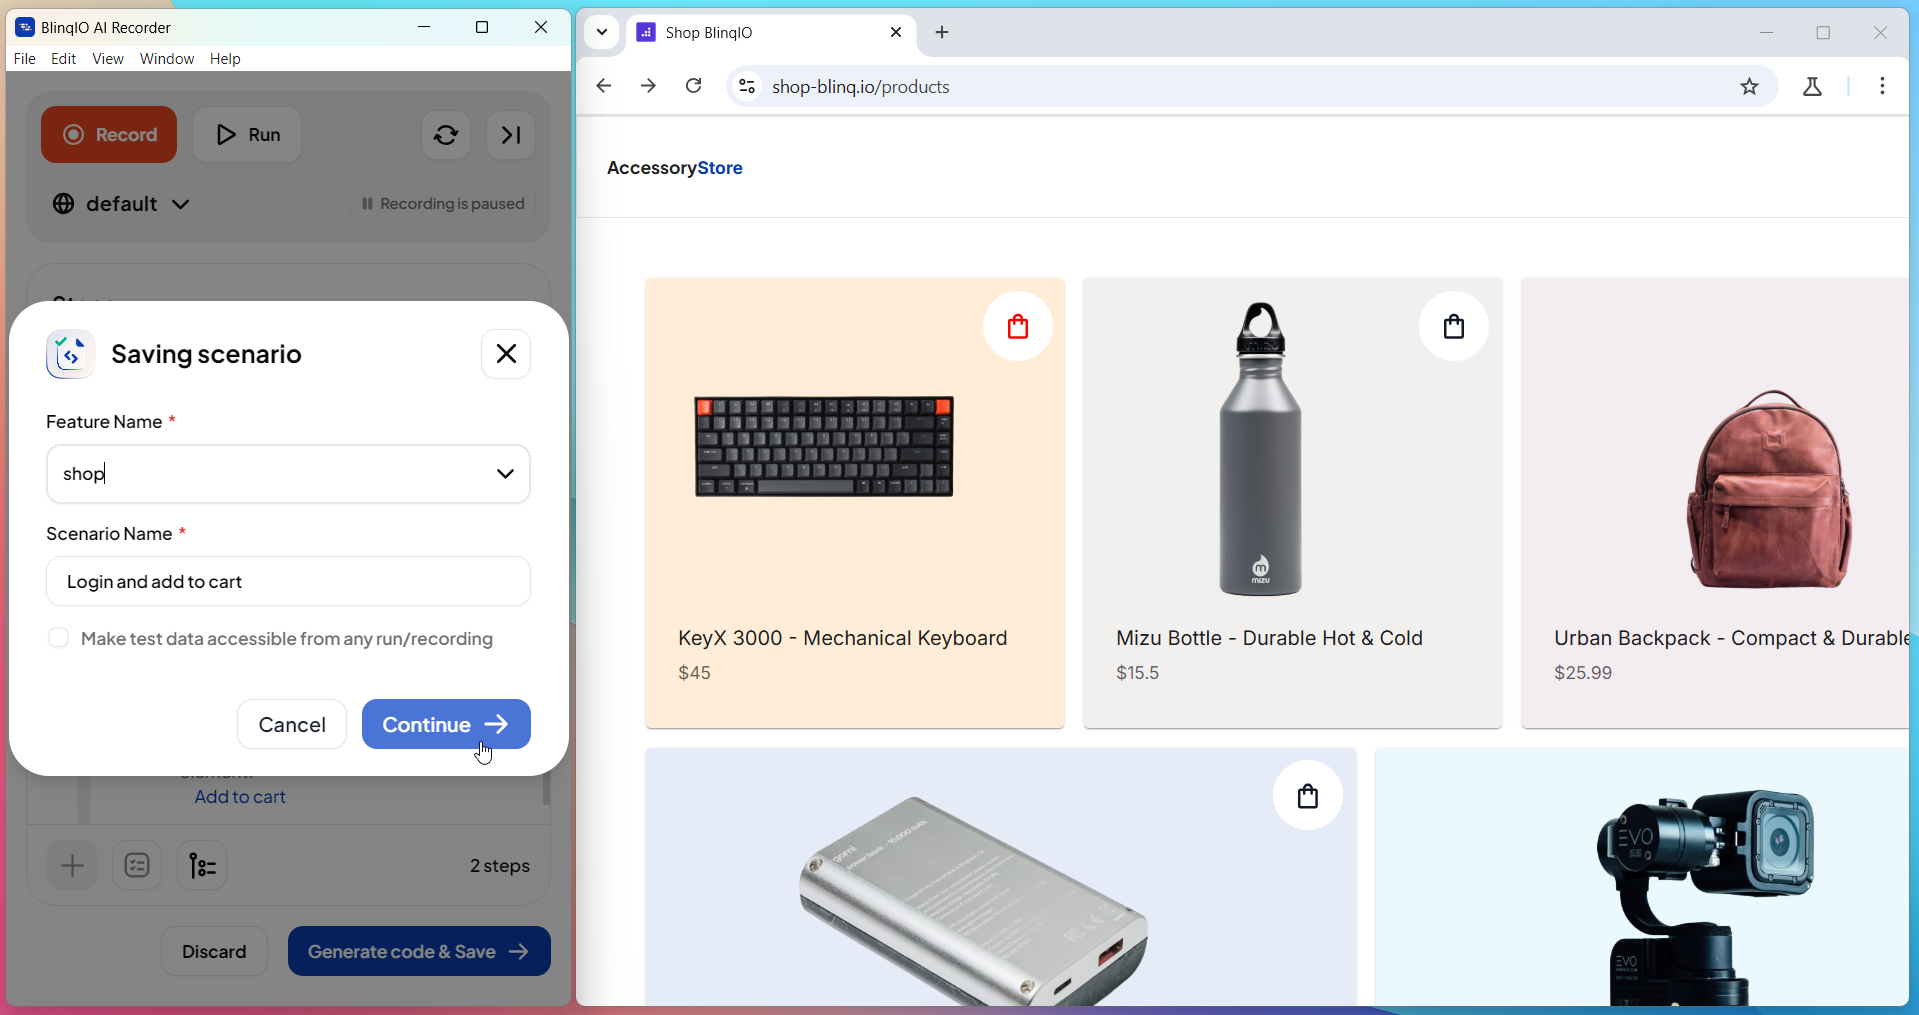
NOTE
The AI suggests default names that you can edit before continuing.
4. Execute the Scenario
- Run the recorded scenario directly from the BlinqIO interface.
- BlinqIO will replay your steps and perform the actions automatically.
5. View the Code
- Once the scenario has executed, open the generated test code.
- Review or customize the code as needed.