Cloud Recorder
The Cloud Recorder allows you to record and execute test scenarios directly from the browser, without installing any local software. You can create, run, and review tests fully within the cloud environment.
Important
Each Cloud Recorder session is limited to 30 minutes. A countdown timer is displayed at the top of the screen during the session.

Once the session expires, it will automatically close. Make sure to save your work before the timer runs out.
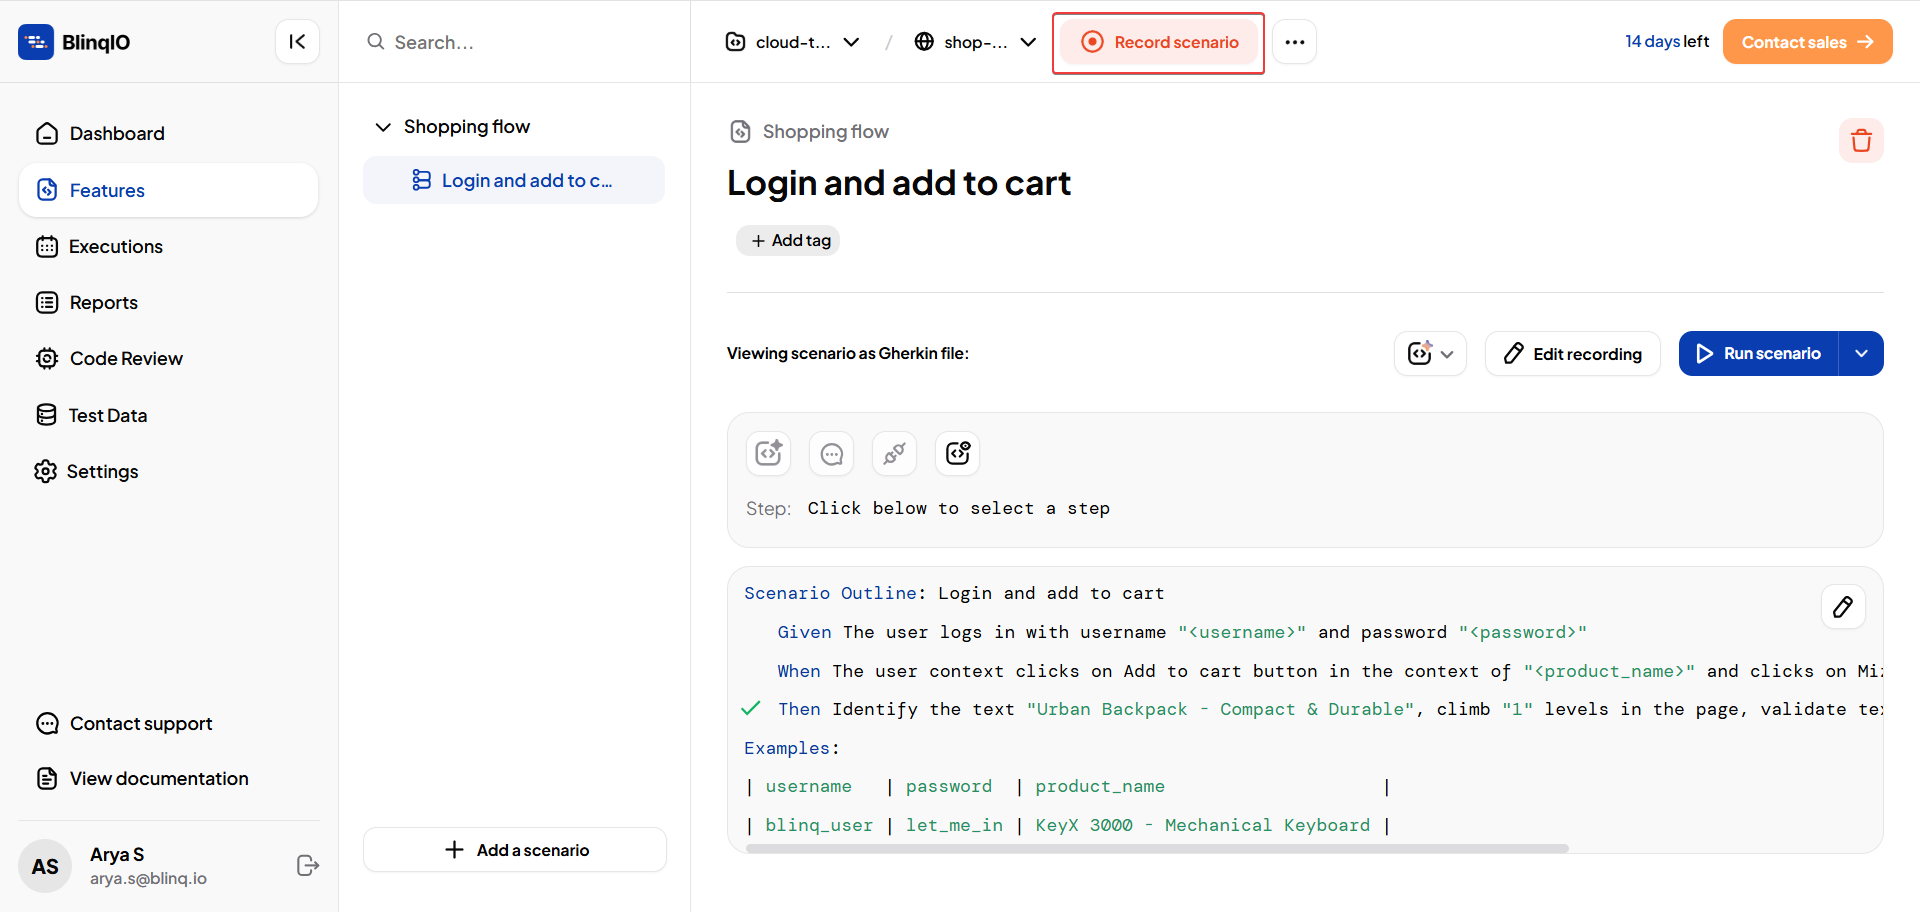
Record Scenarios
Use the Cloud Recorder to create new test scenarios directly in the browser.
Click on Record scenario.
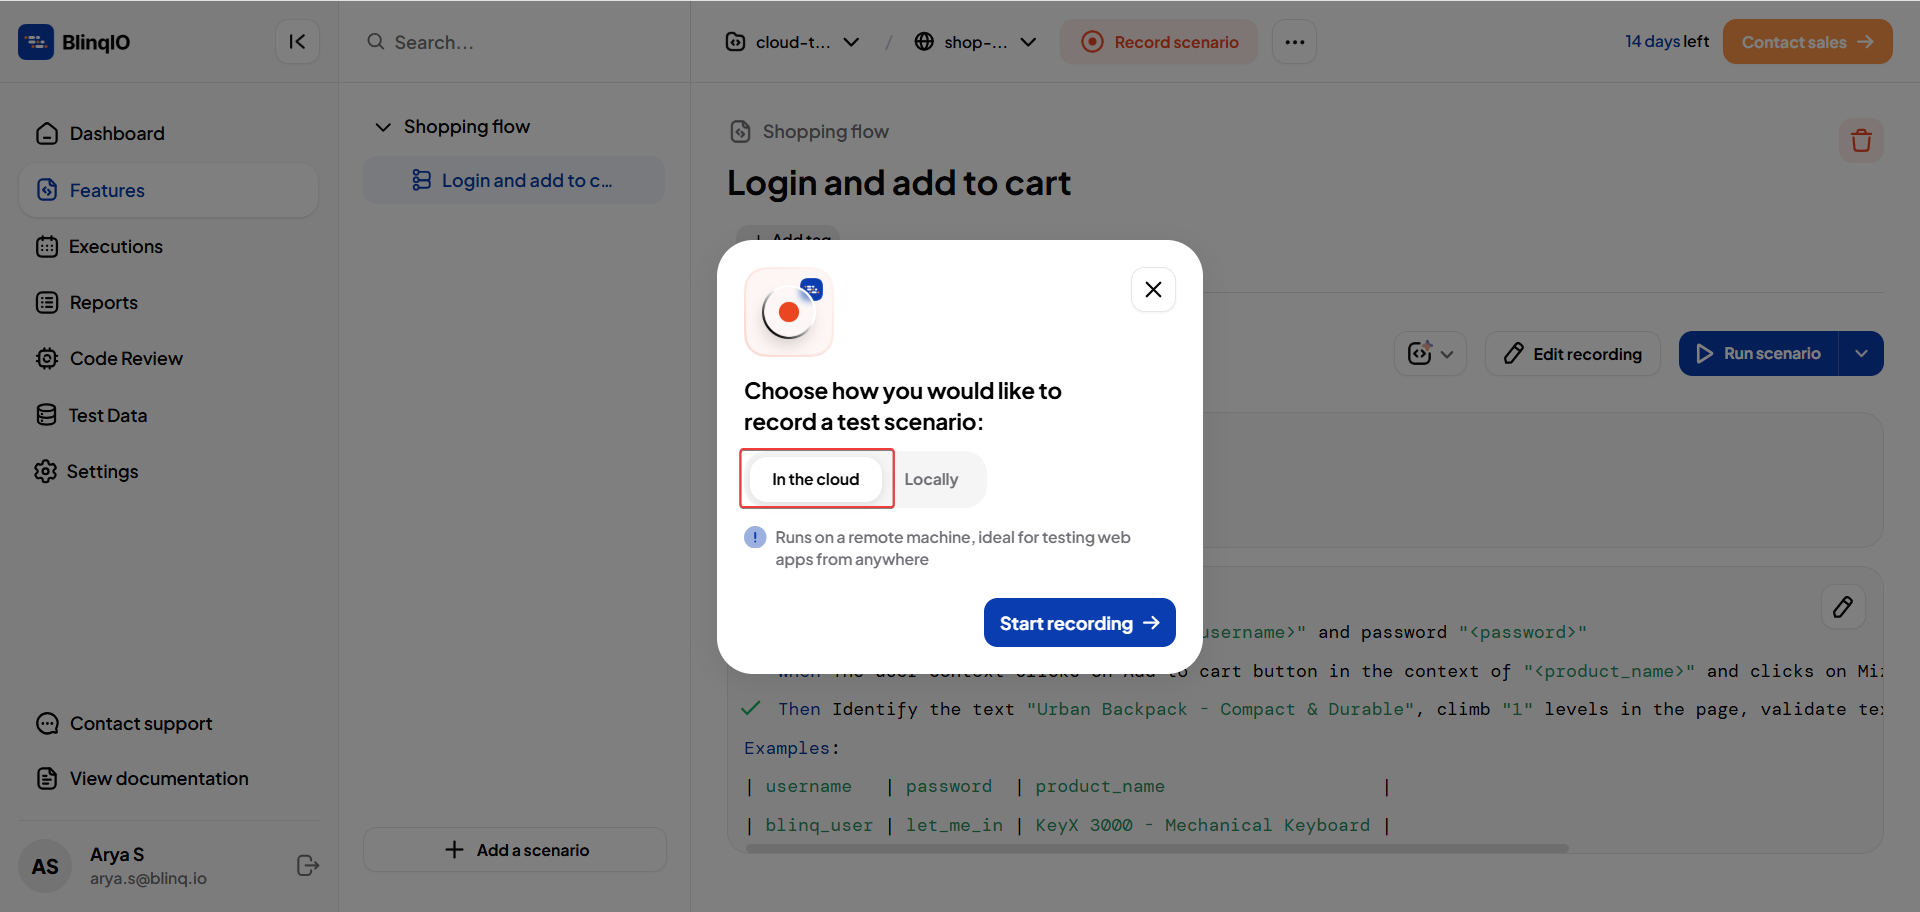
Under Choose how you would like to record a test scenario, select In the cloud and Start Recording.
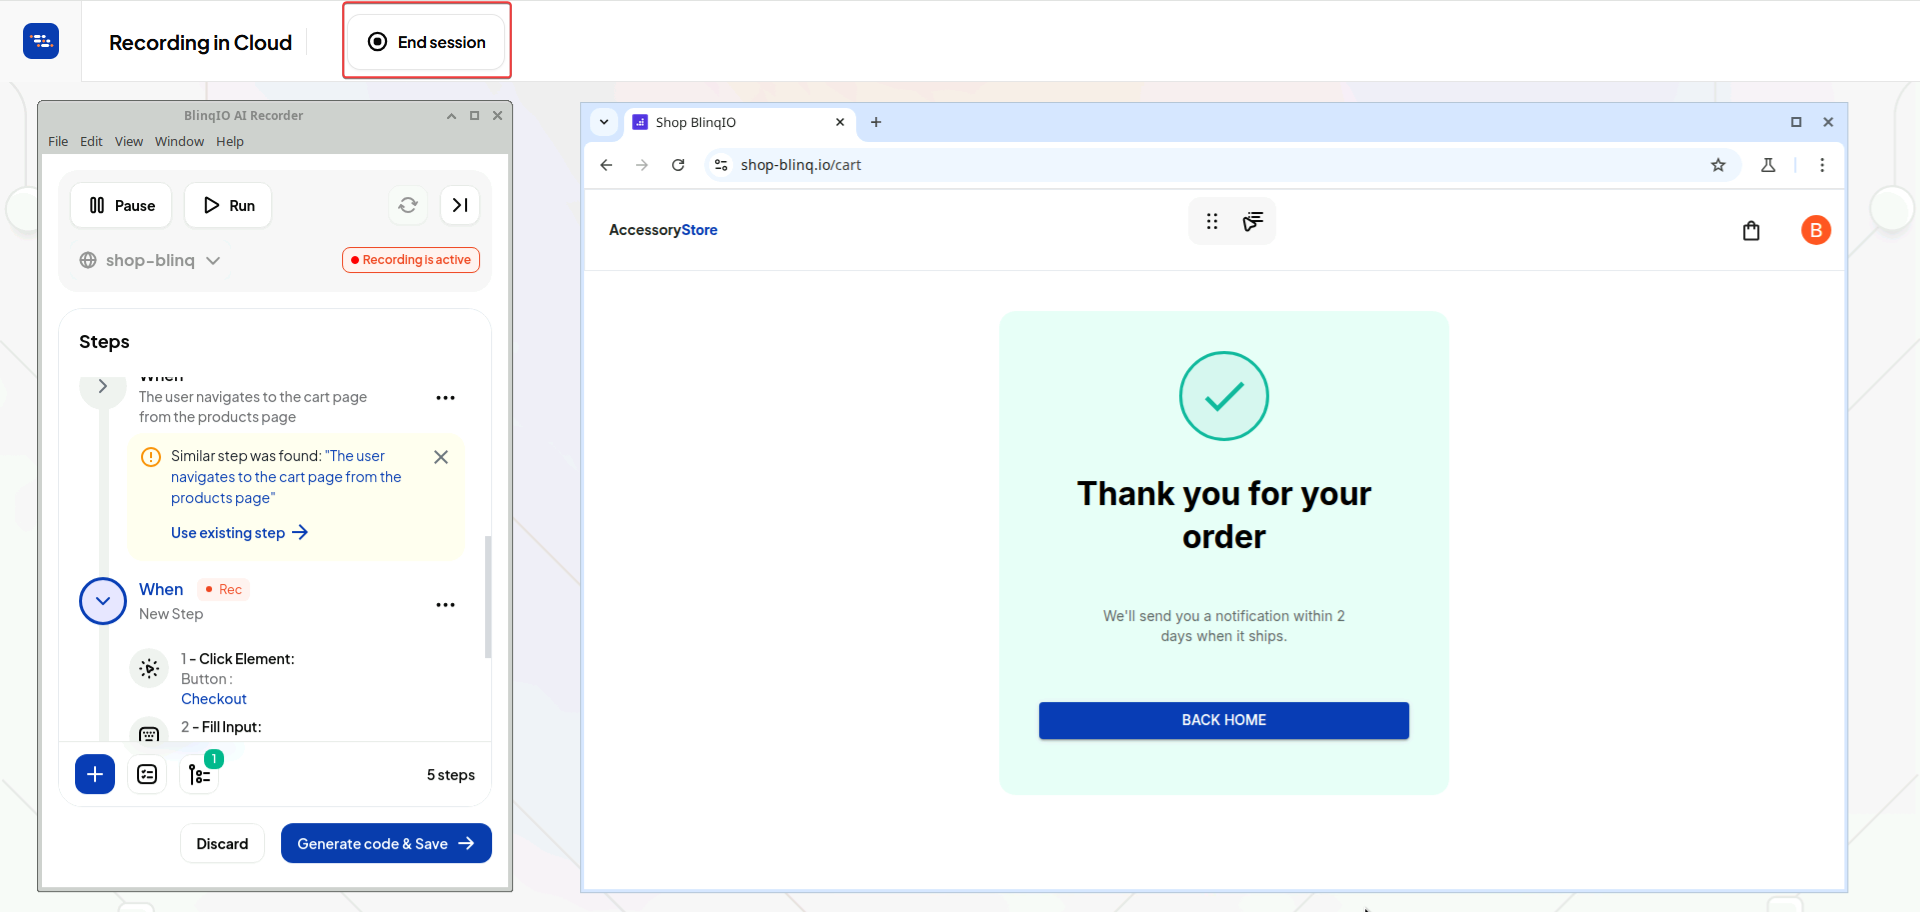
The Cloud Recorder opens with the recorder panel and the application under test.
Note
Loading the Cloud Recorder may take a few minutes depending on your network speed.
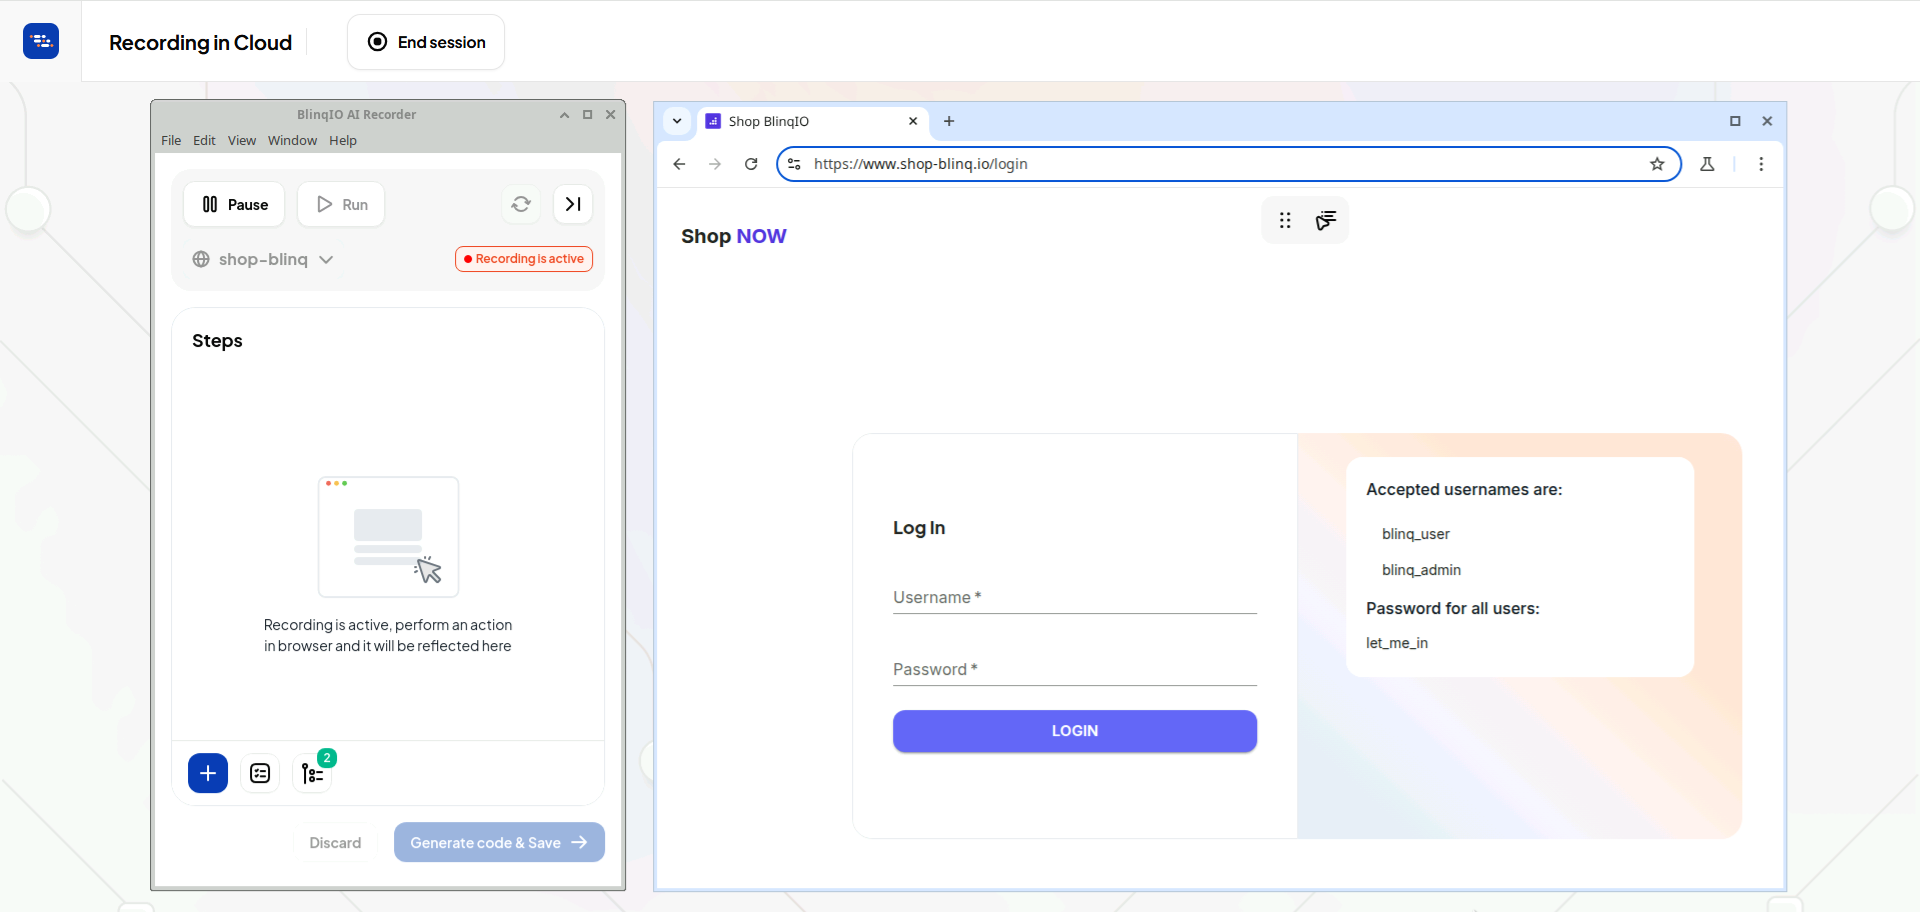
Perform the required steps to capture the scenario.
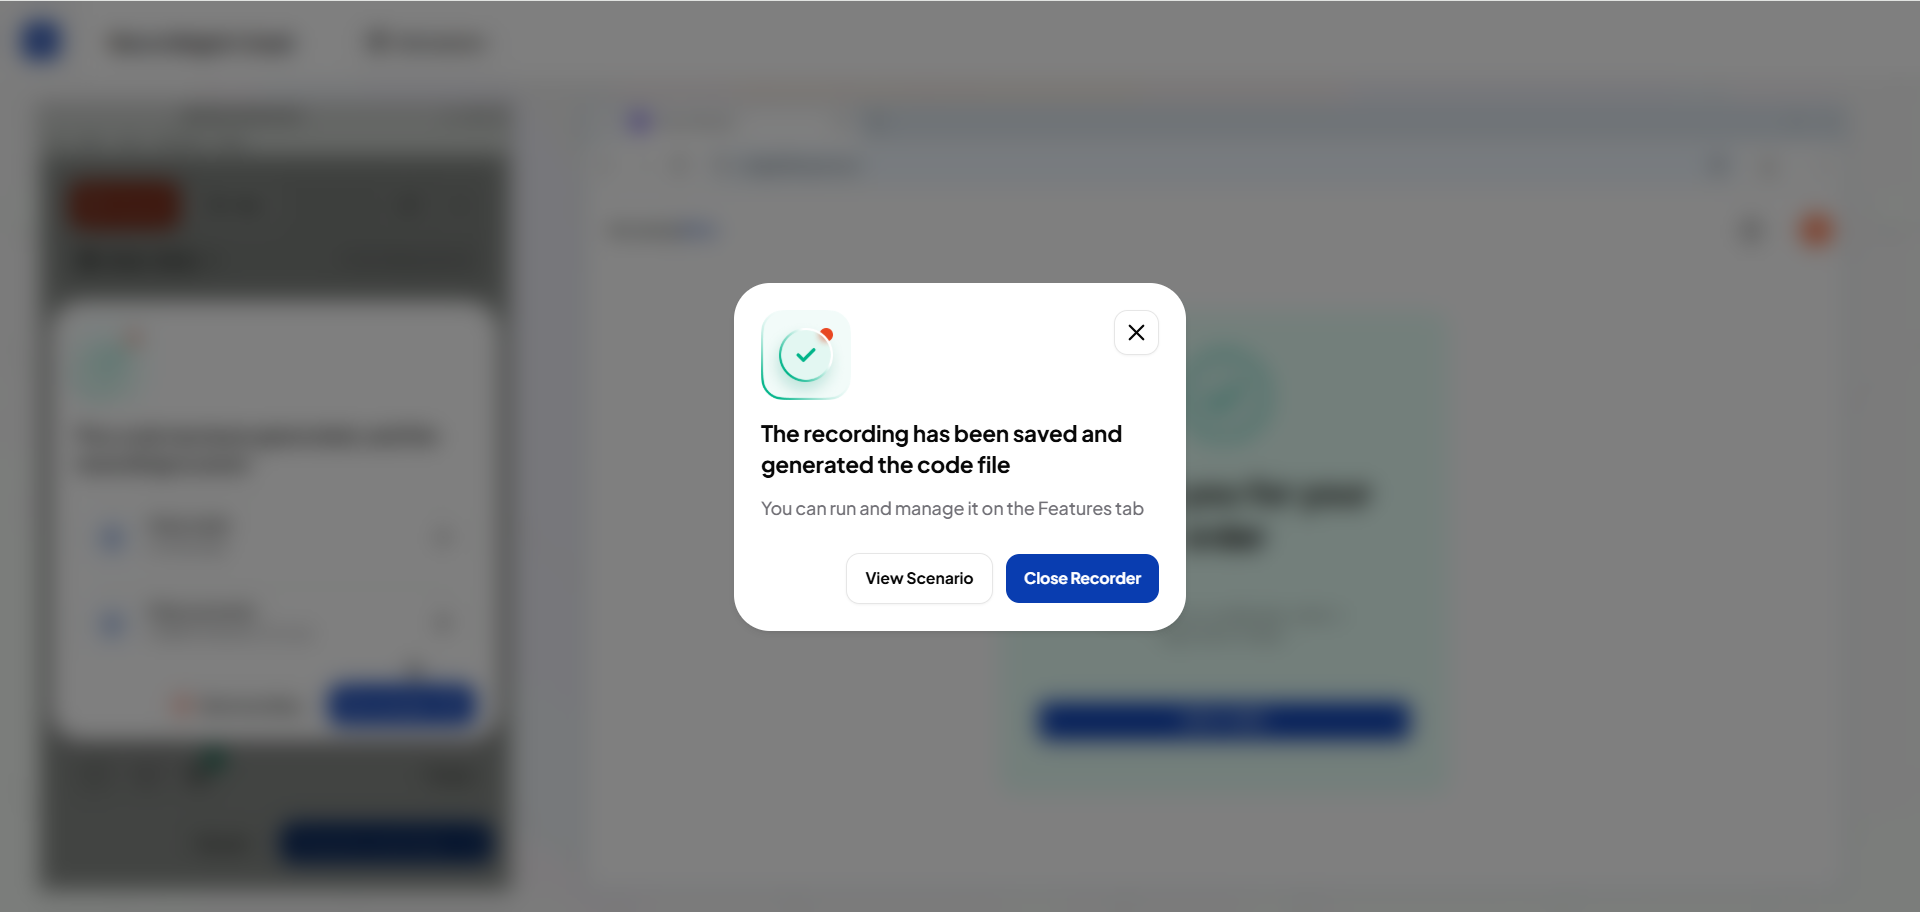
Once all steps are recorded, Generate code and save the scenario to the project.
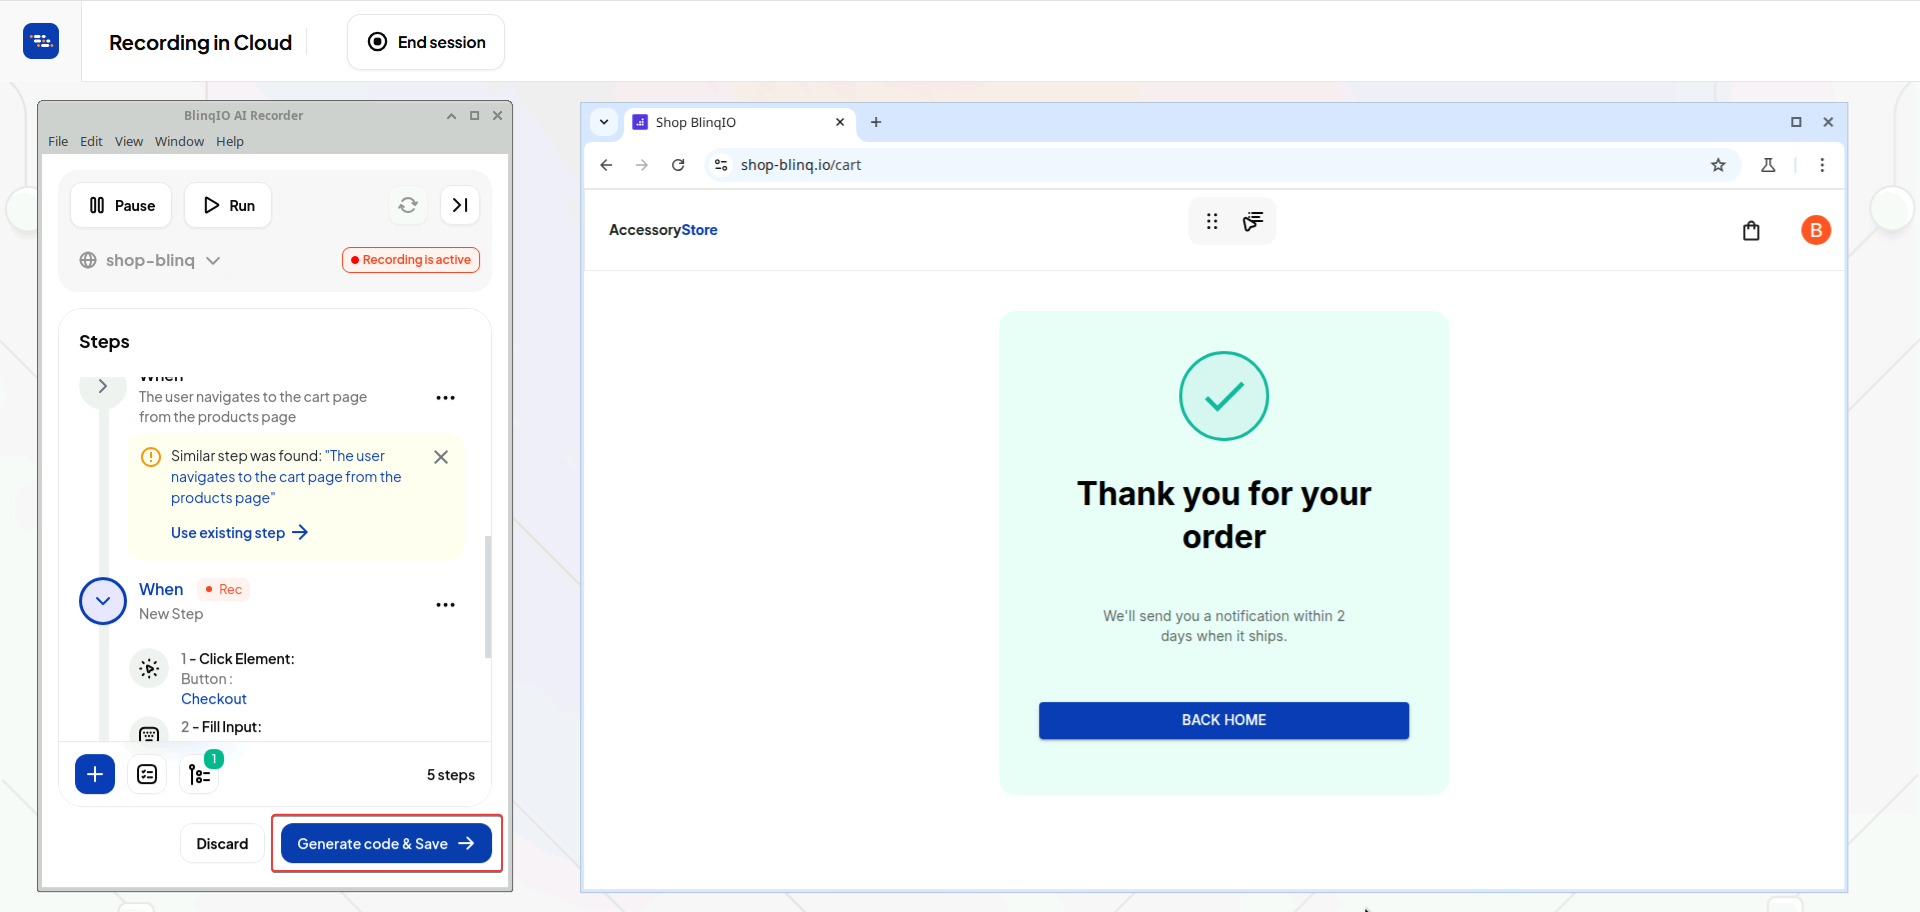
After saving, a confirmation prompt appears:
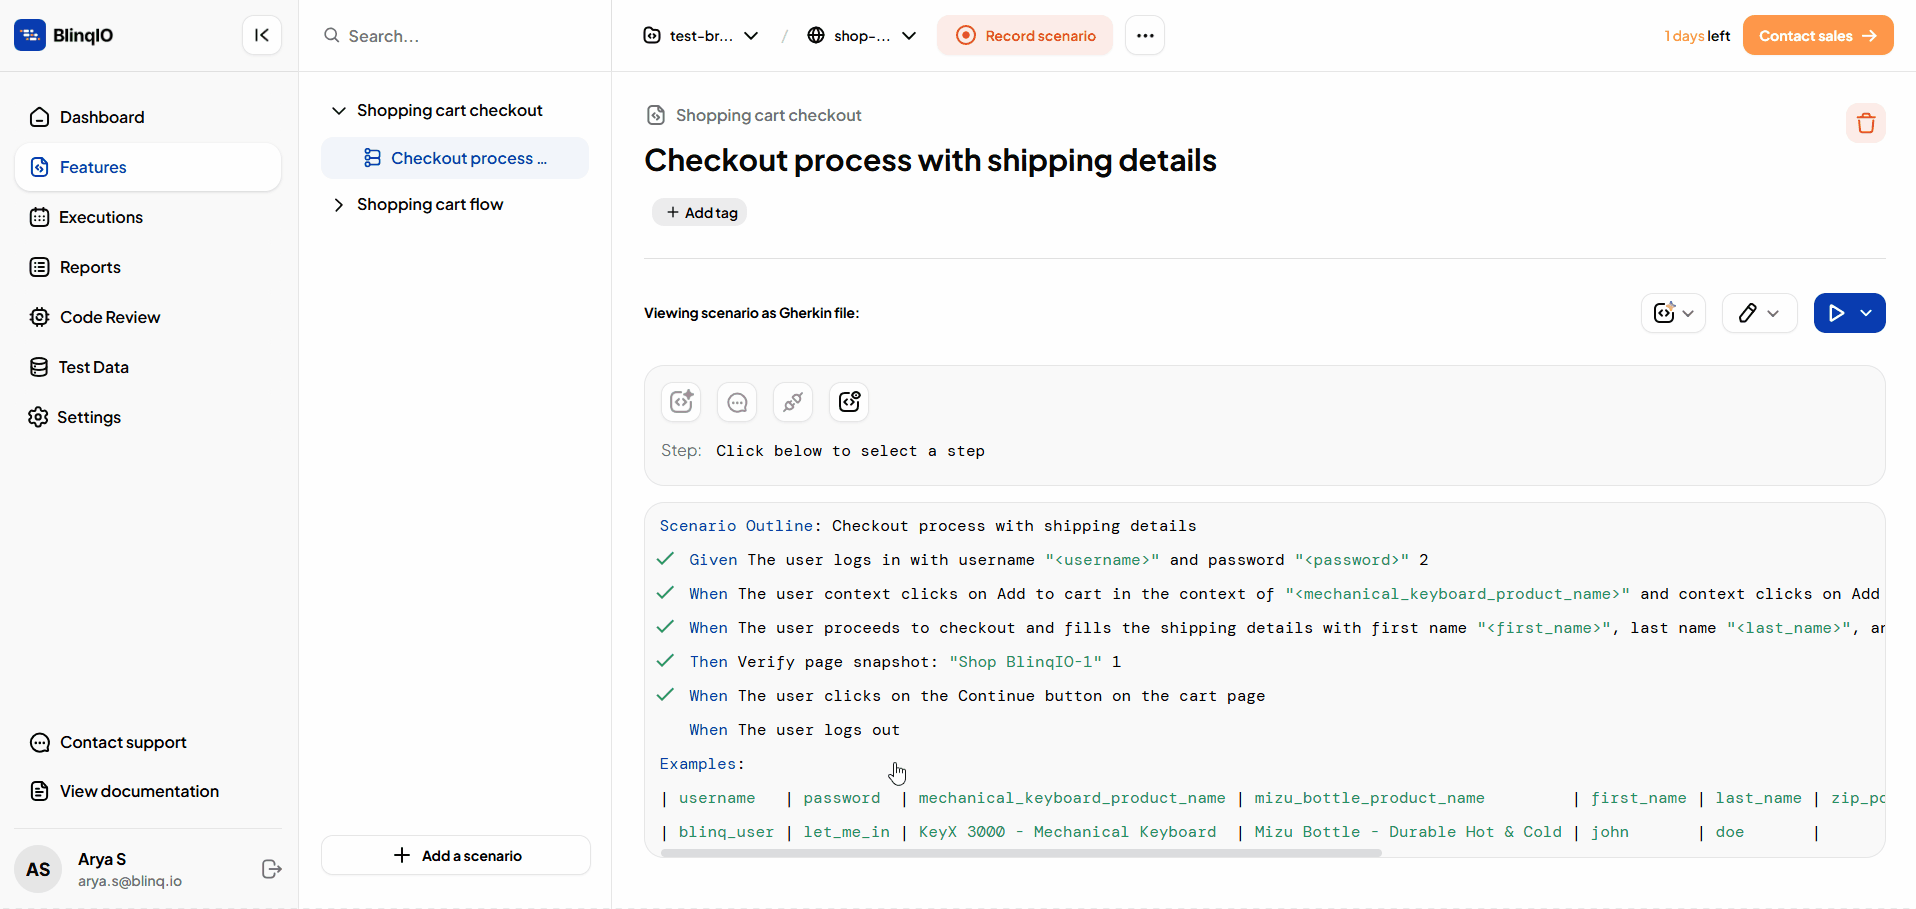
- Select View Scenario to open the saved scenario directly in the Features tab.
- Select Close Recorder to close the Cloud Recorder and return to the main screen.
To stop recording before completing the scenario, select End session to close the Cloud Recorder.
All scenarios recorded in the Cloud Recorder are saved to the project and remain fully compatible with the project structure used in the desktop editor.
Run Tests
You can execute scenarios directly in the Cloud Recorder without installing the desktop editor.
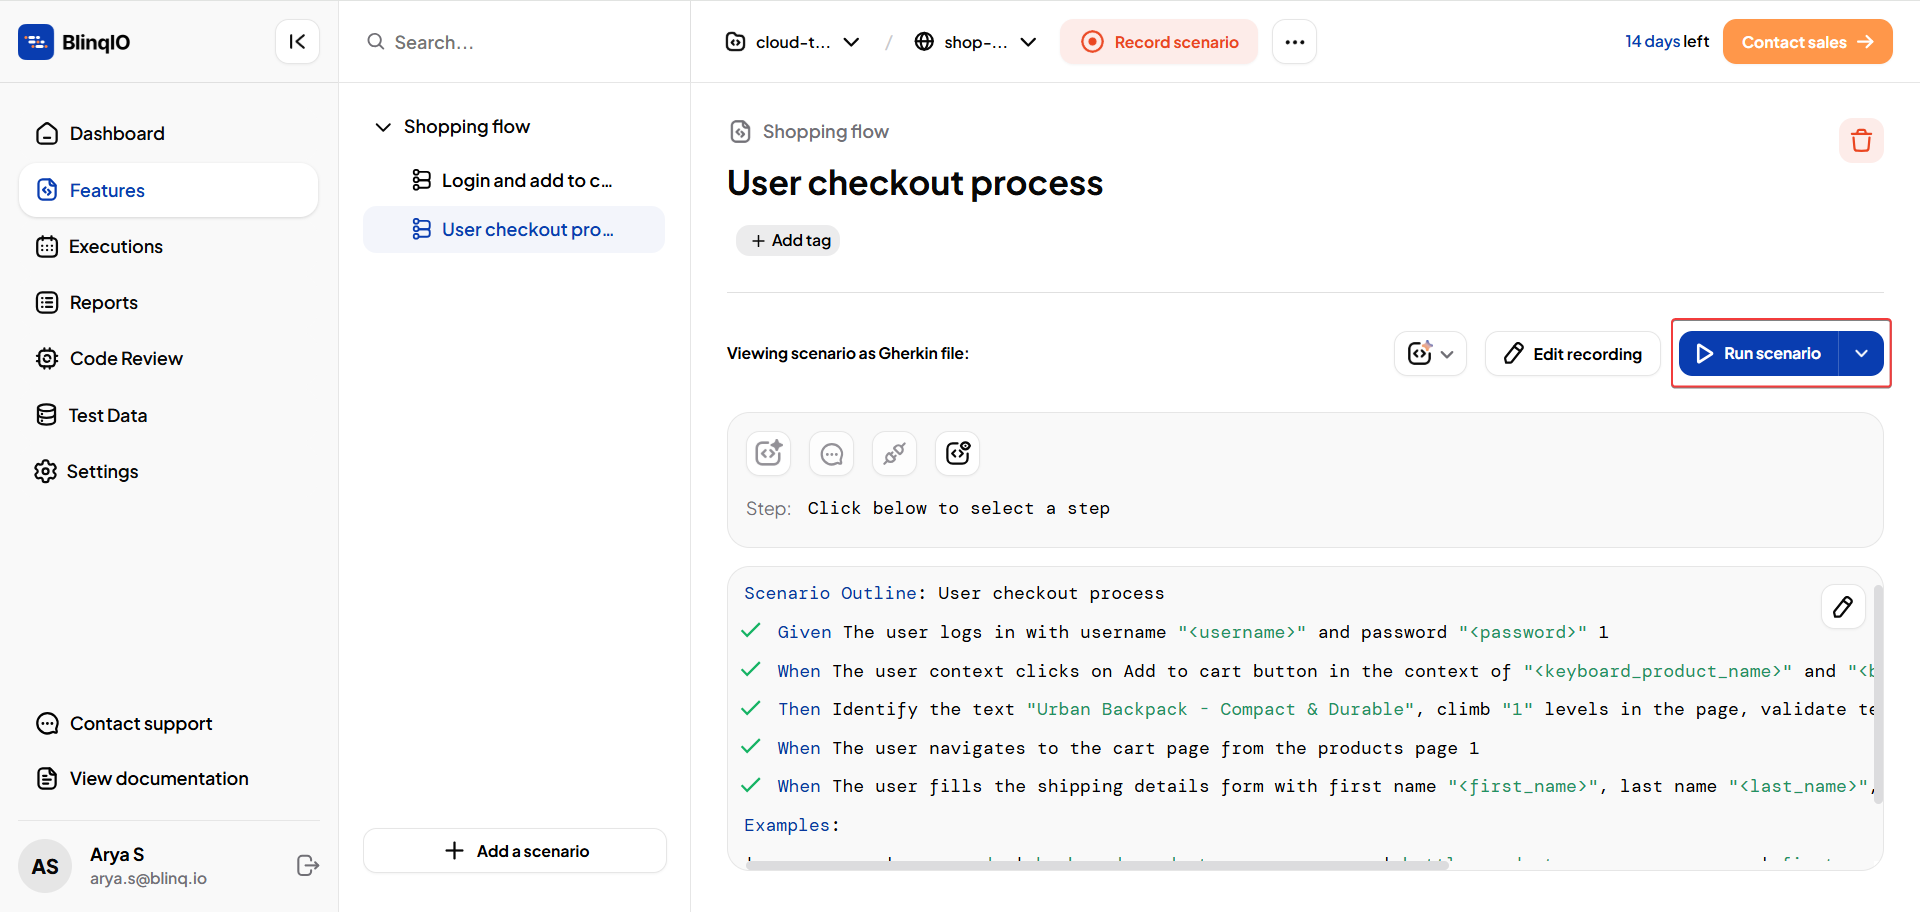
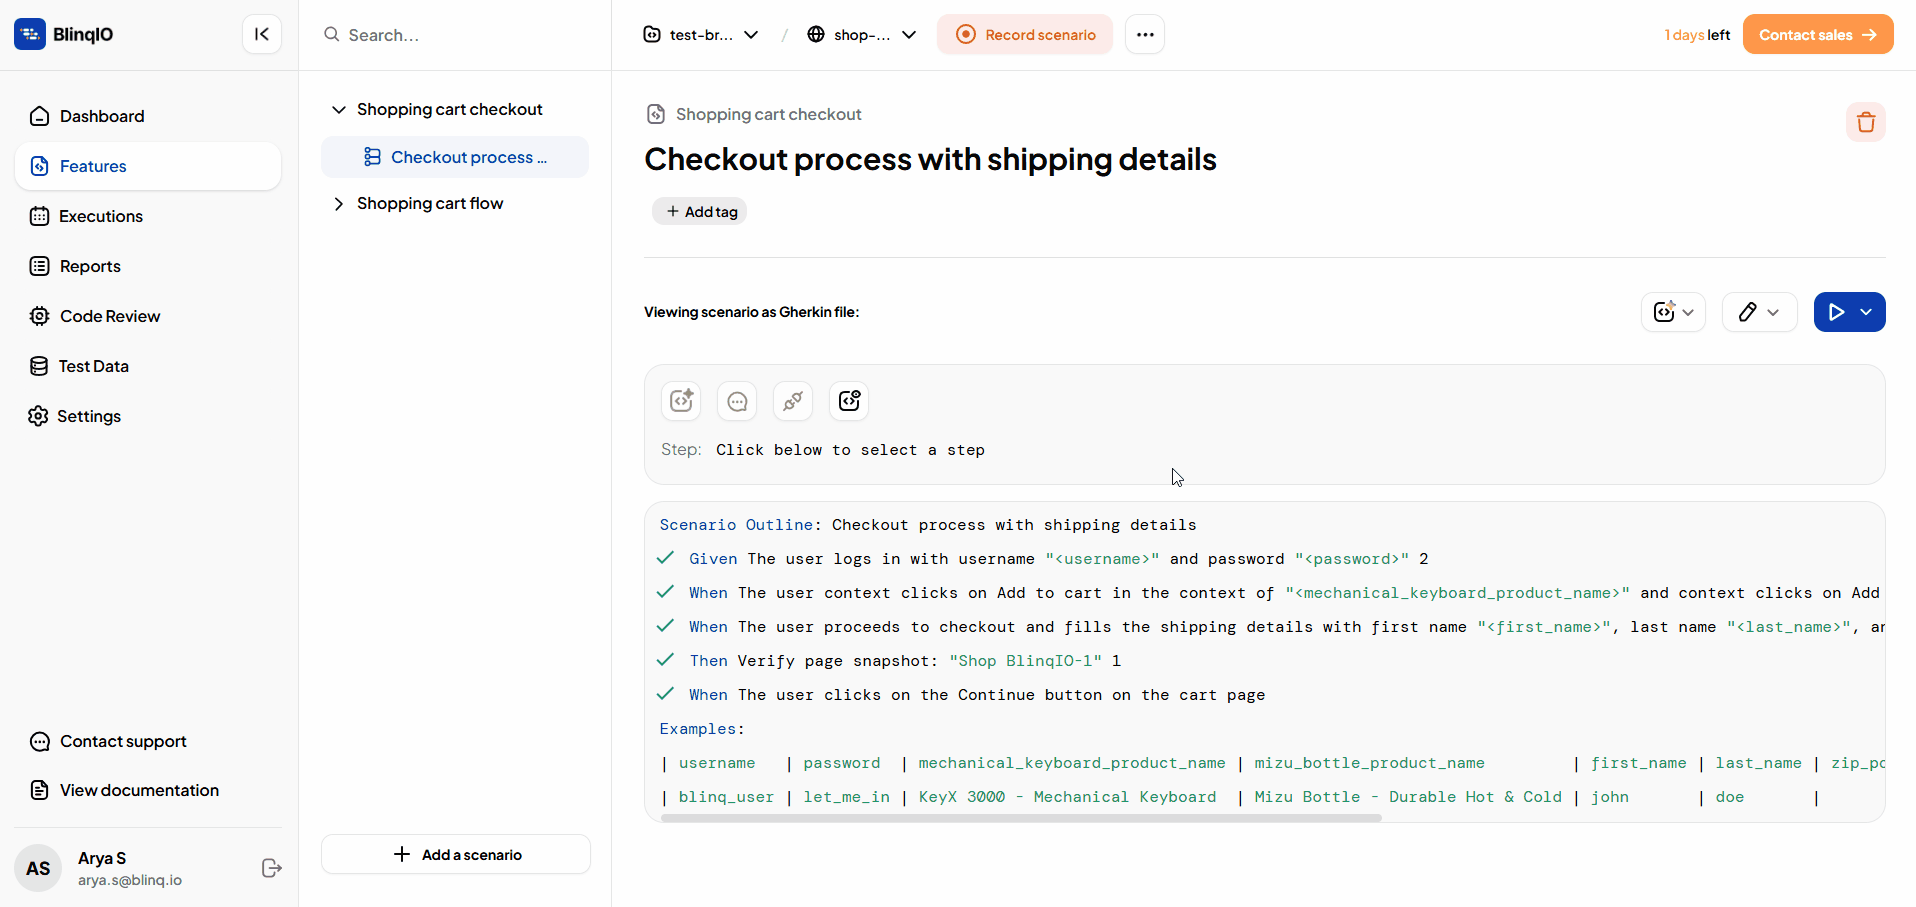
Open the scenario you want to run and click on Run Scenario.
In the prompt that appears, under Choose how you would like to run a test scenario, select In the cloud.
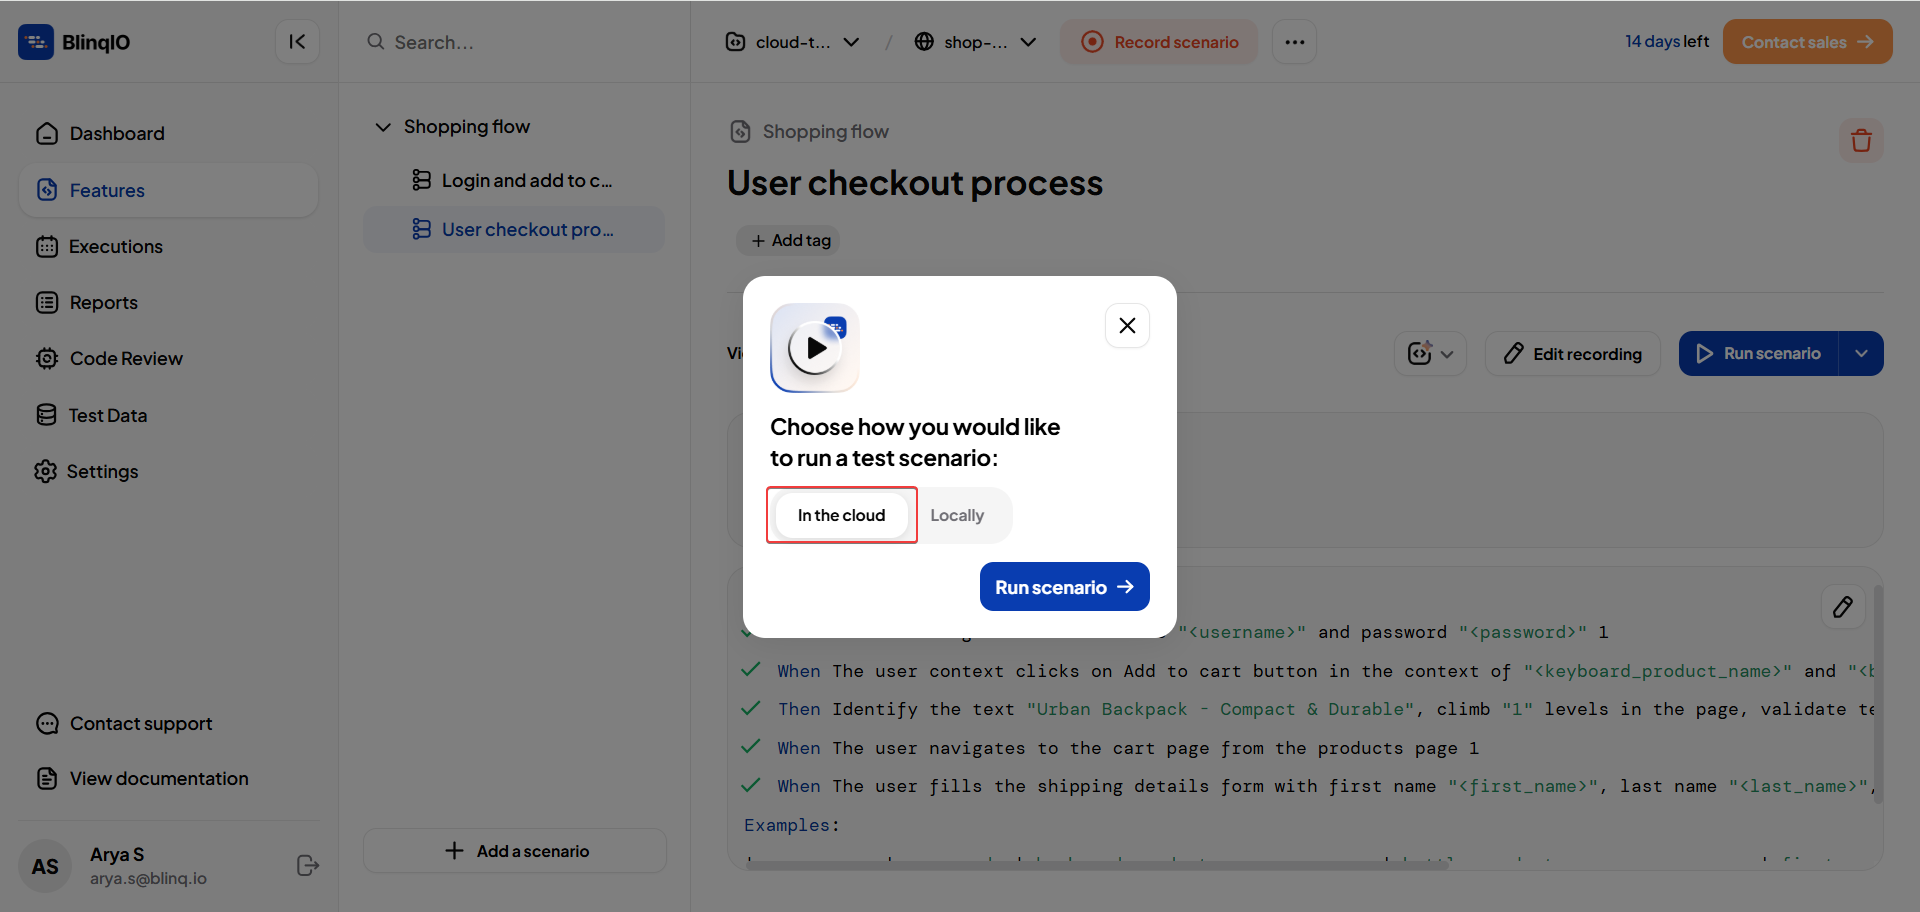
Click Run Scenario to start execution.
The Cloud Recorder opens and starts running the execution in the cloud.
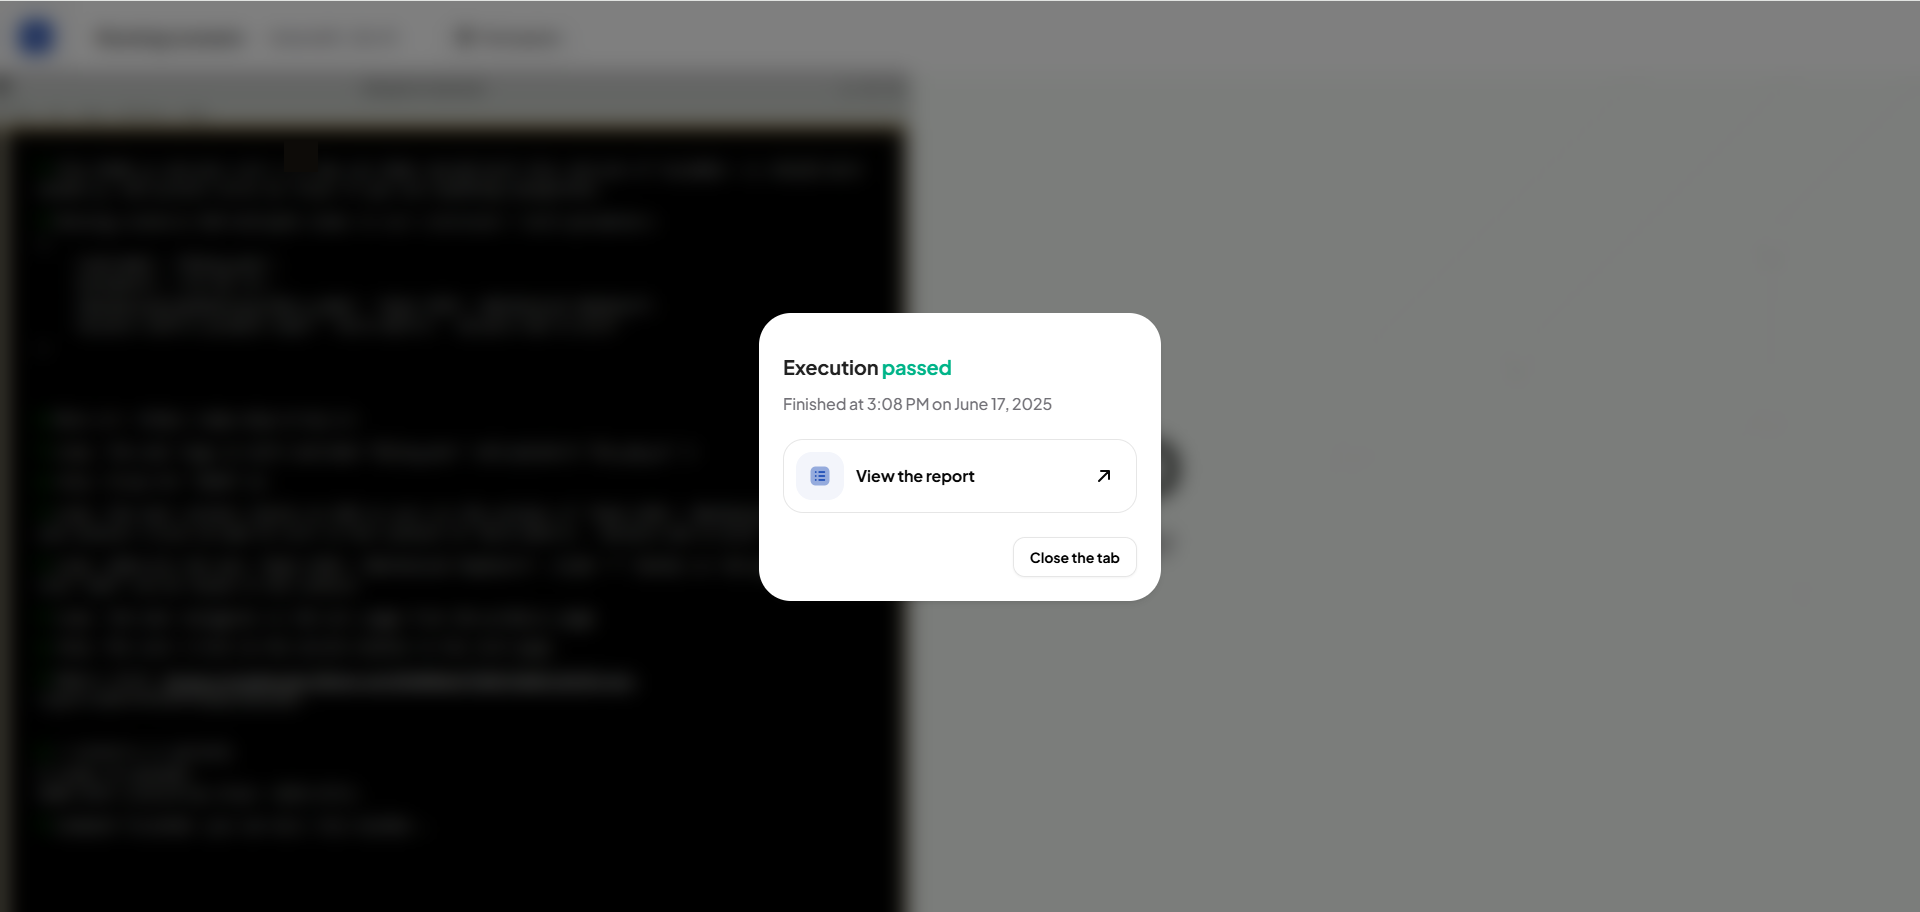
After execution completes, a confirmation prompt appears.
Select View Report to open the full execution report.
Select Close Recorder to return to the main screen.

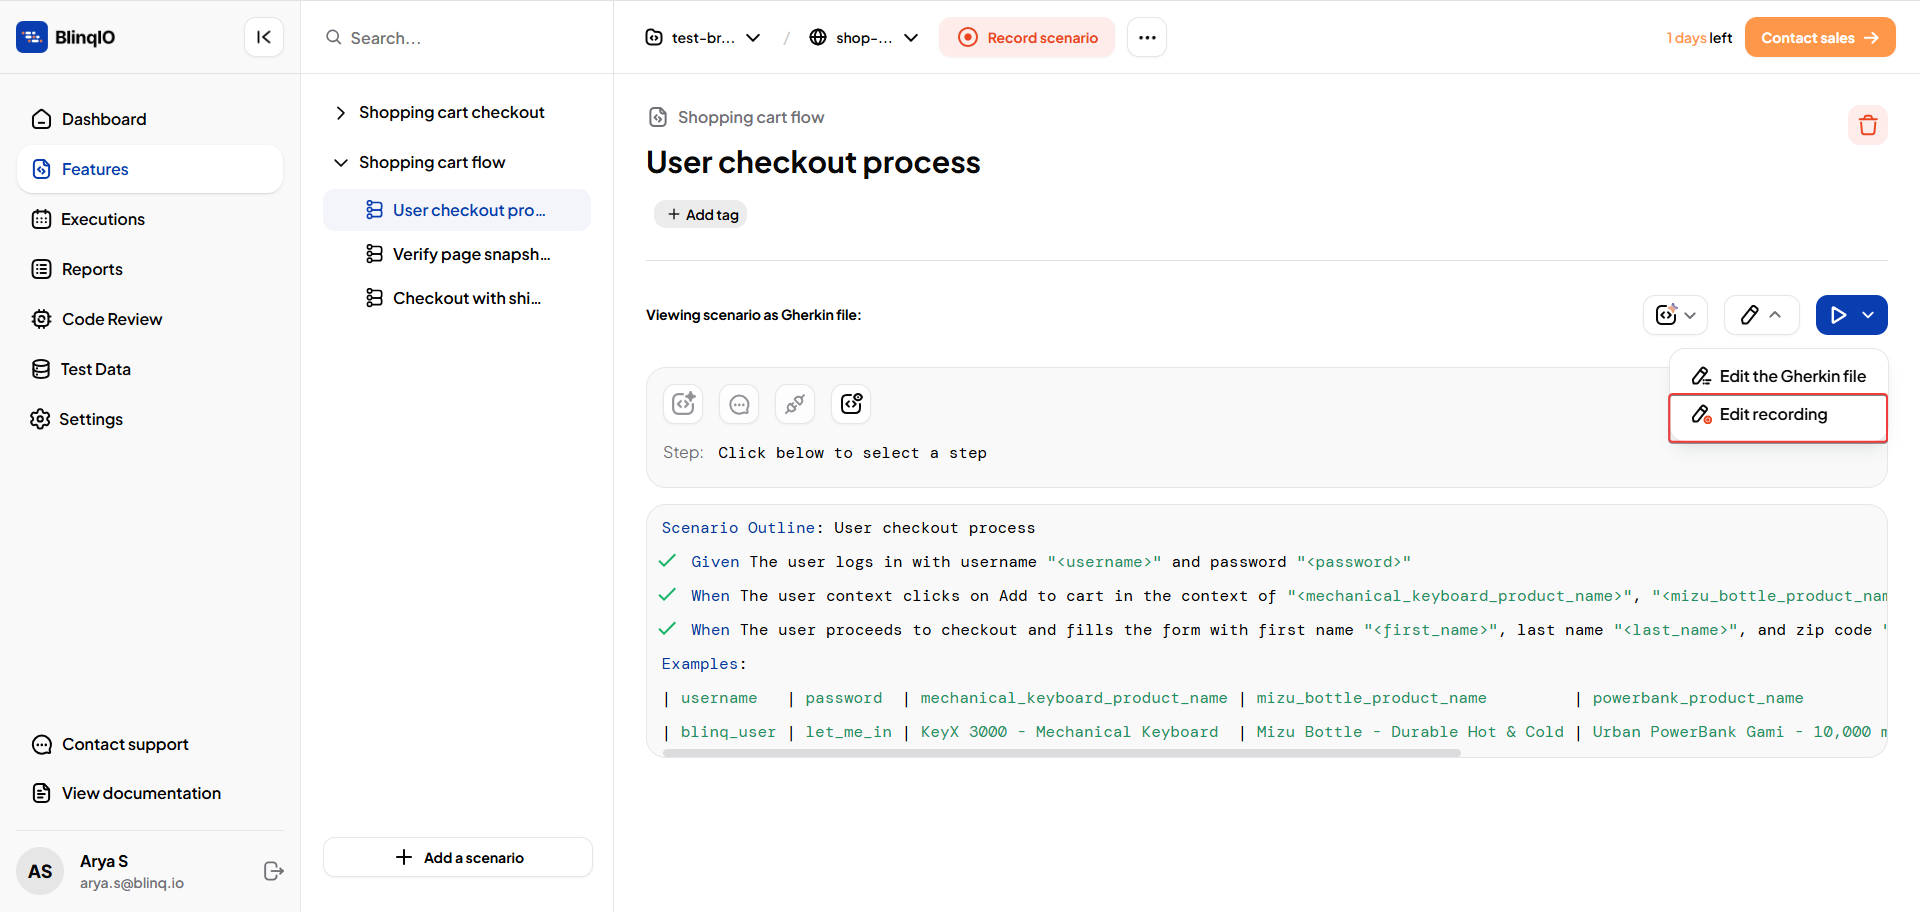
Edit Scenarios
You can also edit existing scenarios directly in the Cloud Recorder.
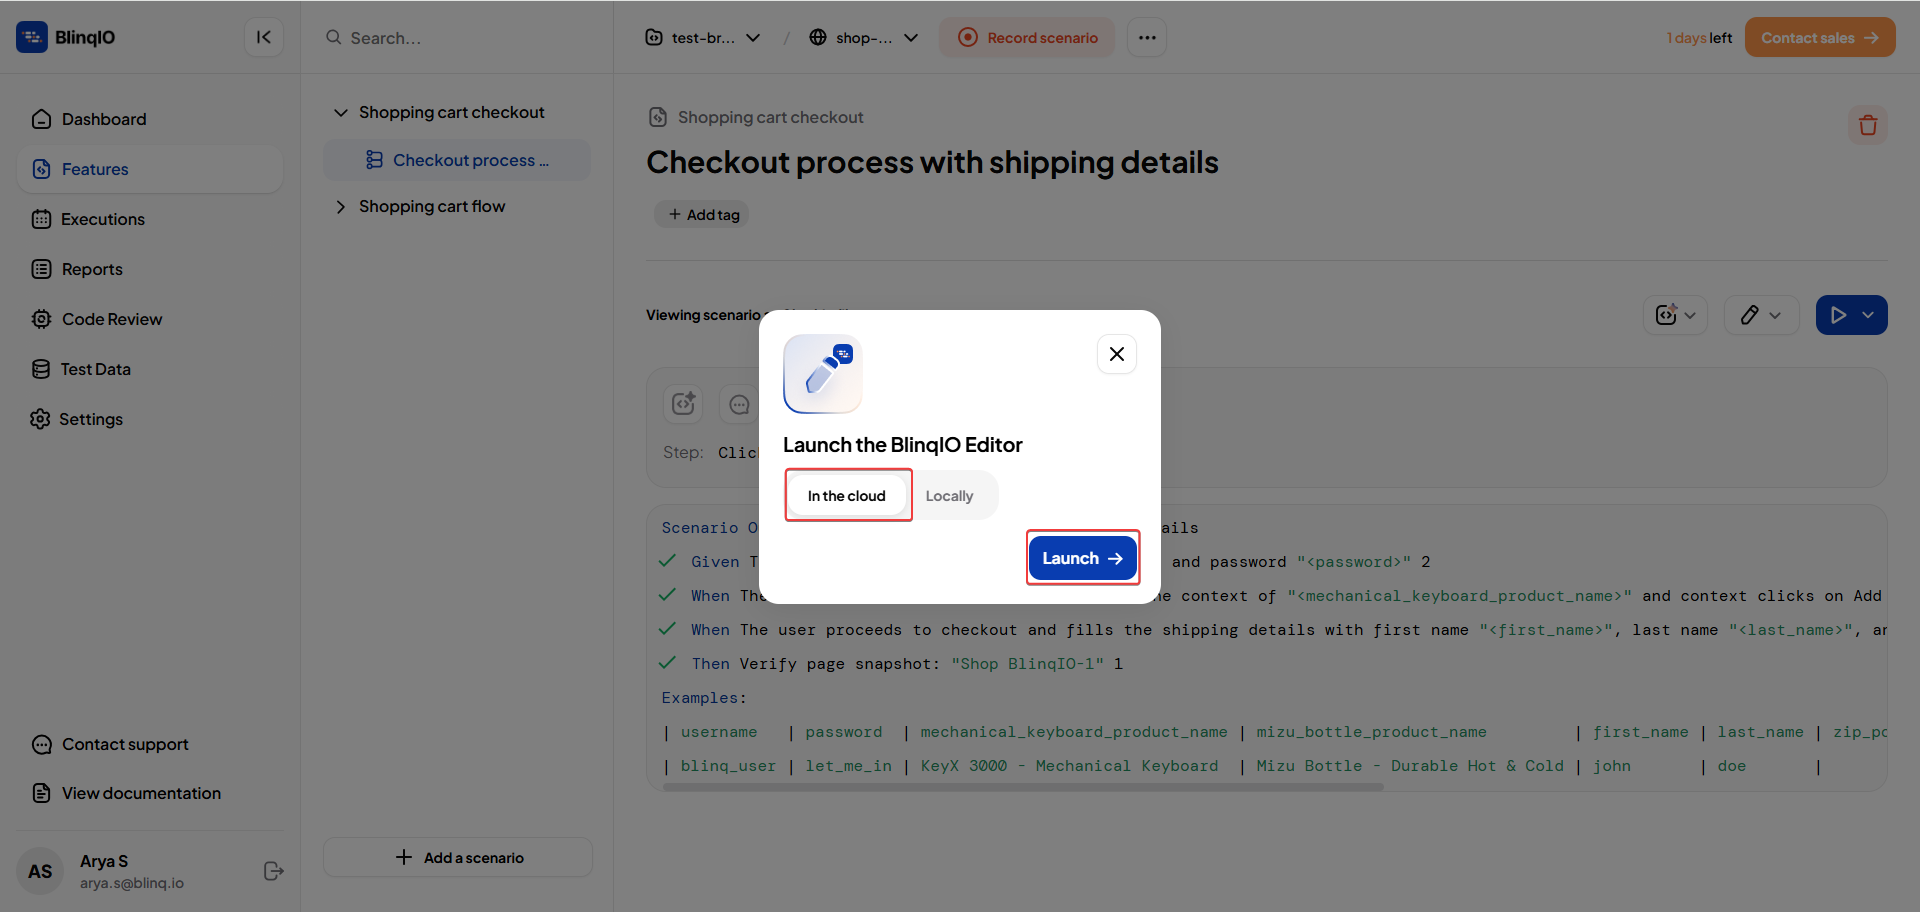
Open the scenario you want to modify and click Edit Recording.
In the prompt that appears, select In the cloud to launch the BlinqIO Editor and click Launch.
The Cloud Recorder opens with the existing steps loaded.
Perform the required changes by recording new steps, deleting steps, or updating actions.
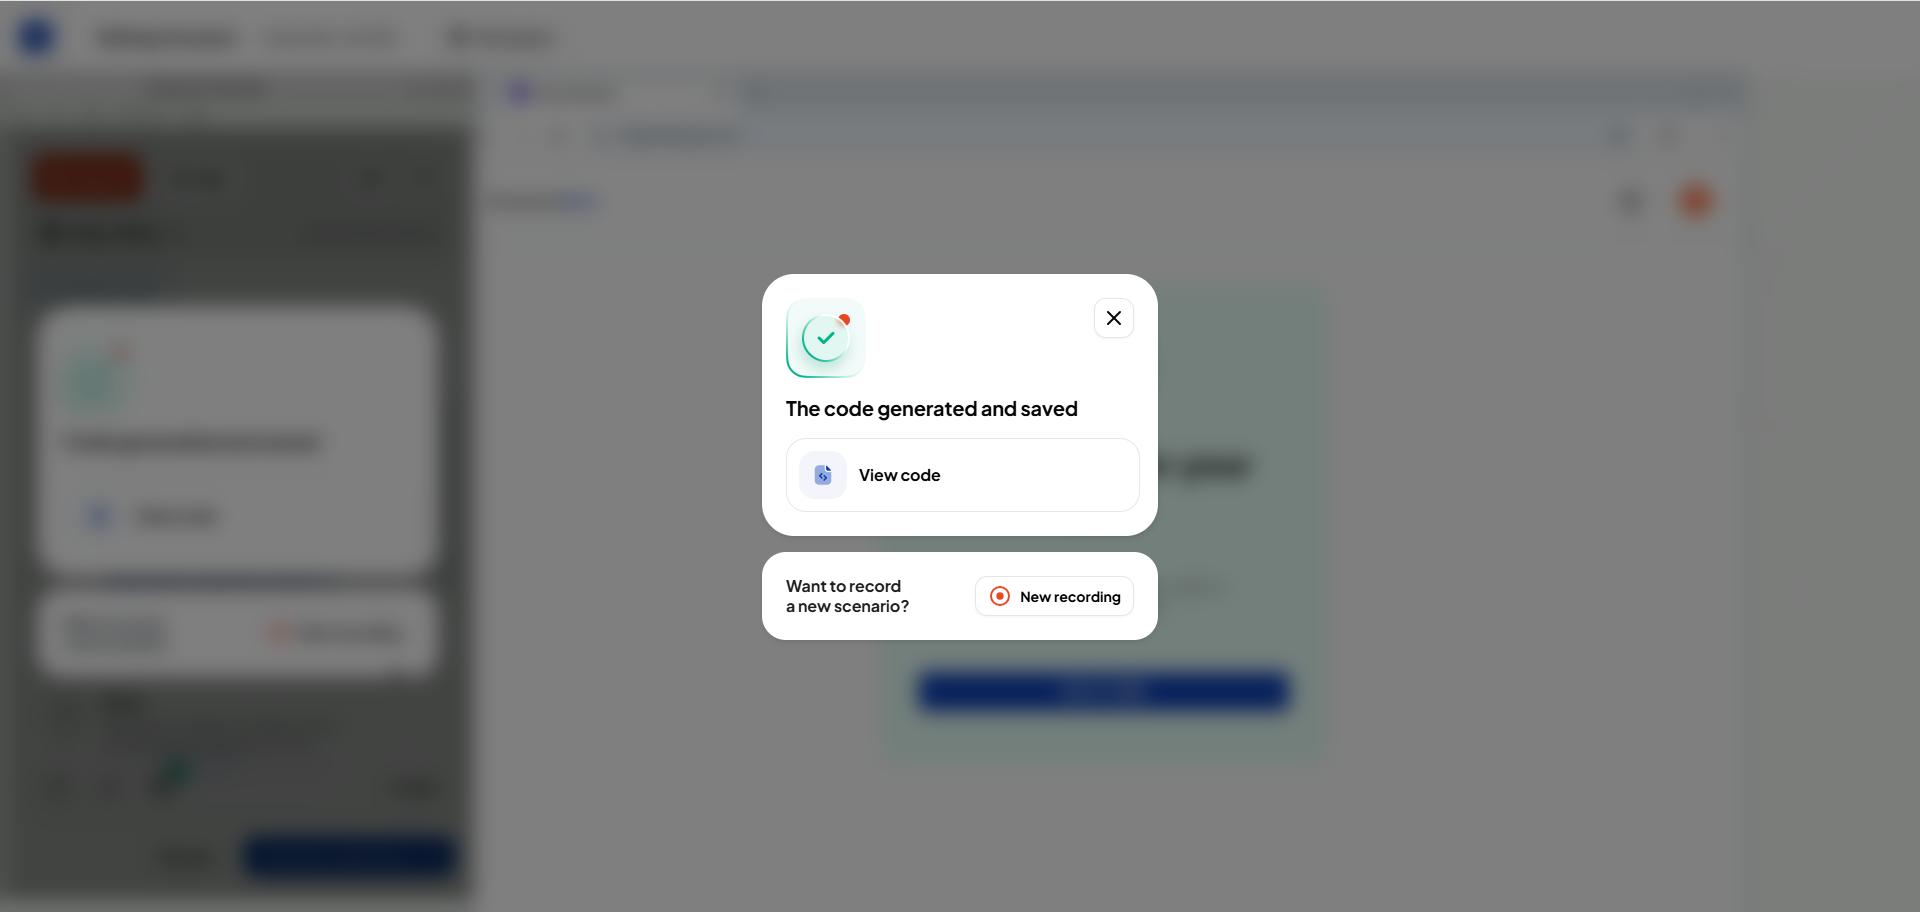
Once editing is complete, click Generate code and save.
After saving, a confirmation prompt appears:
Select View Code to open the updated scenario code.
Select New Recording to start recording a new scenario in the Cloud Recorder.
All edits made in the Cloud Recorder are fully saved to the project and remain compatible with the desktop editor.
AI Generate Code in Cloud
You can also generate Playwright code for your Gherkin scenarios directly in the Cloud Recorder using AI Generate.
All AI Generate options are fully supported:
Generate Code for Unimplemented Steps
Generate Code for a Specific Step
Re-generate Code for All Steps
Note
The complete generation and Code Fixes workflow remains identical to the desktop editor.
For full step-by-step instructions, see Generate Code for Gherkin Steps.
After generation, a link to view the Reports page is displayed so you can inspect the generated code and review suggestions.
The execution type for these actions is set to Cloud execution in the reports.
