Get Started with Gherkin Test Automation
Note
AI Recorder is the recommended way to record test cases. Gherkin test automation is primarily used for recovering failed tests.
BlinqIO's AI Test Engineer can generate test automation code for your Gherkin test scenarios. This guide will help you set up a BlinqIO project with a demo Gherkin scenario, generate test automation code, run tests, and view reports.
Before You Begin
Create a BlinqIO account and sign in.
Install the latest version of BlinqIO Editor on your system.
Clone the Demo Project
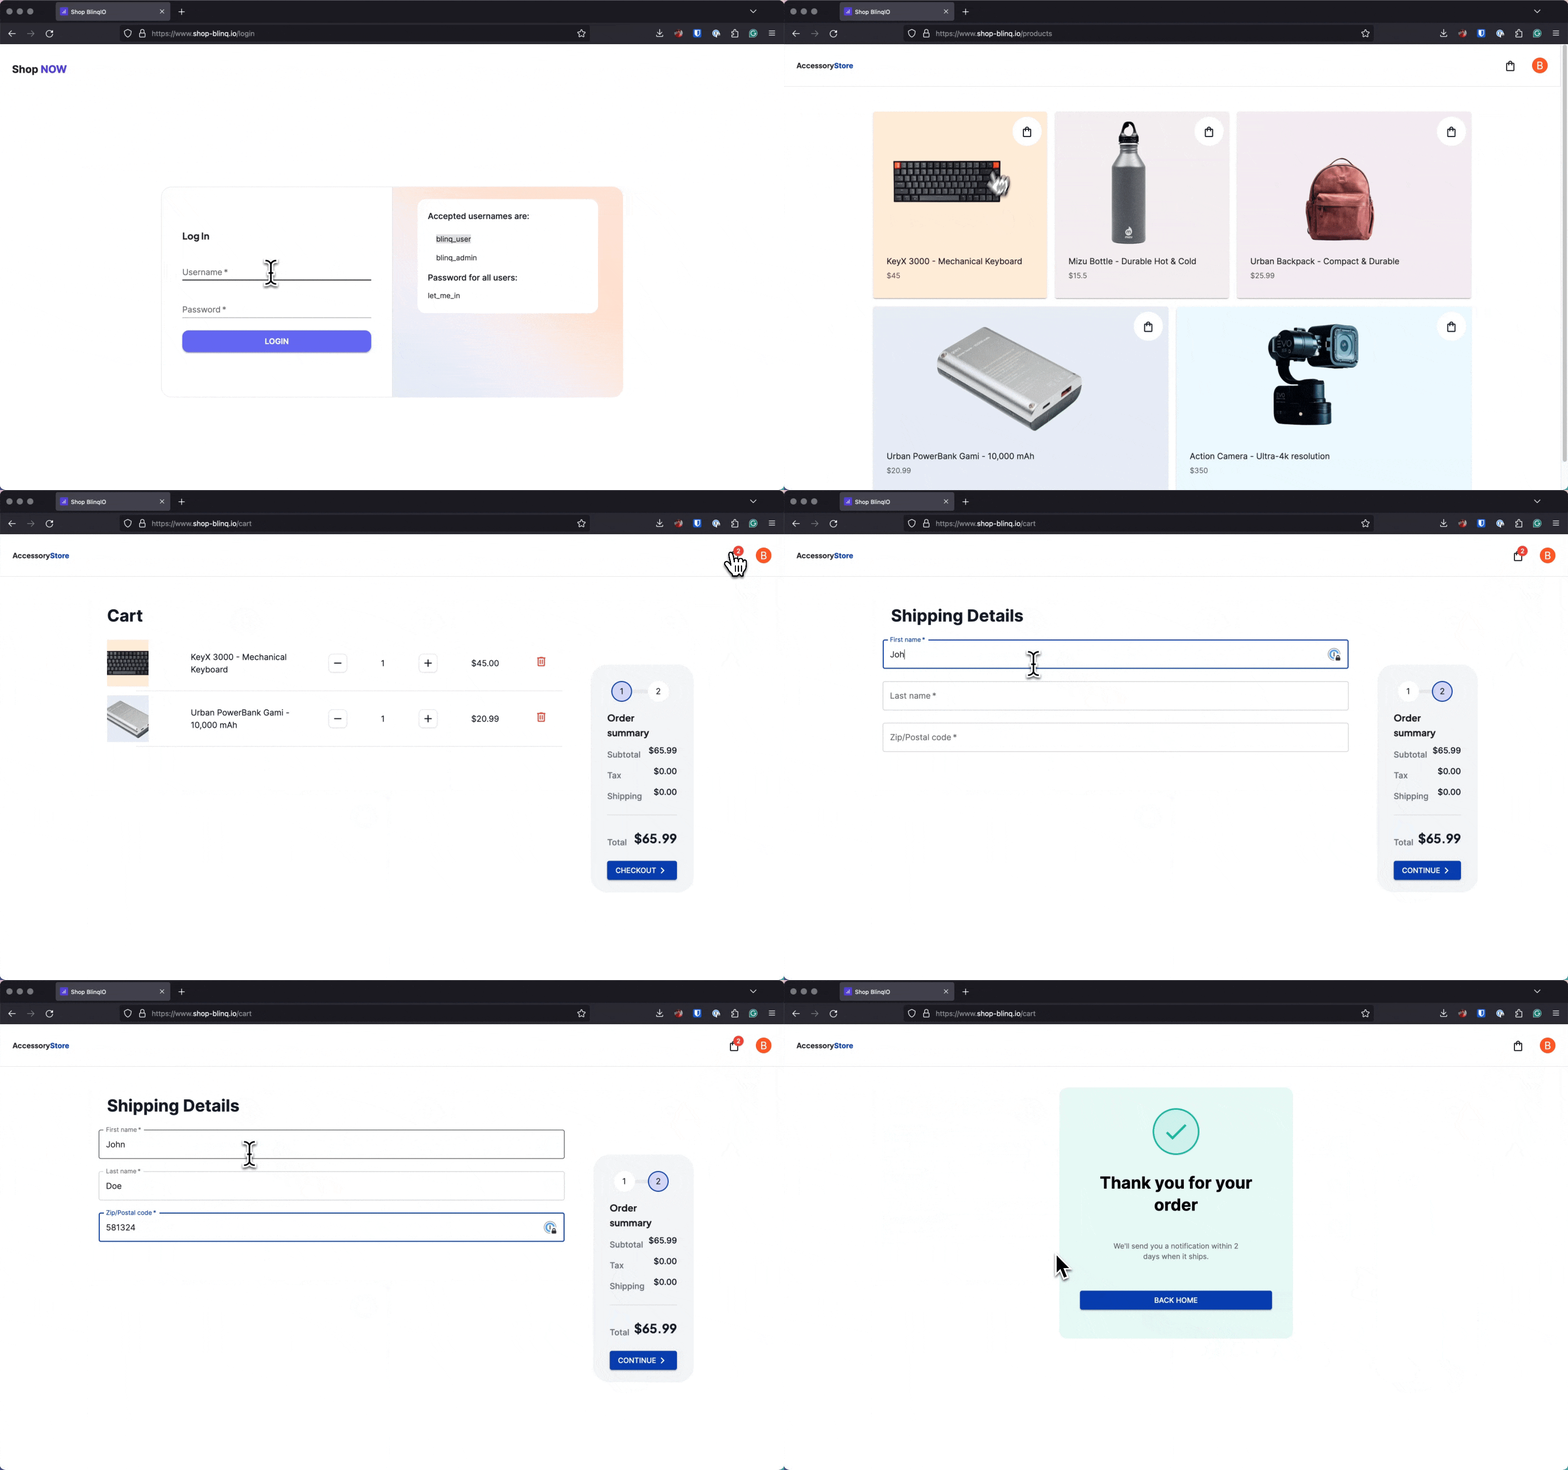
To quickly see Gherkin Test Automation in action, you can import a demo project with predefined test scenarios for a demo shopping website, which includes login, products, cart, and checkout pages.
Steps to clone the demo project:
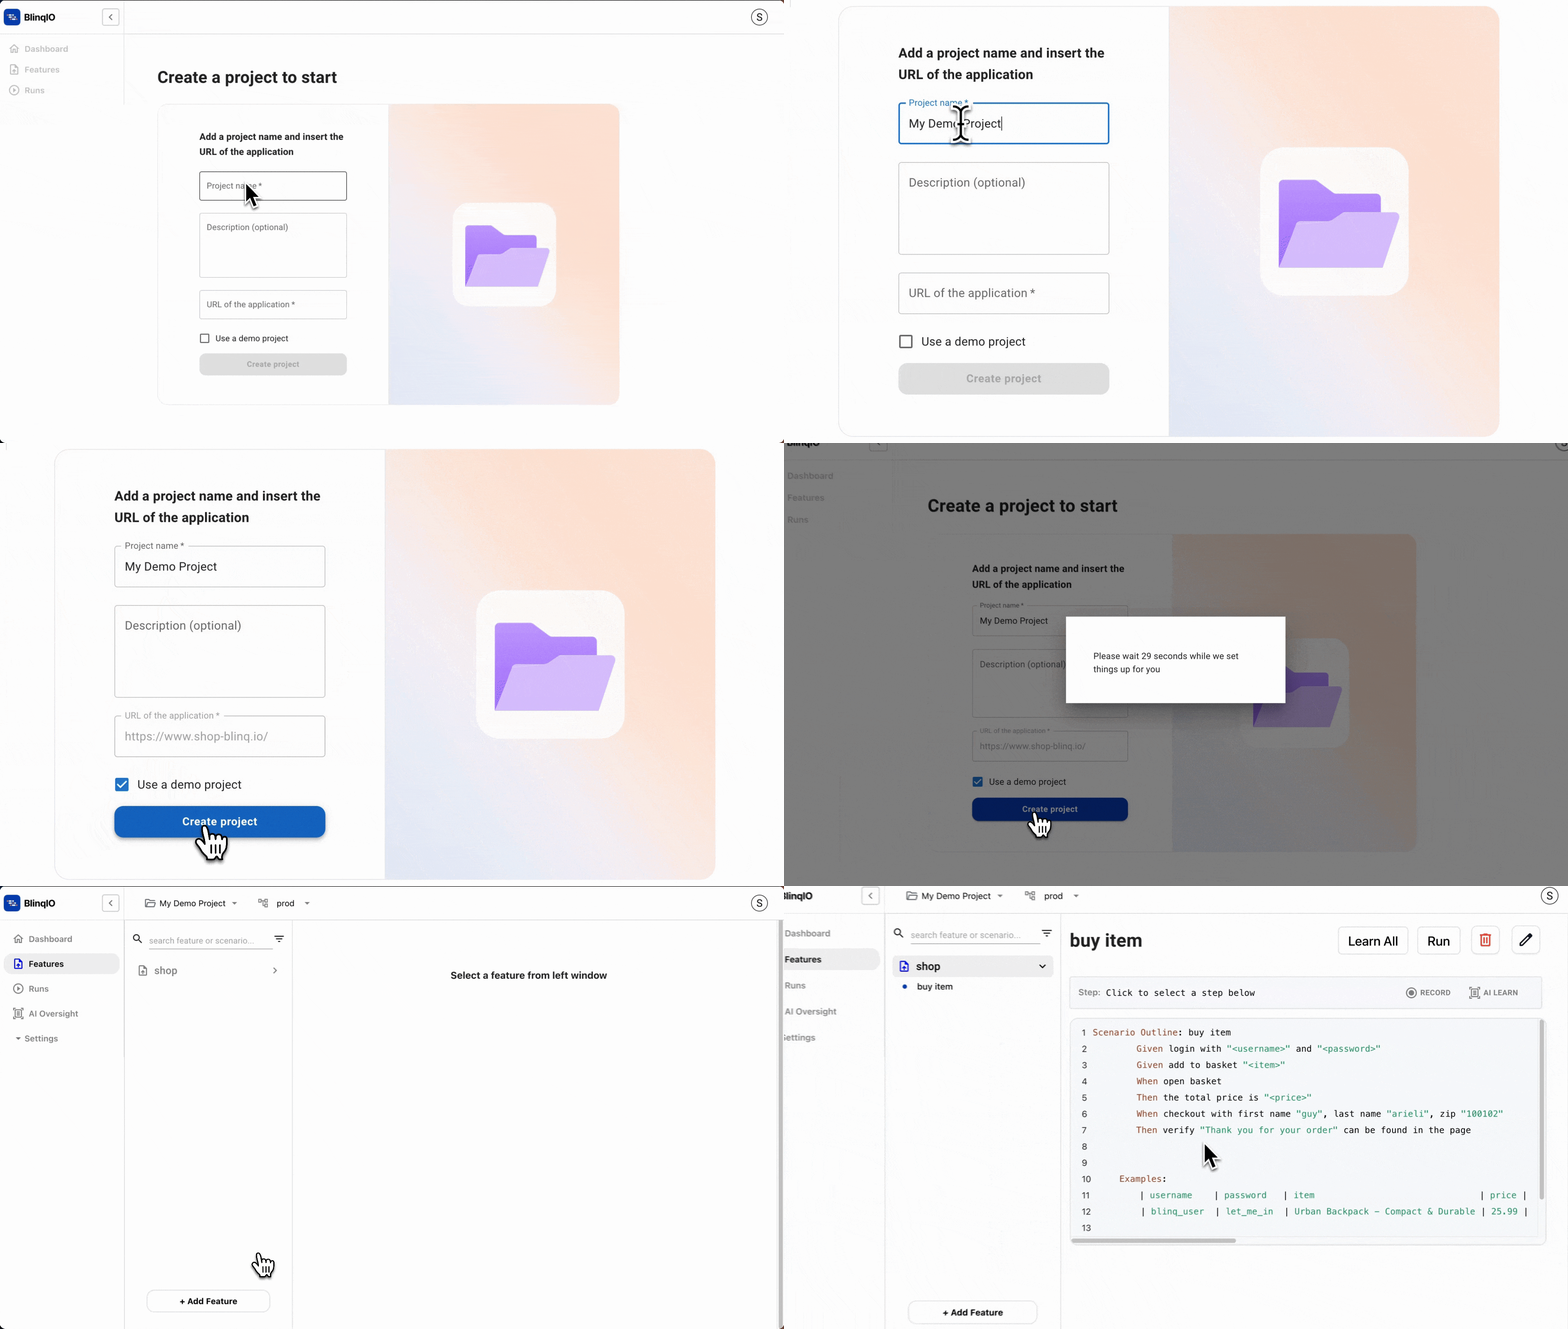
Go to the BlinqIO onboarding page.
Enter a new Project Name.
Select the Use a demo project checkbox to enable the Create Project button. The Application URL is automatically populated with the demo URL.
Click Create Project. Once completed, a new project will be created with environments, features, and test scenarios for the demo shopping website.
Review Cloned Features and Scenarios
Navigate to the Features page from the sidebar to view the project's features and scenarios.
The demo project includes a Shop feature with a Buy Item scenario, covering the following steps:
- Log in to the demo shopping website.
- Add an item to the basket.
- Verify the item's price in the basket.
- Check out with a test user.
- Verify the order was placed successfully.
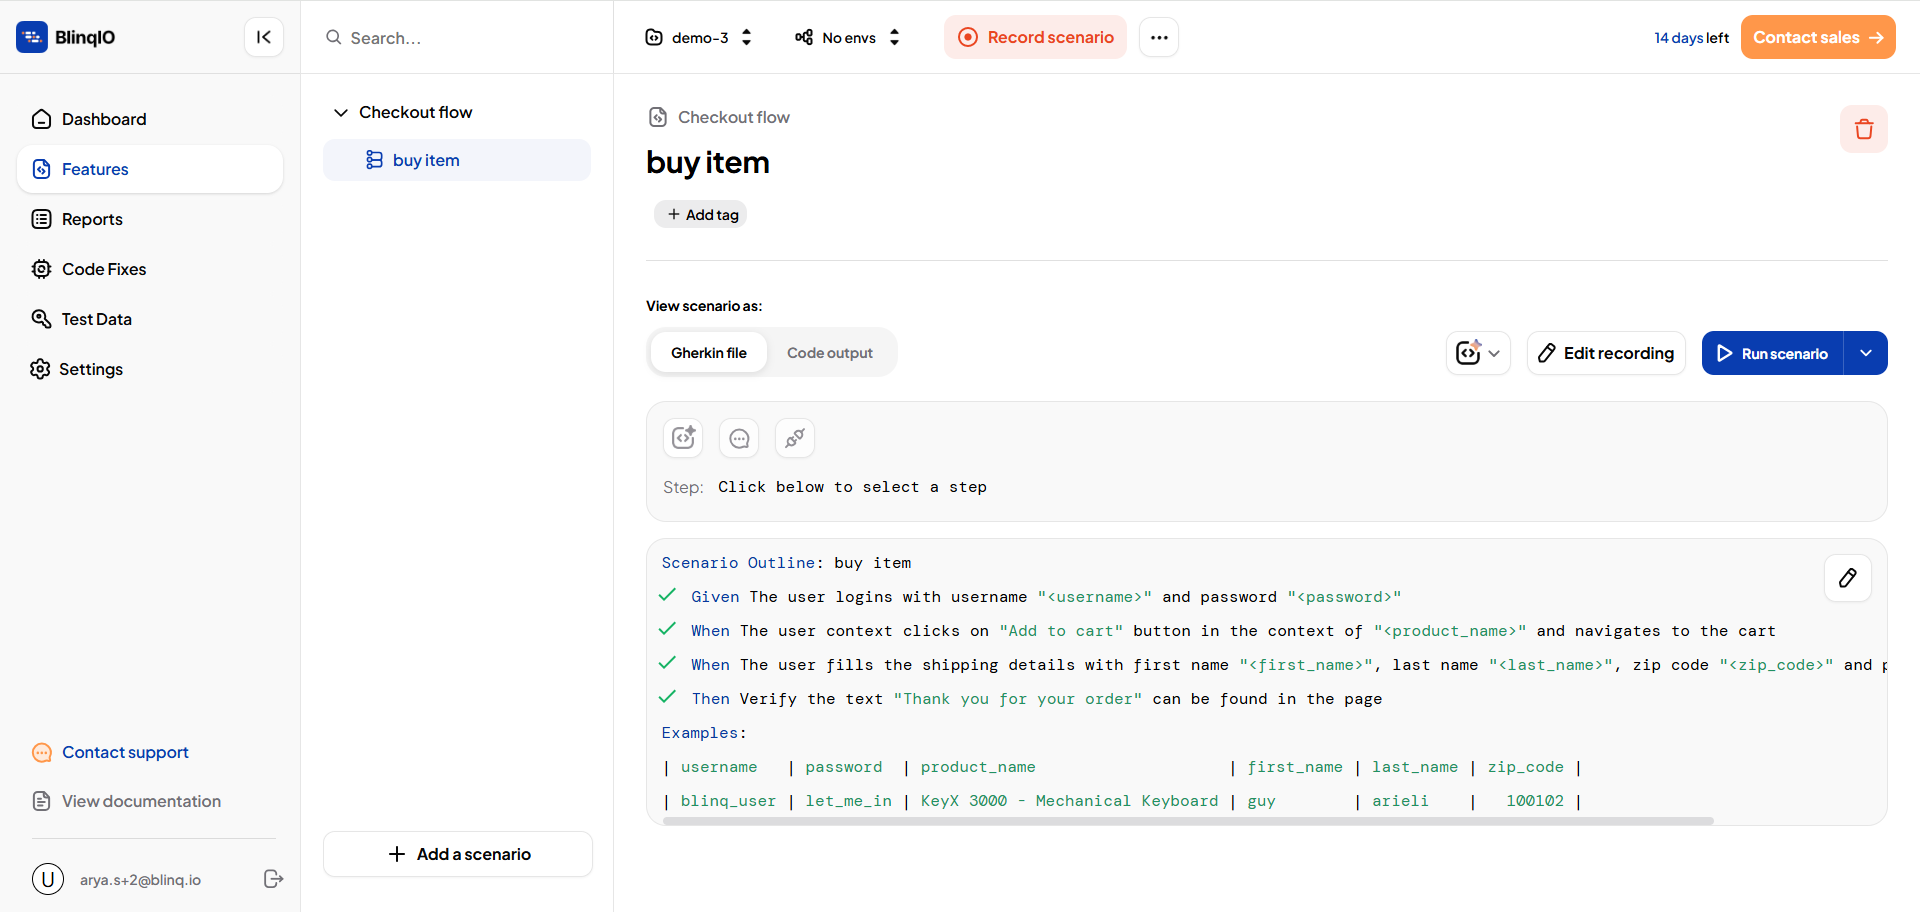
Generate Test Automation Code
Use BlinqIO Editor to generate test automation code for the Buy Item scenario.
Follow these steps:
Navigate to the Features page and select the Buy Item scenario.

Click AI Generate Scenario to open the app launcher.
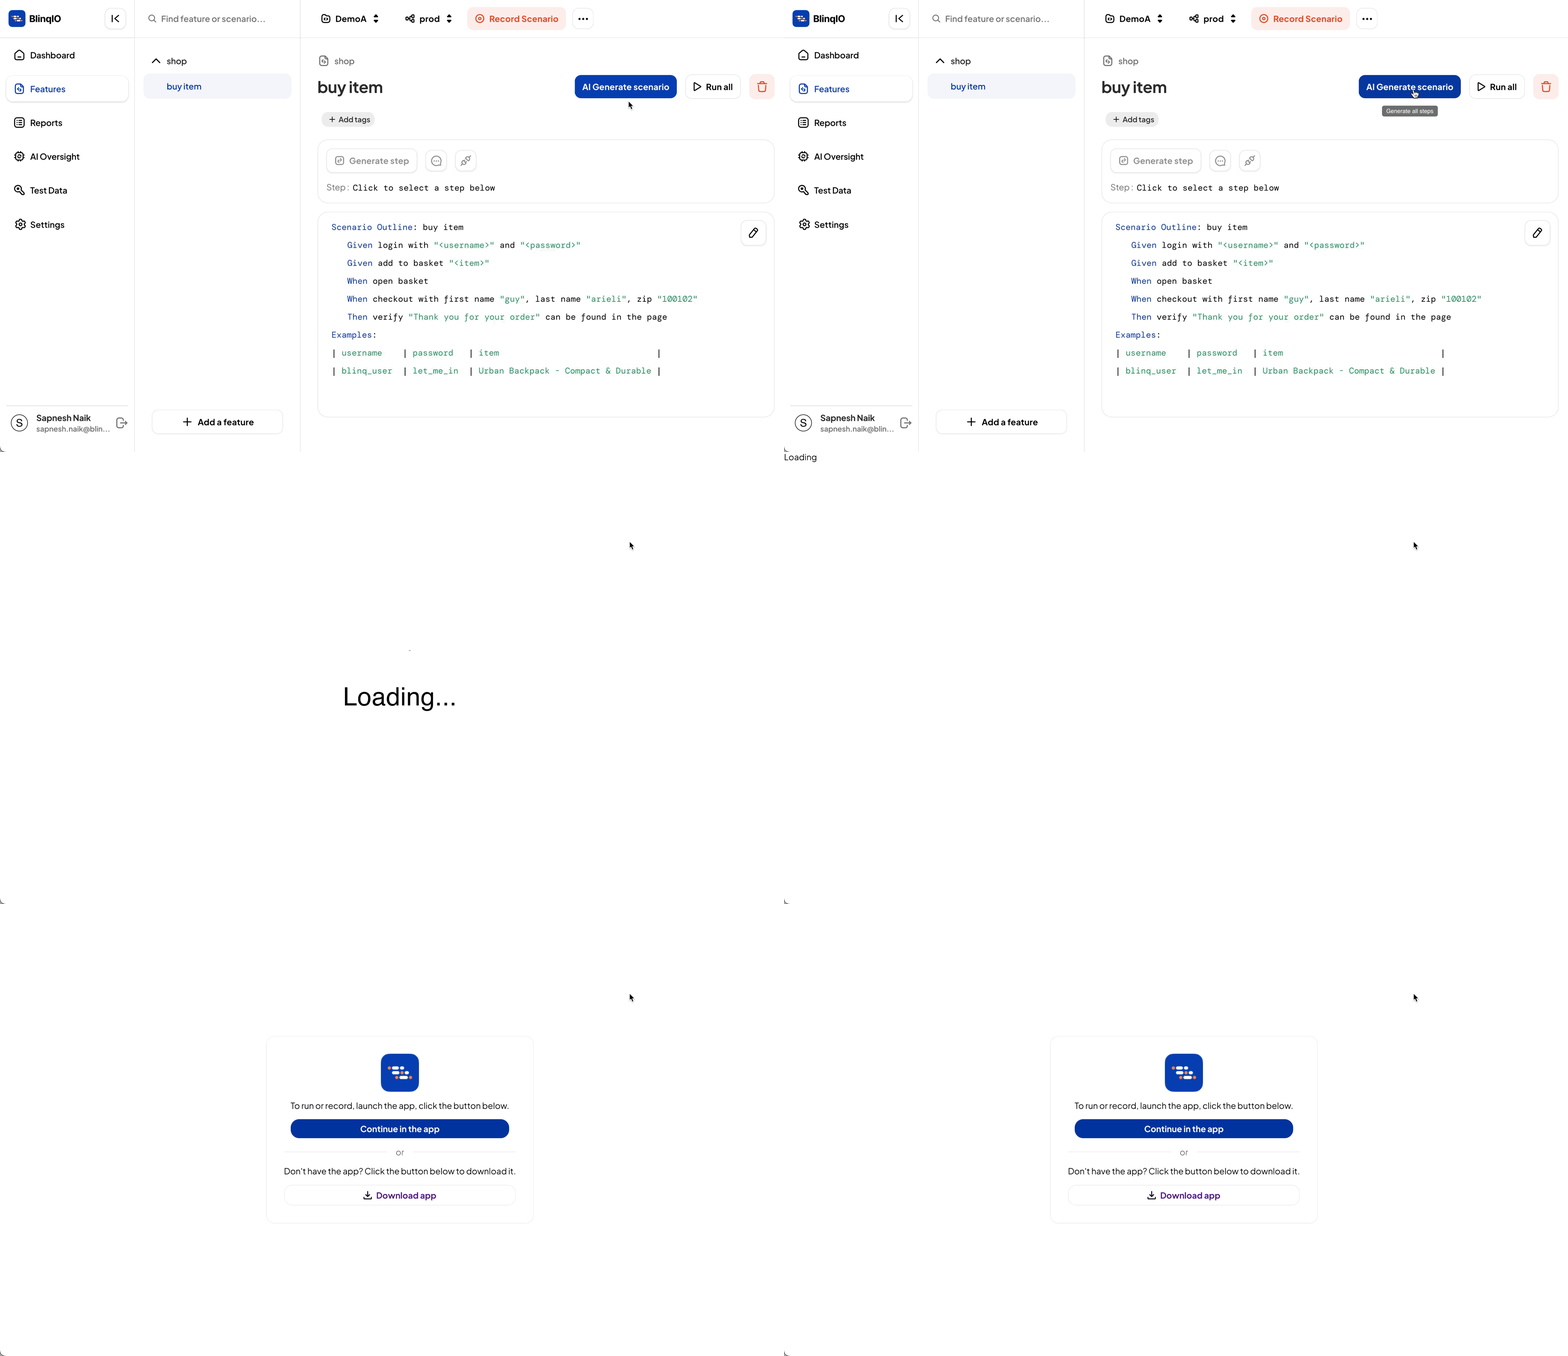
Select Continue in the app to open BlinqIO Editor. The BlinqIO Editor will launch a Chromium window and start generating the test code.
WARNING
The AI learning process may take several minutes. Do not close BlinqIO Editor or the Chromium window during this process.
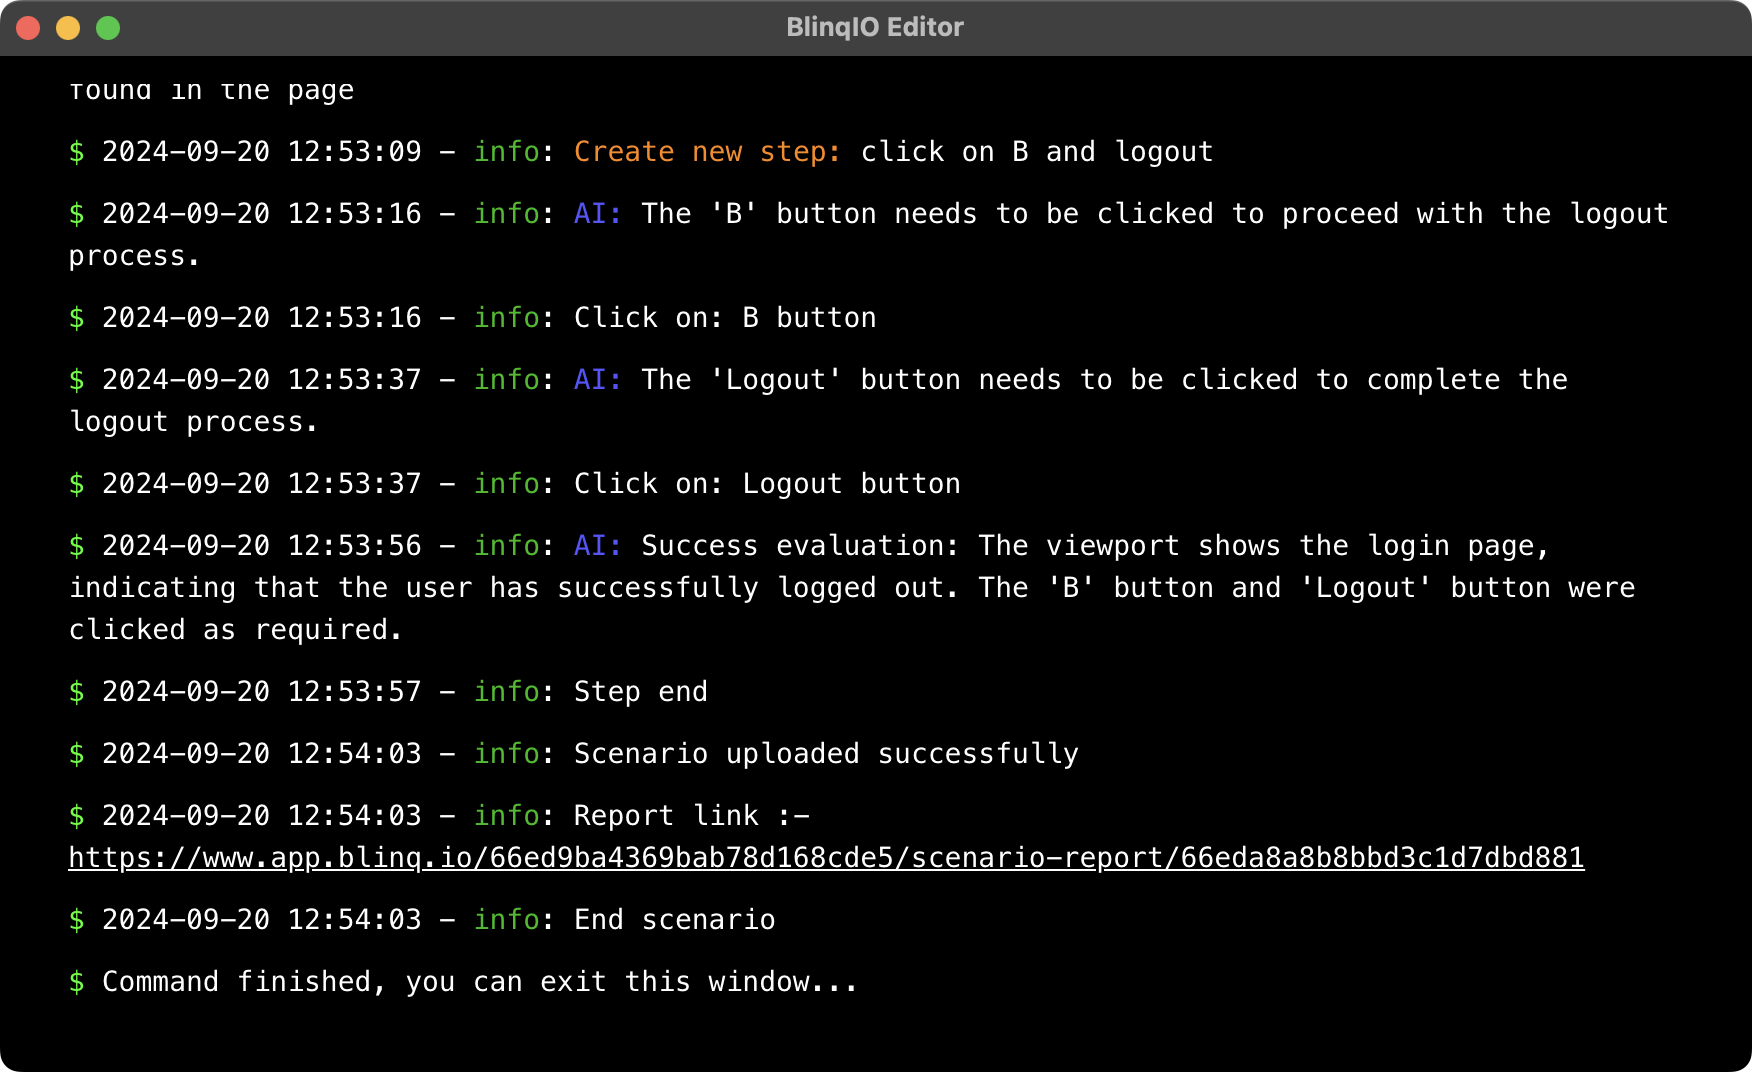
Once the test code generation is complete, BlinqIO Editor will display a "*Command finished, you can exit this window...*" message. A report link will also be displayed in the console.
Run Tests
After generating the test code for the Buy Item scenario, you can run the test.
NOTE
You can now Run Scenario with or without AI Recovery.
Follow these steps:
Navigate to the Features page and select the Buy Item scenario.

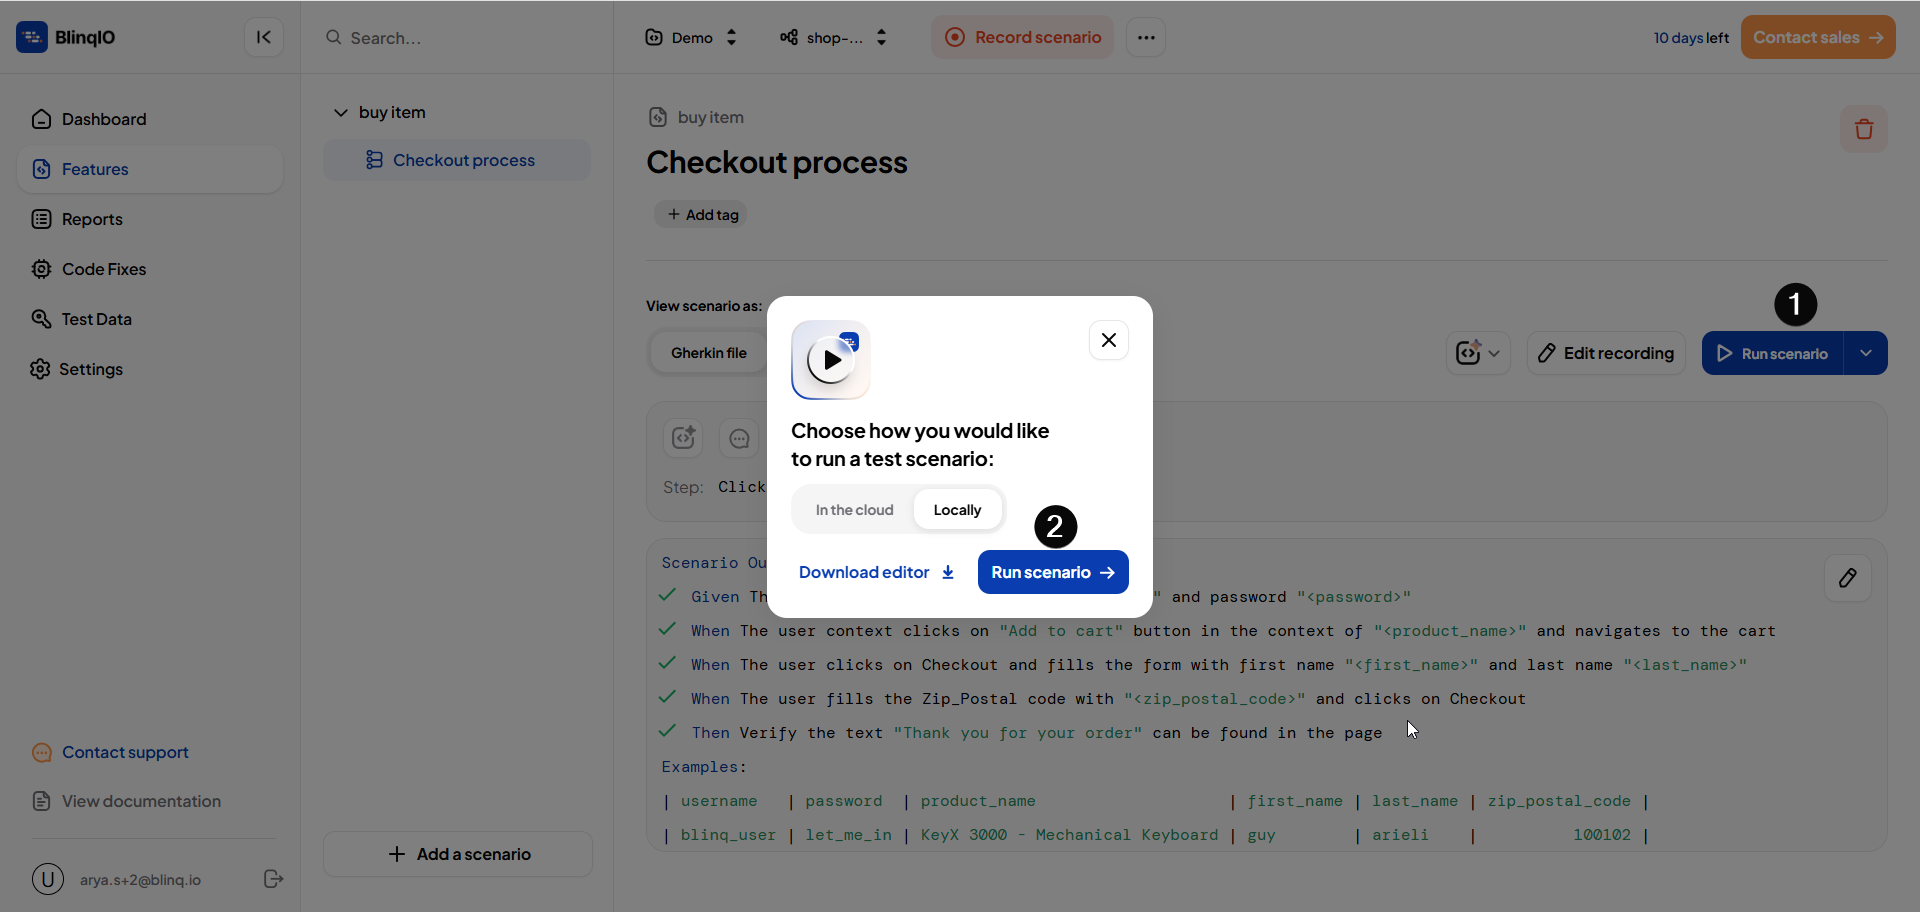
Click Run scenario to open BlinqIO Editor. BlinqIO Editor will launch a Chromium window and start running the test code.
WARNING
Do not close BlinqIO Editor or the Chromium window while the test is running.
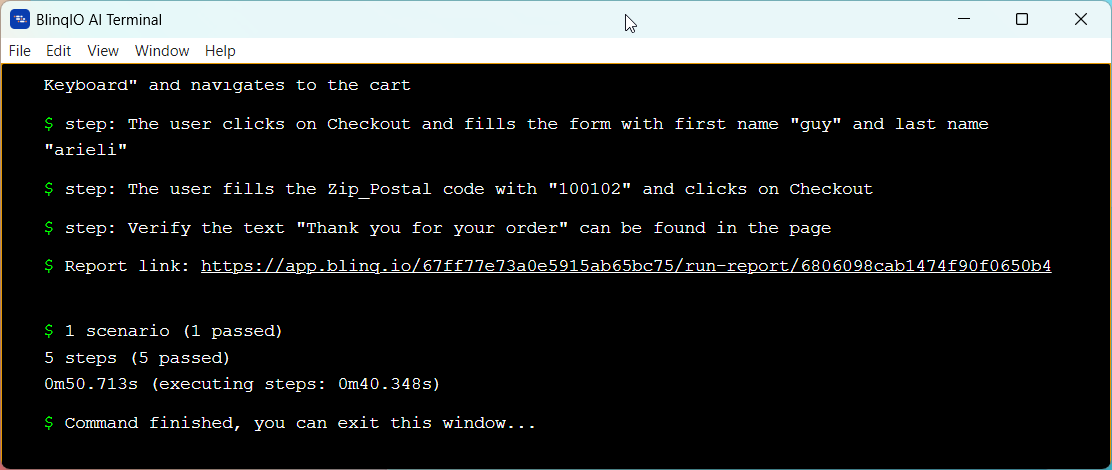
Once the test is complete, BlinqIO Editor will display a "*Command finished, you can exit this window...*" message. A report link will also be displayed in the console.
View Reports
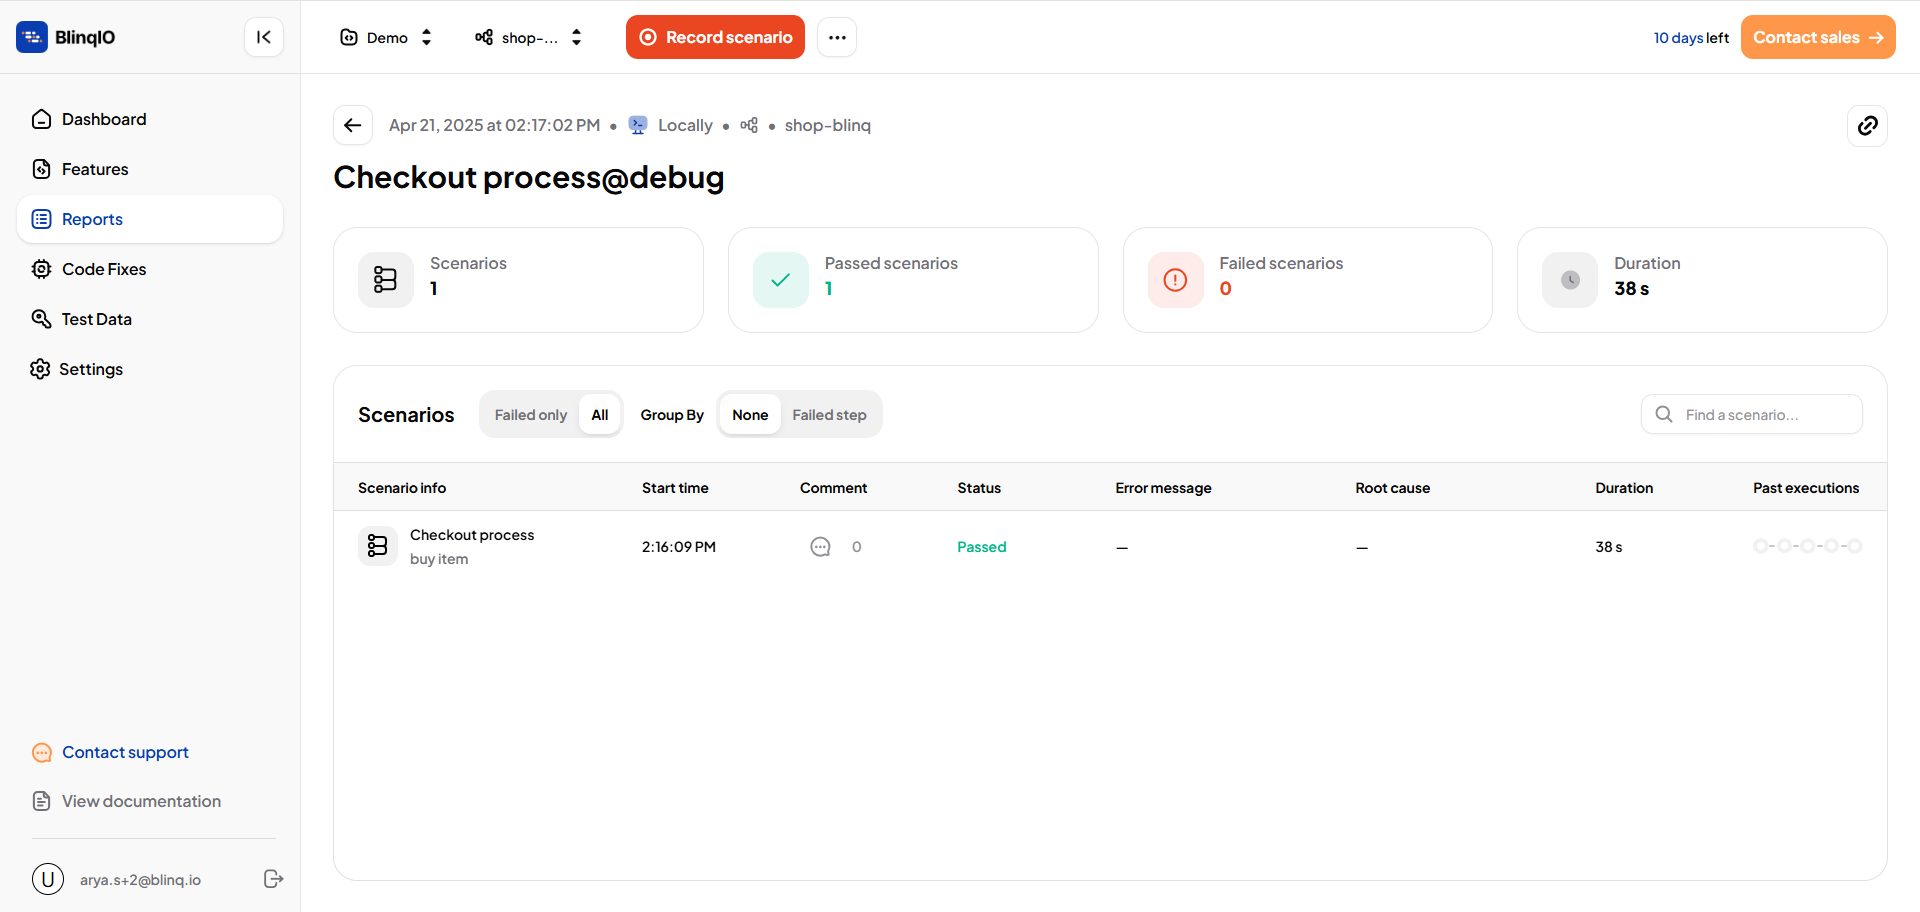
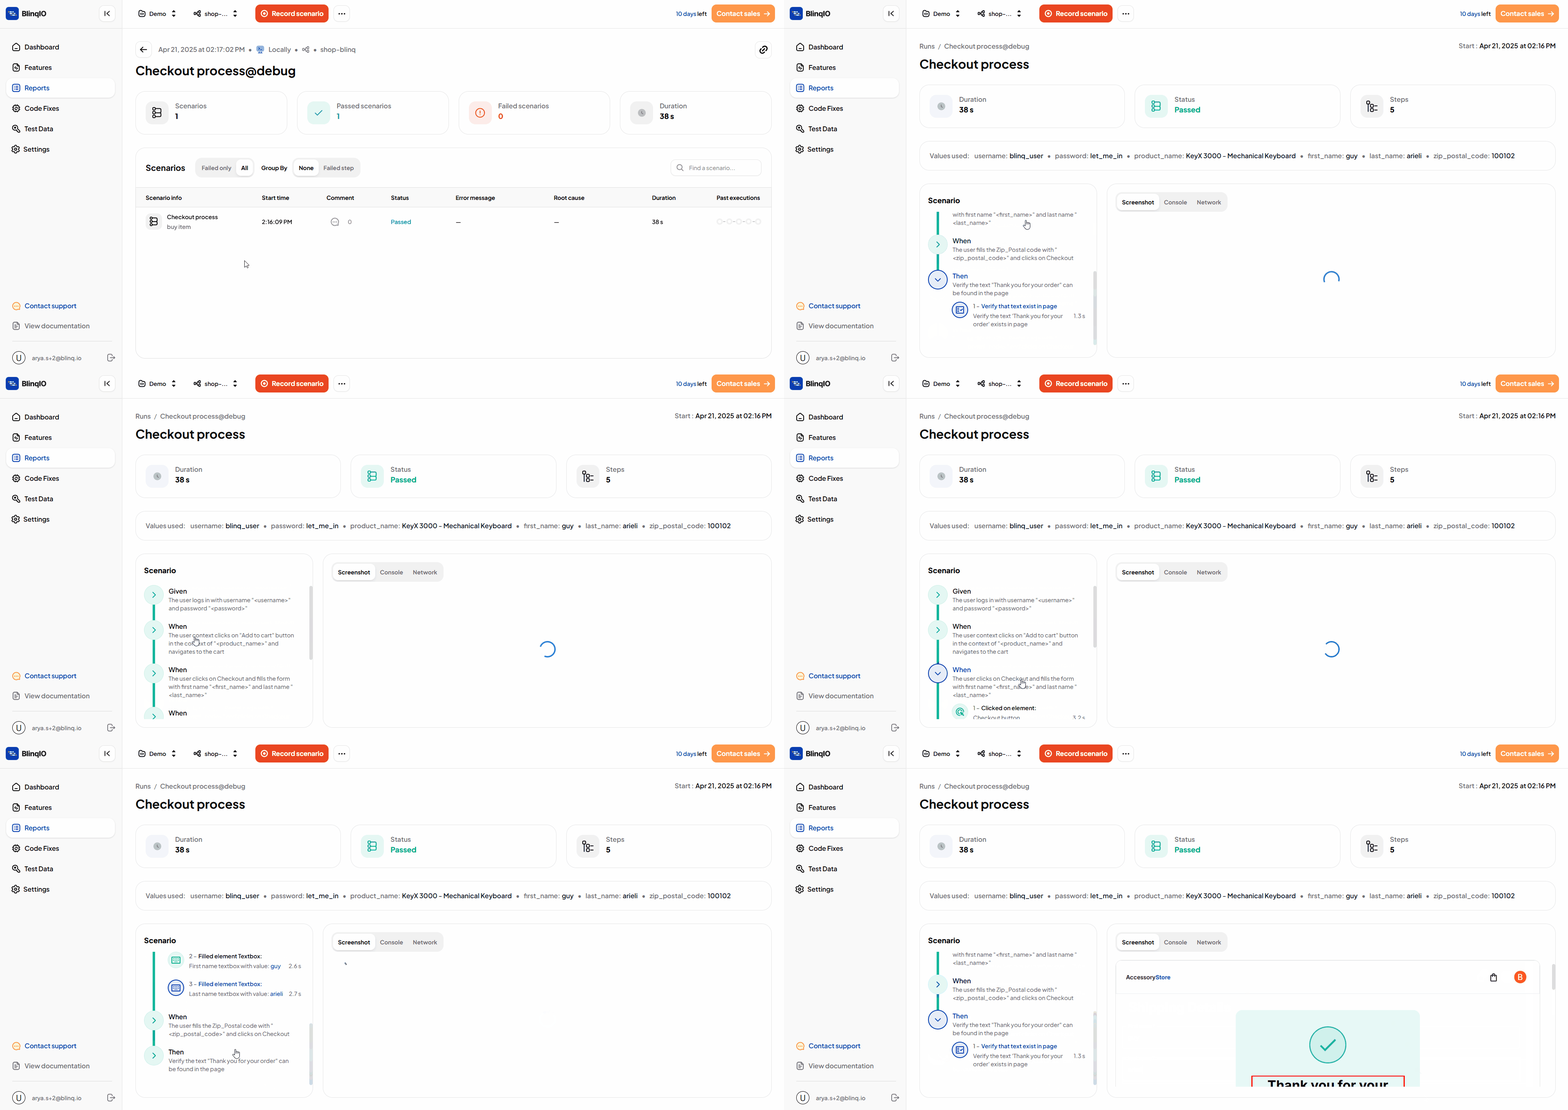
Finally, view the test run reports on the Runs page of the BlinqIO dashboard.
